
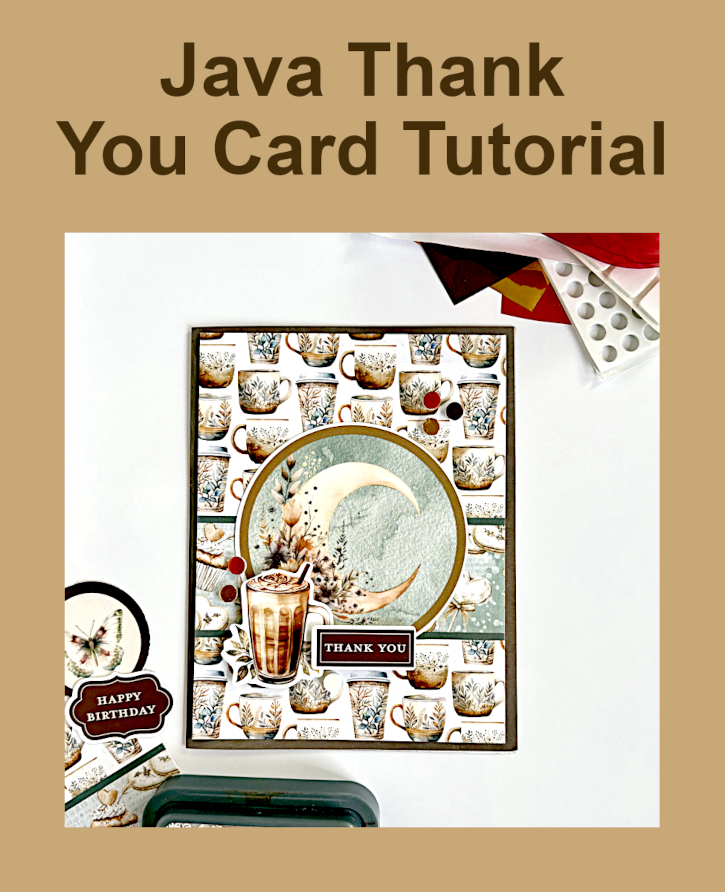
Welcome! It’s time for the Fall/Winter Coffee Lovers Blog Hop with this wonderful Java Thank You Card! As a SUPER SPONSOR, we’ve provided great prizes too! Grab a cuppa and join the hop with your beverage-themed artwork!
What are Coffee Lovers? It is a coffee-loving (or tea or cocoa) community of card makers open to everyone. Their blog offers inspirational coffee-related posts and coffee blog hops that YOU can join. You get a chance to win the giveaways as a blogger/participant! So read until the very end!
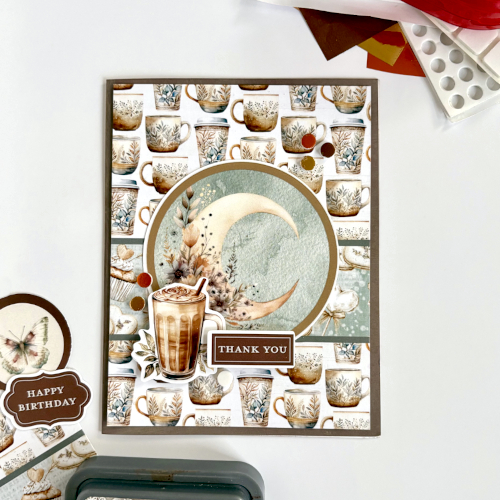
Java Thank You Card
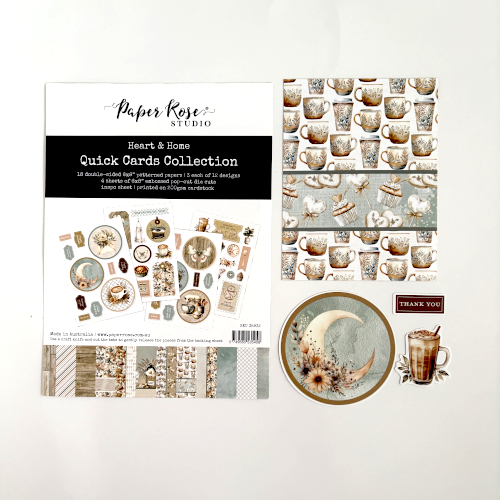
Have you ever used a card kit? I have one from Paper Rose Studio so I created this Java Thank You Card! So, how do you make it your own? Hi, Margie here today to share how to do just that and featuring our newest 3D Foam Strips 3mm White! First, let’s figure out which items we will use. The card panel was cut to 4 x 5.25-inch, an embossed circle focal point, a coffee accent and a sentiment element.
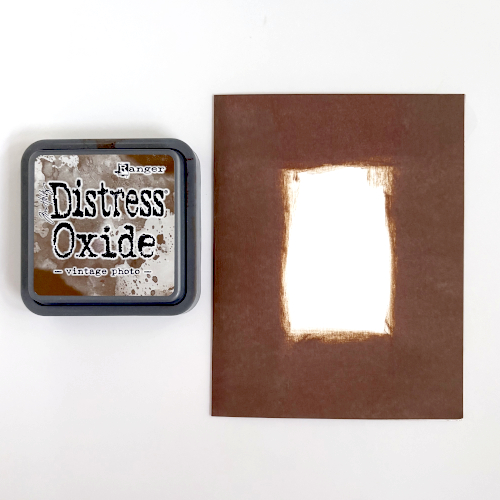
Then I wanted to use a coffee color to the card base but I didn’t want to get a whole pack of brown card bases. My solution? Ink swipe your white cardstock card front with Vintage Photo! Make sure to give it time to dry or hit it with a heating tool.
Assemble the Java Thank You Card
Once the ink dries, secure the card panel to the card base with the E-Z Runner® Permanent Strips Refillable Dispenser. Then add the embossed circle focal point using the same adhesive.
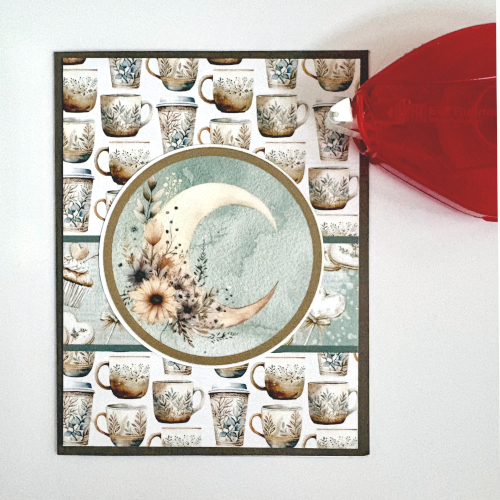
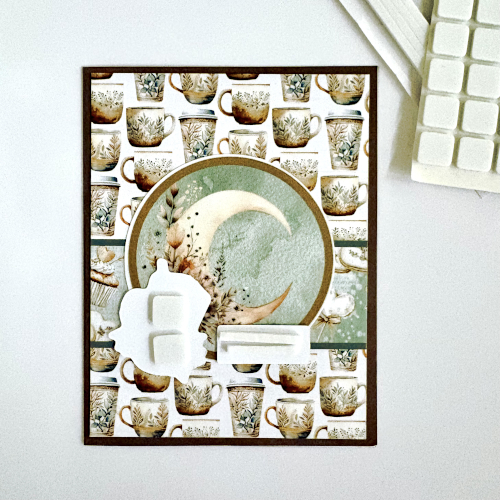
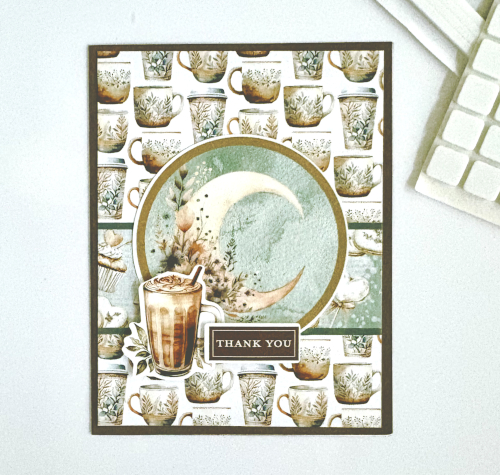
Now to make the card “interesting” – how? Use a combination of 3D Foam Squares White Mix and 3D Foam Strips 3mm White for the coffee accent and the sentiment element. The foam squares are 2mm (1/16″) in height so I used it for the coffee accent. Then on top, I lift the sentiment just a little with the foam strip in 3mm (just a tad under 1/8″). So the varying dimension is so cool in person!
Wear Your Adhesive on the Outside with 3D Foam Circles
For the finishing touches, I am going to use several small 3D Foam Circles White Mix as sequins. Randomly place them around the card front and then determine what foil colors to use.
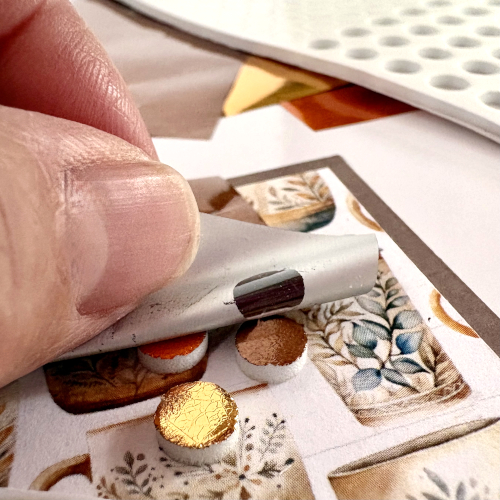
Remove one of the top liners to place a piece of foil from the Metallic Transfer Foil Sheets Nature Colors (color side facing you) over the exposed adhesive. Rub to transfer the color and peel off to reveal the shine! Repeat these steps (using other colors…or not) with the other “sequins.”
I hope you enjoy my Java Thank Card tutorial and helps you to break open your card kits in your stash or try one.
Thanks for reading through and Happy Coffee Lover’s Hopping!
Margie
Creative Time: 45 mins
Skill Level: Beginner
Materials Needed:
Scrapbook Adhesives by 3L®
E-Z Runner® Permanent Strips Refillable Dispenser
3D Foam Squares White Mix, 3D Foam Circles White Mix and 3D Foam Strips 3mm White
Metallic Transfer Foil Sheets Nature Colors
Other: Patterned Papers + Ephemera: Paper Rose Studio (Heart & Home Quick Cards Collection); Ink: Ranger Ink (Distress Oxide in Vintage Photo); White Cardstock
Click Preferred Retailers List
Save to Pinterest!
Coffee Lovers Fall/Winter 2025 Blog Hop
We are so excited to be sponsoring adhesive prize packages to assist you in your crafting adventures! Thanks to Amy Tsuruta and her dedicated crew for coordinating this huge undertaking year after year.
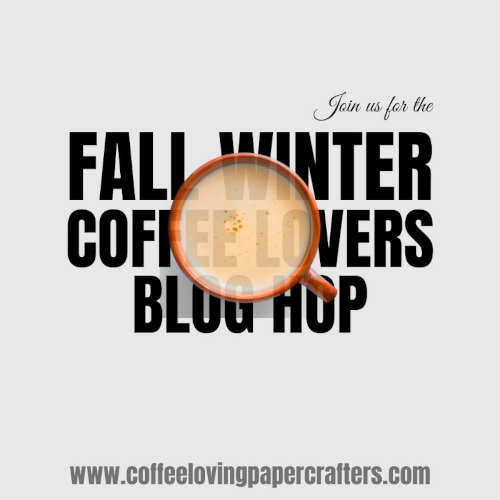
Click the button below to participate, and/or see more inspiration
If you can’t find the comment section at the bottom of this post, click this button below and then scroll down to the bottom to leave a comment. Some comments need time for approval – TIA for your patience!
Visit our Website and Blog!
Sign up for our Newsletter so you never miss a contest or giveaway!






By Amy Tsuruta November 6, 2026 - 8:20 am
Absolutely gorgeous!
Thanks so much for being a returning Super Sponsor!