
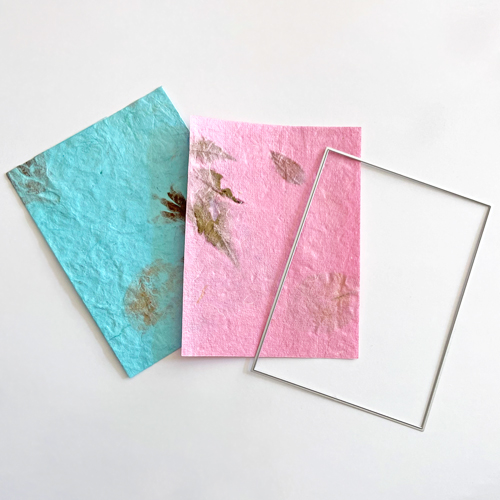
Several rolls of handmade papers were gifted to me by my brother and his wife when they went to Sir Lanka on vacation. Hi, Margie here today, and I want to share what I created with it. Also, what adhesives I used to make it work!
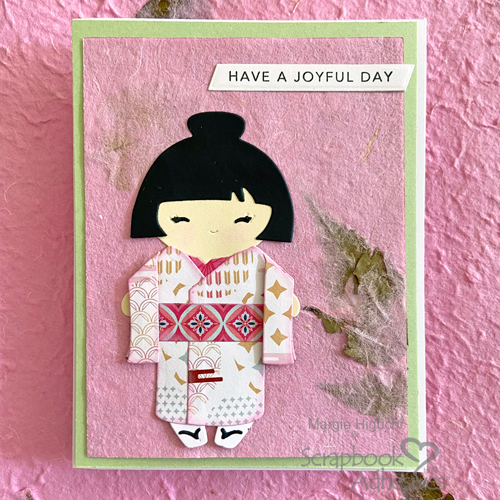
Joyful Panels
The pattern had natural elements in it so I wanted it to make a background. Die-cut a rectangle panel for a top panel.
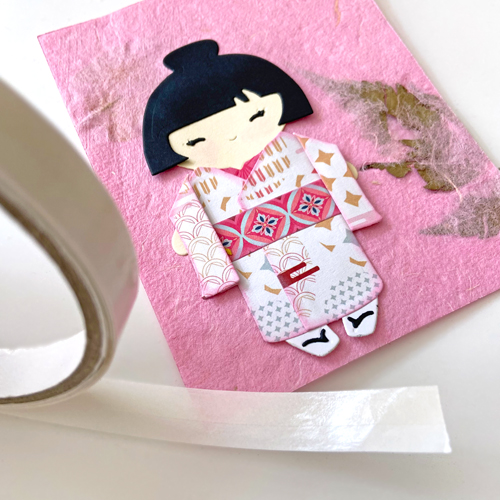
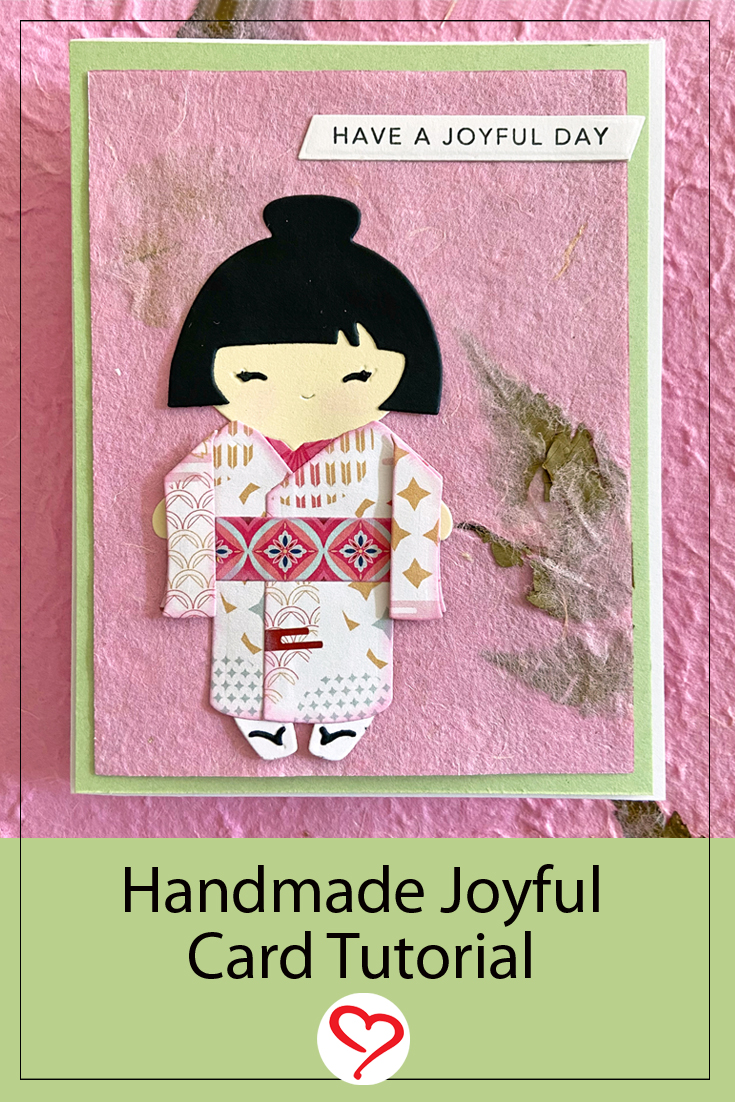
Joyful Paper Doll
Using the Dual Tip Glue Pen, I die-cut and paper-pieced a kimono girl with a combination of patterned paper and white, cream, and black cardstock. With the Crafty Power Tape Polybag 81ft., I secured the paper doll on the panel.
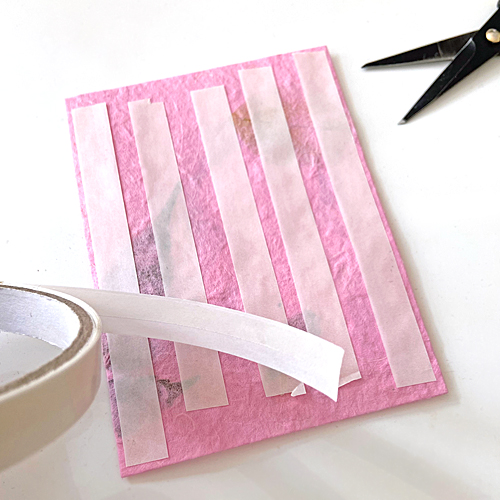
Using the same Crafty Power Tape Polybag 81ft., I covered the back of the panel and matted it on a larger citrus green panel before adding to a white cardstock card base.
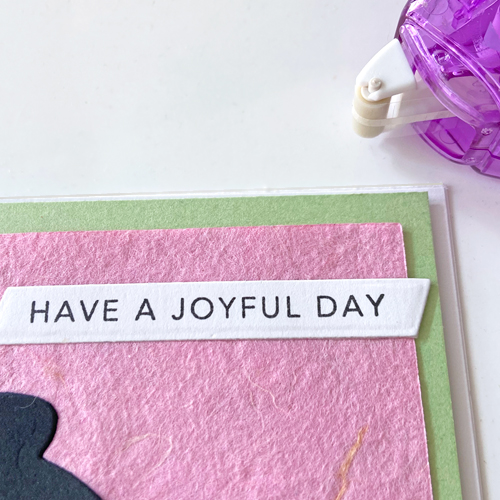
Add Joyful Sentiment
Stamp the sentiment with black ink on a piece of white cardstock and die-cut it with a strip die. For interest, I cut the ends in a diagonal. Secure it to the upper right corner using the E-Z Runner® Micro Refillable Dispenser.
Designer’s Note: Use the rounded end of a bone folder to burnish the paper doll into the panel for strong adhesion.
I love the combination of cardstock and handmade paper for a unique texture and dimension. If you have specialty papers, use them to create something similar to my Handmade Joyful Card!
Thanks for Visiting!
Margie Higuchi
Creative Time: 30 mins
Skill Level: Intermediate
Materials Needed:
Scrapbook Adhesives by 3L®
E-Z Runner® Micro Refillable Dispenser
Crafty Power Tape Polybag 81ft.
HomeHobby™ by 3L
Other: Patterned Paper: Creative Memories (Hanayagi Collection); Handmade Paper; Ink: Ranger Ink (Distress Oxide) + Hero Arts; Sentiment Stamp: Taylored Expressions (Mini Strips – Easter); Craft Dies: Taylored Expressions (Mini Strips Die) + Trinity Stamps (Kokeshi Kutie Set); Citrus Green, Cream, White + Black Cardstock
Click Preferred Retailers List
Save to Pinterest!
Visit our Website and Blog!
Sign up for our Newsletter so you never miss a contest or giveaway!


