
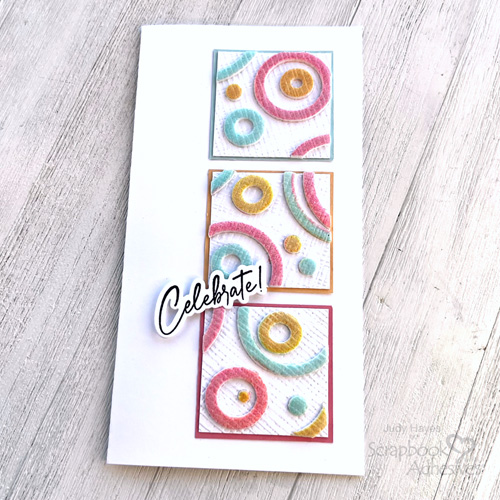
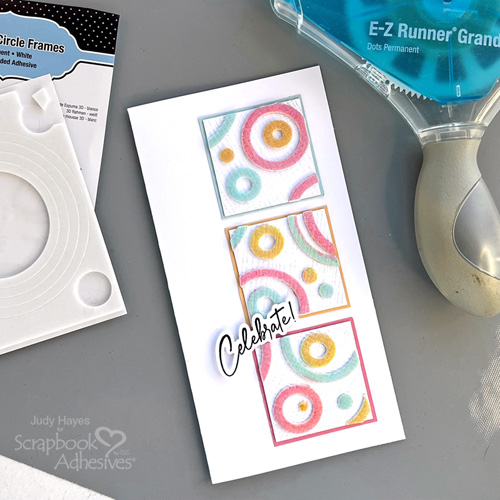
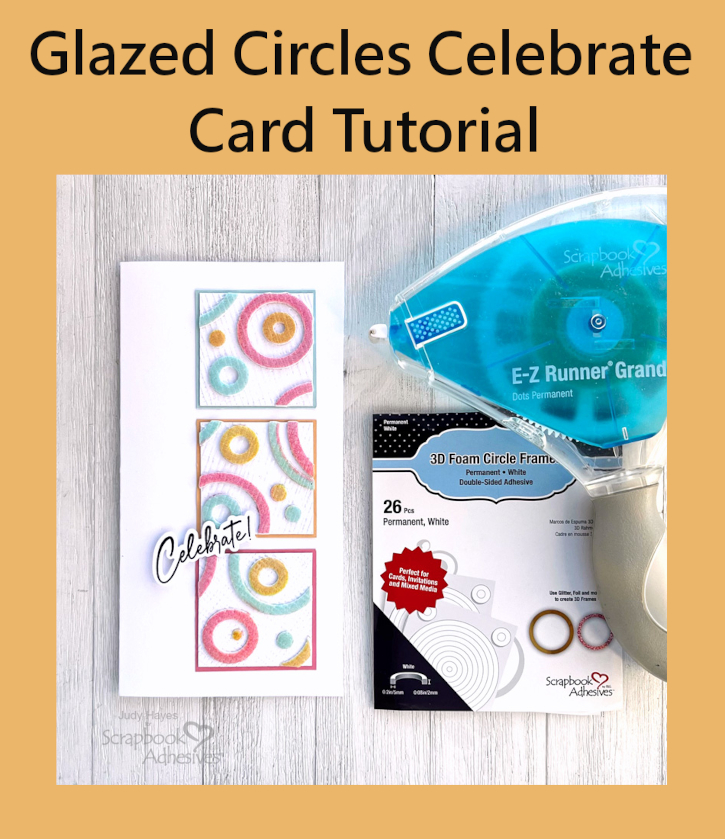
Hi, Judy here today! This Glazed Circles Celebrate Card features 3D Foam Circle Frames White to create abstract squares with circles covered with different colors of glaze. After glazing the circles, I put each square in a burlap embossing folder and passed it through at die cutting machine using low pressure sandwich. It was an experiment and I’m happy with the effect!
Cut Paper for the Glazed Circles Card
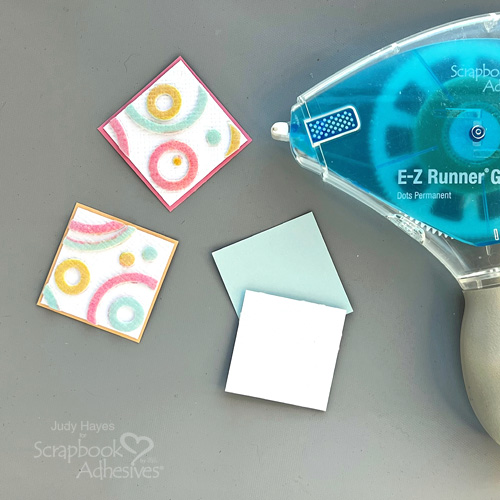
Let’s form the card base by folding in half a piece of 8 x 7.75 inch white cardstock rectangle to form a 4 x 7.75 inch card. Also, cut three 2 x 2 inch squares from white cardstock. Then cut one each of 2.125 x 2.125 inch squares from aqua, orange and pink cardstock.
Add the 3D Foam Circles to the Squares
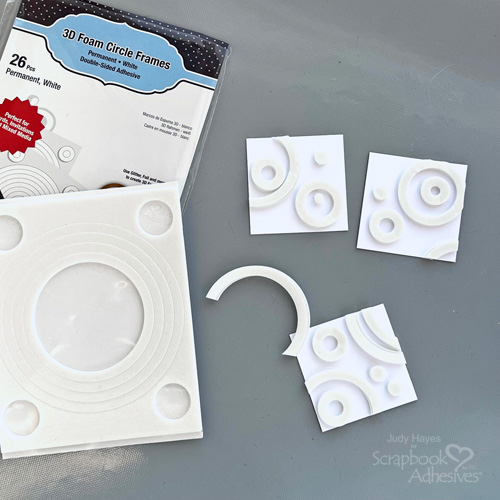
To each white 2 x 2 inch square, place full shaped and part of the 3D Foam Circle Frames White. Trim off any pieces that extend beyond cardstock edge.
Wear Your Adhesive on the Outside with Glaze
Determine what glaze color to add to the design. Peel off liner from one ring or part ring to cover with embossing glaze. Press the powder to secure. Repeat on another circle with same color glaze. Once that color has been added. Tap off excess.
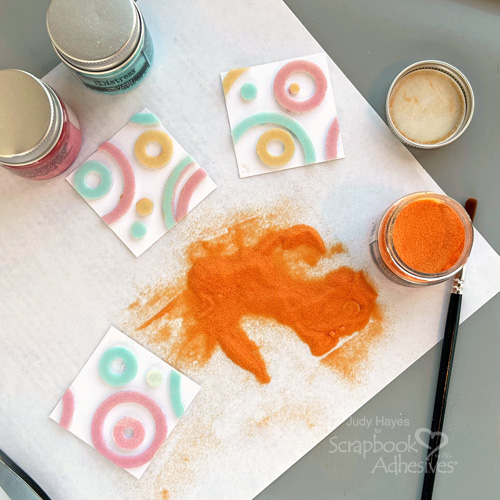
Then peel another liner to add another color. Repeat this step until all circles on all three squares are covered with glaze. Use heat tool just long enough to melt embossing glaze.
Emboss Squares
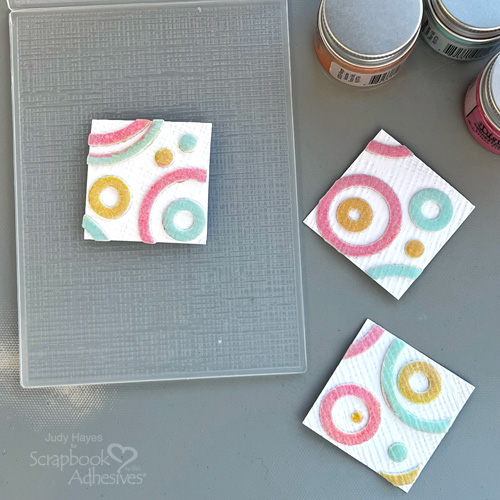
For a bit of interest, I placed one of the glazed square in a burlap designed embossing folder at an angle and pass through die cutting and embossing machine using a low pressure plate sandwich. I loved how it turned out and repeat the embossing step with the other two squares.
Mat the Squares
Using the E-Z Runner® Grand Permanent Dots Refillable Dispenser, apply it to the back of the glazed squares and mat them to aqua, pink and orange cardstock squares.
Add the Greeting
Stamp the greeting with black ink on white cardstock and cut with its coordinating die. Using the sentiment as a guide, determine the placement of the foam adhesive so that the greeting rests partly on the circles.
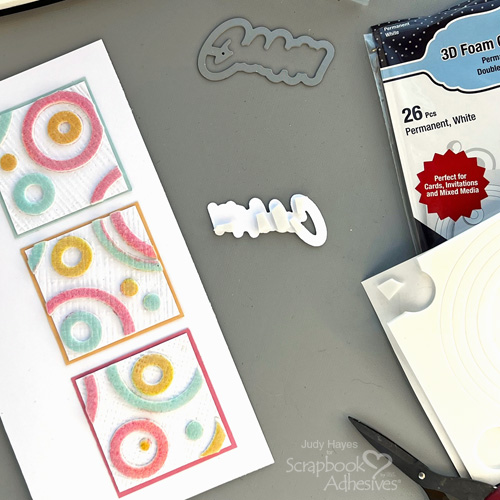
Cut pieces of the foam adhesives from the excess foam along edge of 3D Foam Circle Frames White. Place them on back of the greeting and secure the greeting to the card…and done!
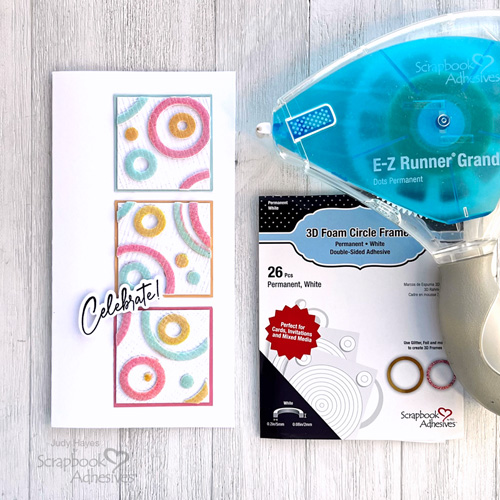
I hope that inspires you to experiment like I did with my Glazed Circles Celebrate Card!
Thanks for visiting!
Judy Hayes
Creative Time: 20 mins
Skill Level: Intermediate
Materials Needed:
Scrapbook Adhesives by 3L®
E-Z Runner® Grand Permanent Dots Refillable Dispenser
Other: Stamp: PinkFresh Studio (Happy Birthday Sentiments); Ink: Tsukineko (Versafine Onyx Black); Embossing Powder: Ranger Ink (Distress Embossing Glaze Dried Marigold, Tumbled Glass, Kitsch Flamingo); Craft Dies: PinkFresh Studio (Happy Birthday Sentiments); Embossing Folder: Honey Bee Stamps (Burlap Embossing Folder); Aqua, Orange, Pink, White Cardstock
Click Preferred Retailers List
Save to Pinterest!
Visit our Website and Blog!
Sign up for our Newsletter so you never miss a contest or giveaway!


