
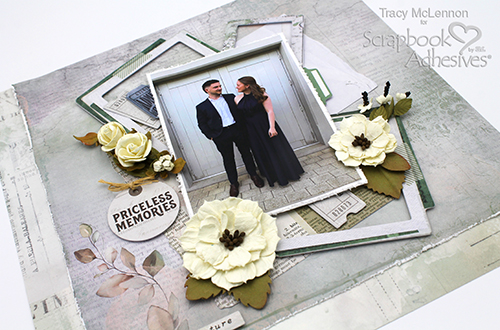
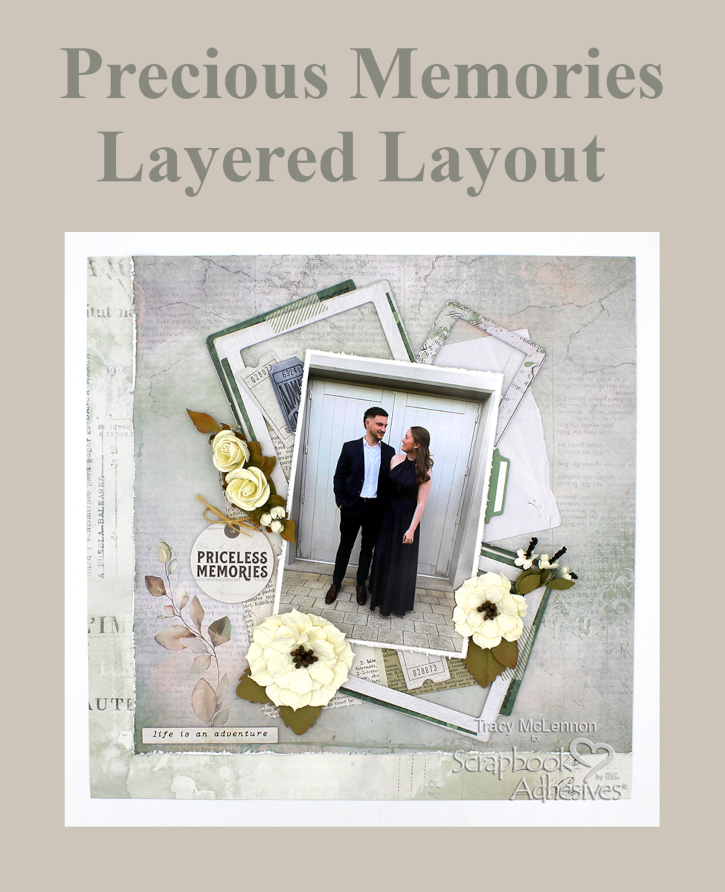
Hello scrappy friends! Tracy here and today I have a Priceless Memories Layered Layout to share. This tutorial will share how I create my multi layered layouts in just a few steps. Here are all of the details.
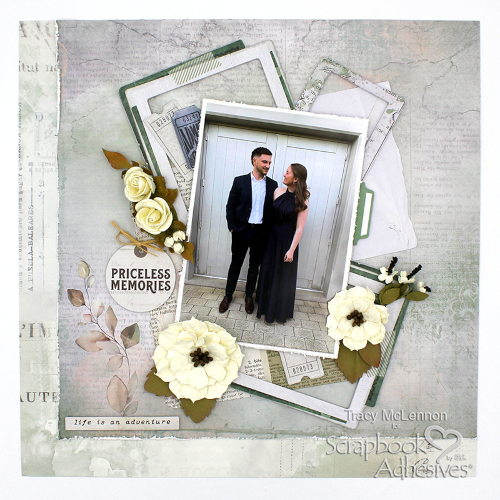
Let’s Get Started!
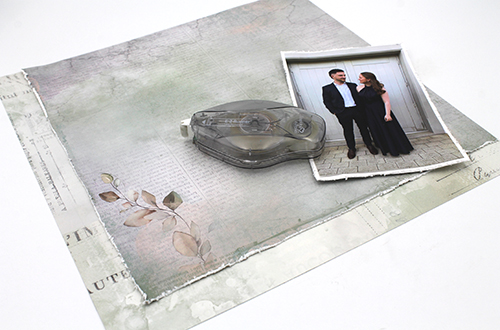
First I created a simple layered background by choosing 2 patterned papers, and cutting one down to 11×11. Distress 2 edges of the 11×11 patterned paper and adhere them together using the E-Z Runner® Ultra Strong Refillable Dispenser. Mat the 4×6 photo in white cardstock, and also distress those edges. Adhere the photo to the mat using the E-Z Runner® Ultra Strong Refillable Dispenser again.
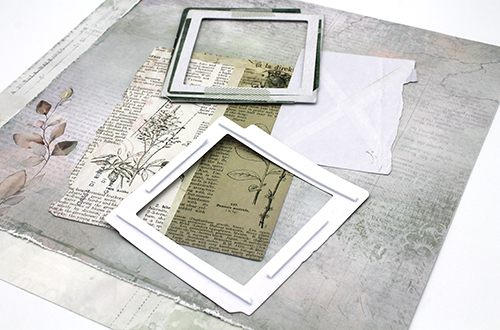
I chose a few larger ephemera pieces for the background of my lovely layered layout. The 2 bottom pieces are adhered straight to the background using the E-Z Runner® Ultra Strong Refillable Dispenser.
Helpful Hint
A little tip is to not add adhesive too close to the edges of pieces like this. This allows the edges to raise ever so slightly for a bit more dimension. Then you will add the large frames to the background using 3D Foam Strips.
Next step is to add the matted photo to the middle of the layout. I used 2 layers of 3D Foam Squares White Mix to raise the photo above the frames just slightly. Also add the sentiment tag using 3D Foam Squares White Mix.
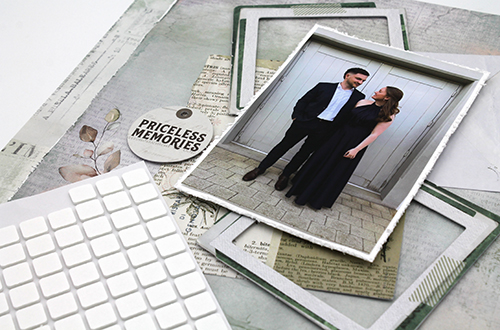
Now is the time to start adding the smaller ephemera pieces around the matted photo. For this I used a combination of 3D Foam Squares White Mix and Thin 3D Foam Squares White Mix. This will again add dimension between all of the layers of this lovely layered layout.
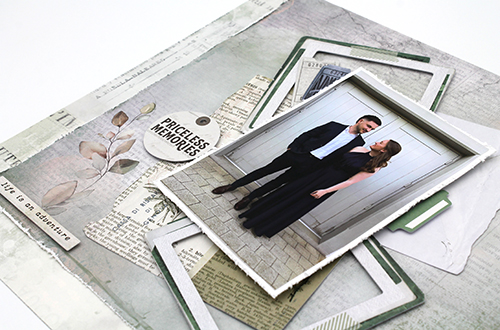
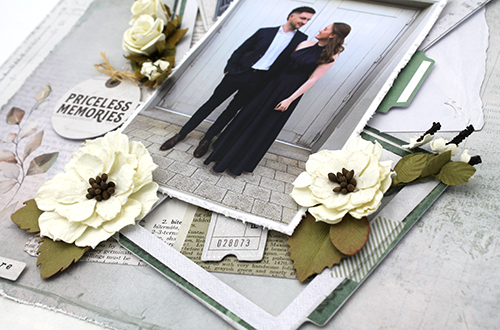
My final step is almost always to add the very dimensional flowers. Have an idea of where you would like them, but them add them in at the end. For adding anything more textured like these flowers I use Adhesive Dots 3D. This are thick and smooshy, perfect for adhering to oddly shaped items like flowers and stems. Also add a burlap string bow to the sentiment tag.
Thanks so much for stopping by!
Tracy
Creative Time: 45 Minutes
Skill Level: Intermediate
Materials needed:
Scrapbook Adhesives by 3L®:
3D Foam Squares White Mix
Thin 3D Foam Squares White Mix
E-Z Runner® Ultra Strong Refillable Dispenser
3D Foam Strips
Adhesive Dots 3D
Other: Paper Distressor; Cardstock- White; 49 & Market Collection; Prima Flowers
Save to Pinterest!
Visit our Website and Blog!
Sign up for our Newsletter so you never miss a contest or giveaway!





