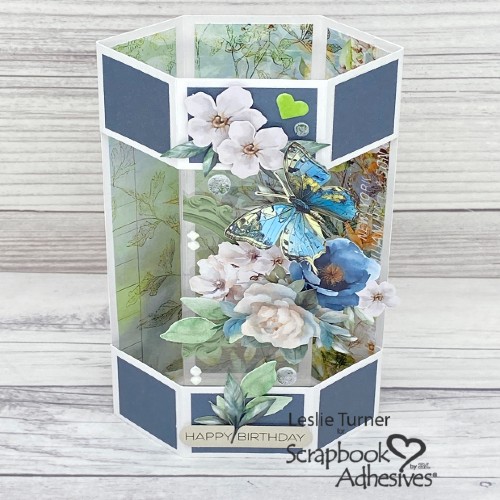
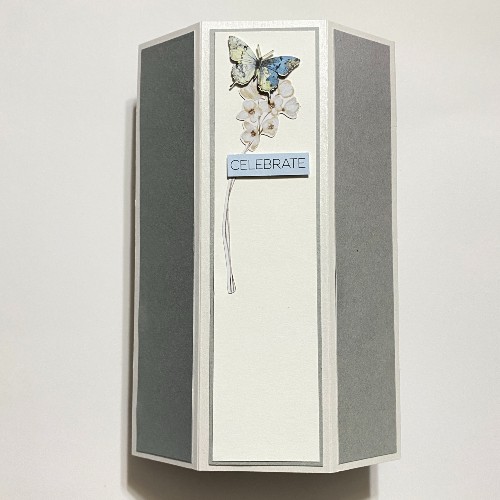
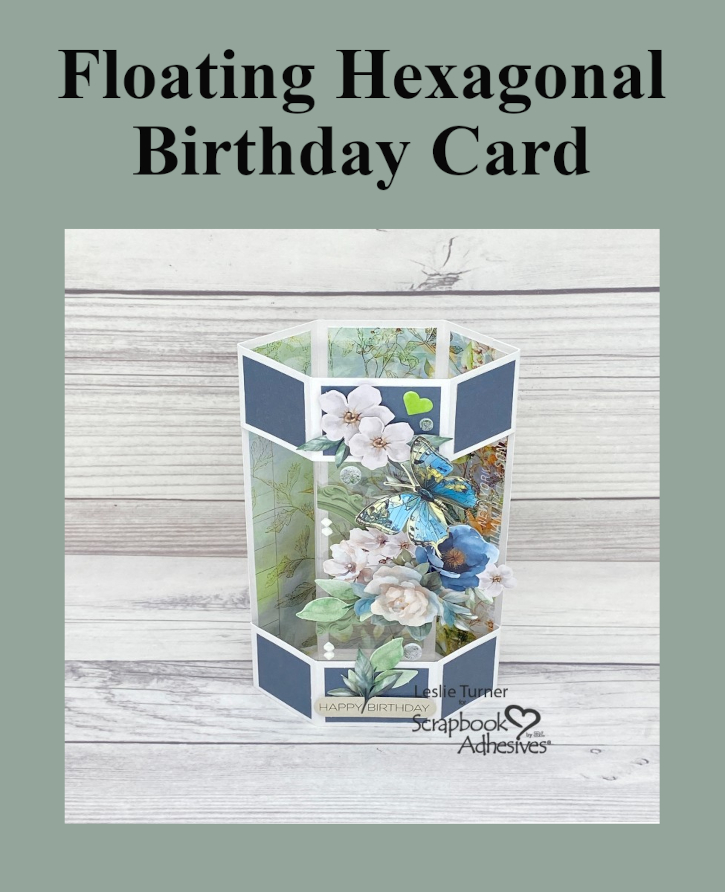
Hey everybody, happy weekend – hopefully you’re enjoying this gorgeous Fall weather! I love having extra birthday cards in my stash… how about you? Leslie here with you today, sharing a tutorial for making a pretty Floating Hexagonal Birthday Card. This fun fold features patterned and solid papers along with die cuts from Uniquely Creative. And of course, I also used some amazing adhesives and a variety of other products from Scrapbook Adhesives. So let’s get started!
Prepare Card Base
Firstly, cut the card base at 7″ x 10-1/2″ and score at 1-1/2″, 3-1/2″, 5″, 6-1/2″ and 10″ on the long side.
Rotate the card base 90 degrees counterclockwise so the 1/2″ section is at the top. Score at 1-1/2″ and 5-1/2″ down to the fourth score line, then cut on those score lines.
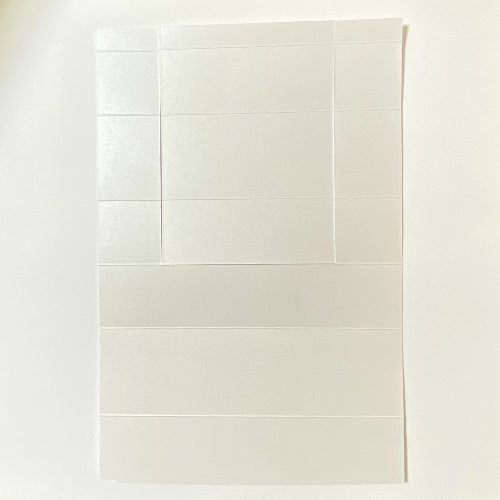
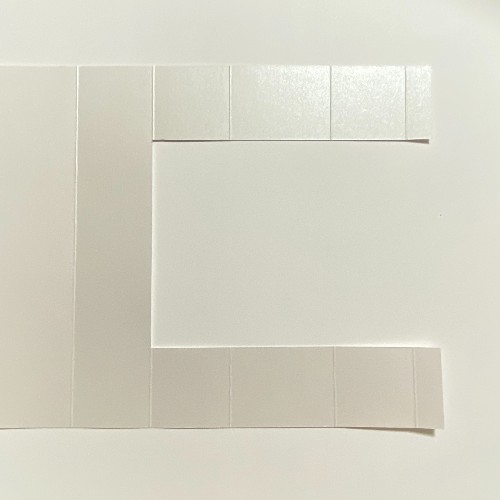
Fold the two 1-1/2″ sections backwards out of the way and cut across the fourth score line to remove the center section. Turn the card base sideways, and it should now look like this.
Cut Layering Panels
Secondly, cut the layering panels from your choice of patterned and/or solid paper:
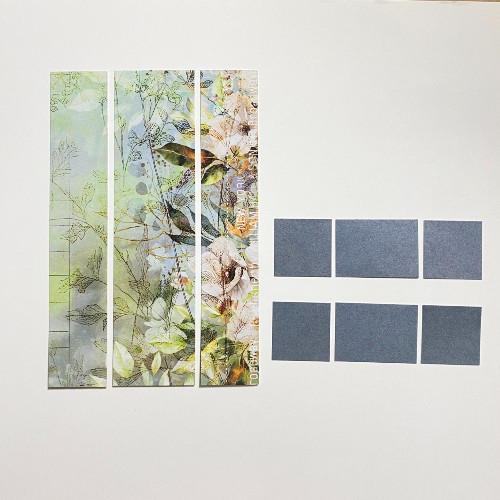
1. For the inside back, you’ll need two 1-1/4″ x 6-3/4″ and one 1-3/4″ x 6-3/4″ cut from patterned paper. Note: If you are using a continuous pattern, cut one 1-1/4″, then the 1-3/4″, and then the other 1-1/4″. This will maintain continuity in the paper design.
2. For the horizontal top and bottom sections, cut two 1-3/4″ x 1-1/4″ and four 1-1/4″ x 1-1/4″ from solid paper.
Form Hexagonal Shape & Adhere Panels
Thirdly, apply E-Z Runner® Ultra Strong Refillable Dispenser to the 1/2″ tabs on the horizontal top and bottom sections. Fold the card base in half, lining up the top/bottom and side edges, and press the tabs down to adhere. This forms the hexagonal shape of the card.
Now use the E-Z Runner® Ultra Strong Refillable Dispenser again to adhere all of the patterned paper panels.
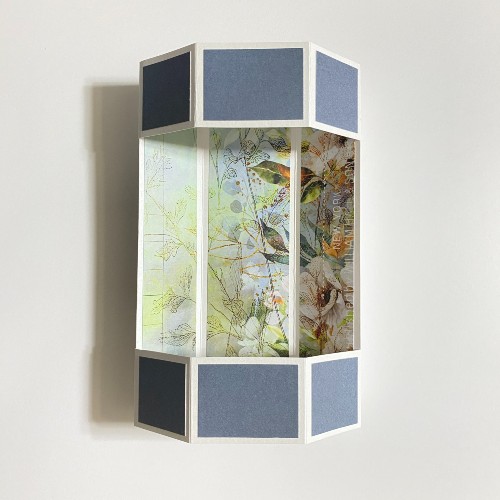
When adhering the inside back panels, the tabs on the right side will be covered up with the patterned paper.
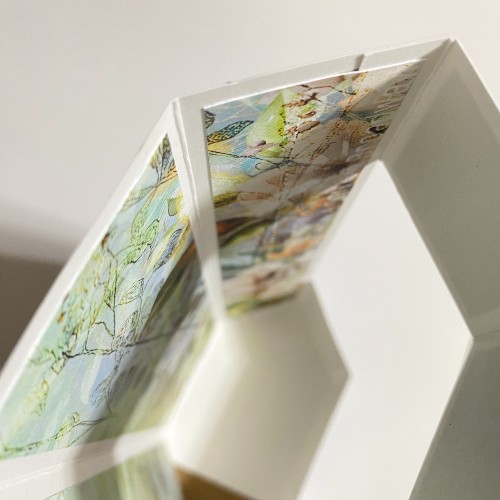
Add Acetate
You’ll need a panel of acetate cut at 1-15/16″ x 6-7/8″ adhered vertically in the center section of the card front. The E-Z Runner® Ultra Strong Refillable Dispenser worked very well for this. Most of the embellishments will be adhered to this acetate so they appear to be floating, hence the ‘Floating Hexagonal Card’ name.
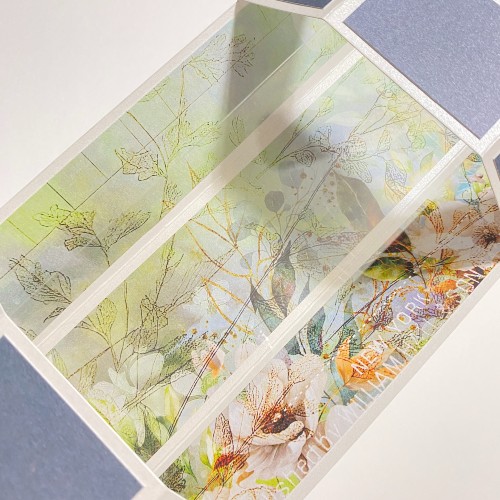
Embellish Card
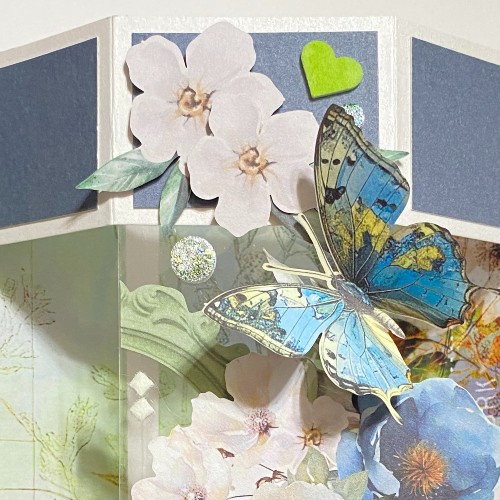
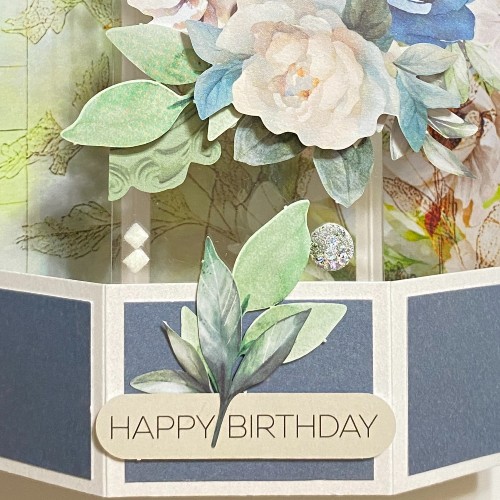
Using a mix of die cuts, embellish the floating hexagonal birthday card front as desired. Glue some of the embellishments flat. Grab your Thin 3D Foam Squares White Mix and 3D Foam Squares White Mix to give some of them dimension. Also use our new 3D Foam Squares 3mm White Mix for a bit more dimension!
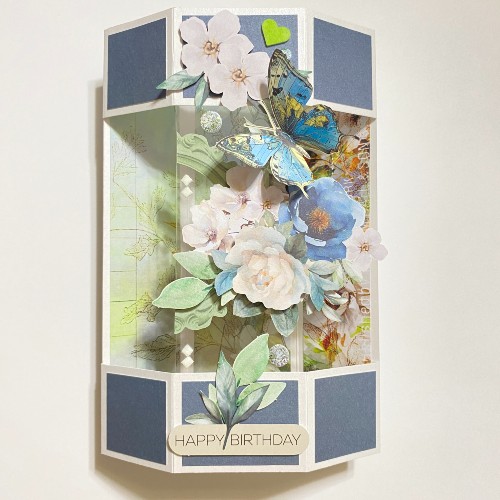
Add some additional solid layering panels to the back with Dual Tip Glue Pen. Cut these the same size as the inside patterned paper panels, and include a few more die cuts. One adhered flat with Dual Tip Glue Pen and two popped up slightly with Thin 3D Foam Squares White Mix is the perfect touch.
Wear Your Adhesive on the Outside
Can’t forget my favorite ‘Wear Your Adhesive on the Outside’ technique used for three different kinds of embellishments:
1. Green flock and 3D Foam Heart: Simply remove the liner, apply the flock, and press with your finger to secure.
2. Metallic Transfer Foil Sheets Celebrate Colors and center circles of several 3D Foam Circle Frames White: Crumpled silver foil was used first and then blue was used to fill in any remaining areas. As above, remove the liner, apply the foil, and press with your finger to secure.
3. White flock and 3D Foam Squares Micro White (affixed in diamond orientation): Yep, you guessed it… remove the liner, apply the flock, and press with your finger to secure.
Thanks so much for visiting!
Leslie
Creative Time: 60 mins
Skill Level: Intermediate
Materials Needed:
Scrapbook Adhesives by 3L®
E-Z Runner® Ultra Strong Refillable Dispenser
Thin 3D Foam Squares White Mix, 3D Foam Squares White Mix, 3D Foam Squares 3mm White Mix
3D Foam Hearts, 3D Foam Circle Frames White, 3D Foam Squares Micro White
Metallic Transfer Foil Sheets Celebrate Colors
HomeHobby™ by 3L
Dual Tip Glue Pen
Other: Cardstock/Paper: CutCardStock Stardream Metallic Crystal cardstock, Classic Crest 80# Solar White cardstock, Uniquely Creative Delighted Curiosities 12×12 Collection Pack, Coordinating Cardstock Bundle, and Creative Cuts
Accessories: Stampin’ Up! Paper Trimmer, green and white flock
Click Preferred Retailers List
Save to Pinterest!
Visit our Website and Blog!
Sign up for our Newsletter so you never miss a contest or giveaway!