Hi, friends! Do you like to make your own background papers for your handmade cards? Teri here to show you to make Beautiful Day Card using Creative Photo Corners and 3D Foam Products! It’s so fun to see it come together and to use it on a card! Let’s get started.
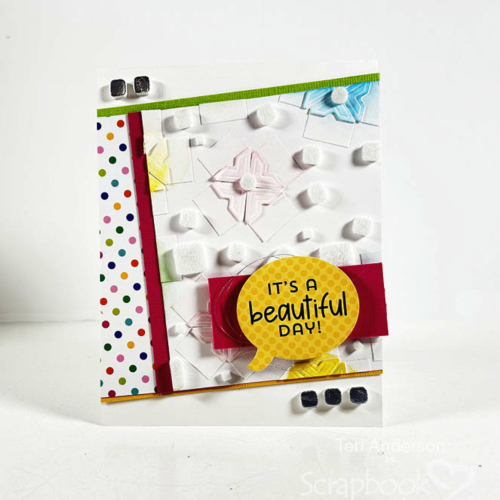
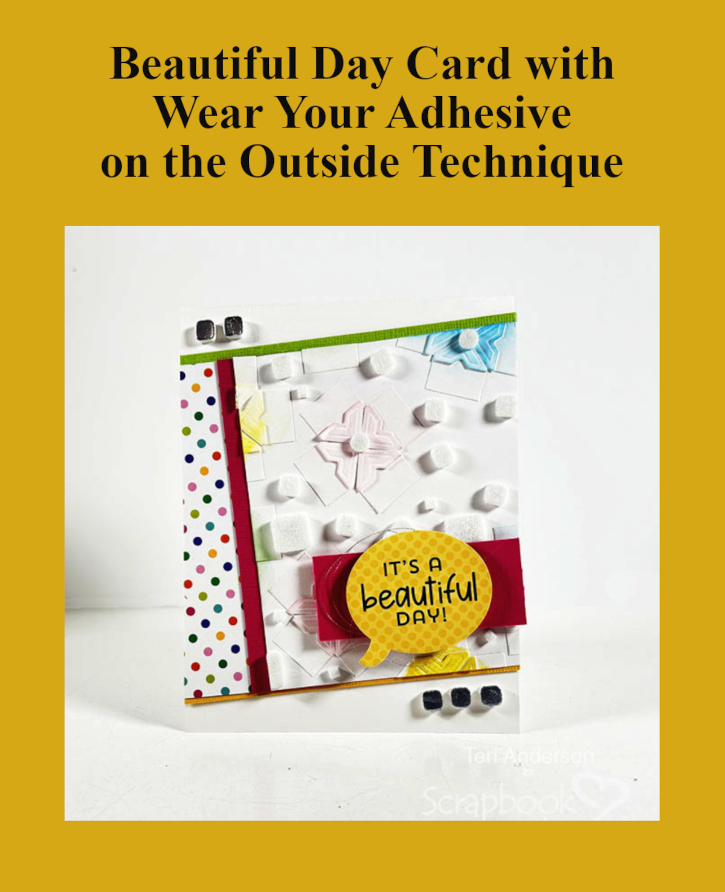
Beautiful Day Card with Creative Photo Corner Flowers
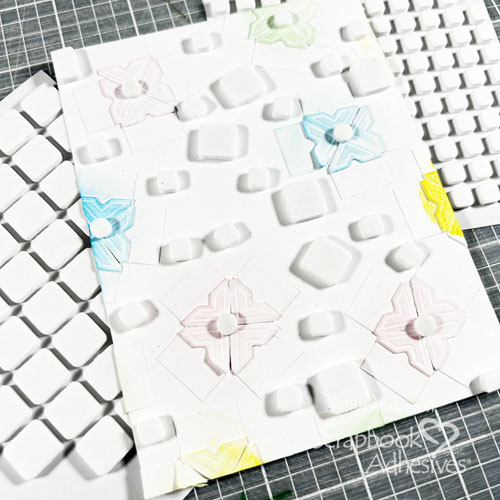
Start by cutting a piece of cardstock that’s a bit bigger than you need. Take several Creative Photo Corners White and arrange them together so they look like flowers. Keep doing this until your cardstock is filled.
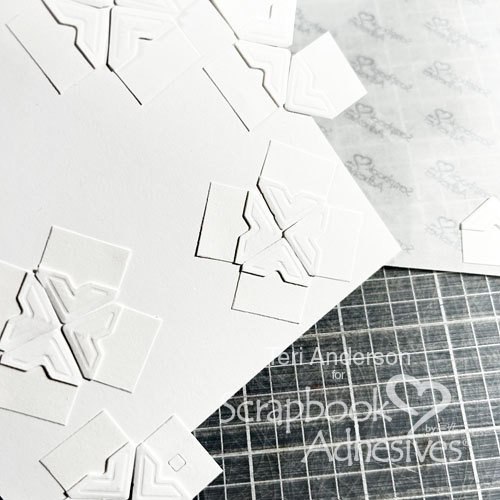
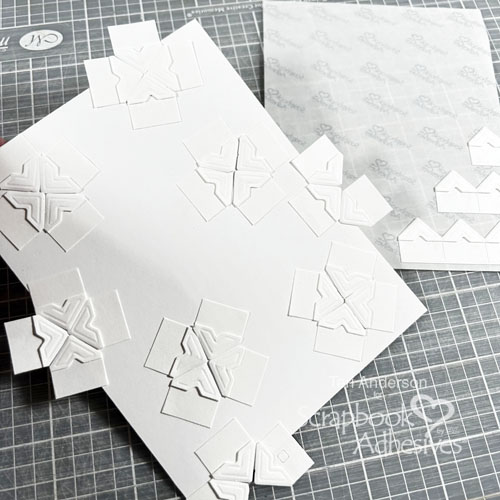
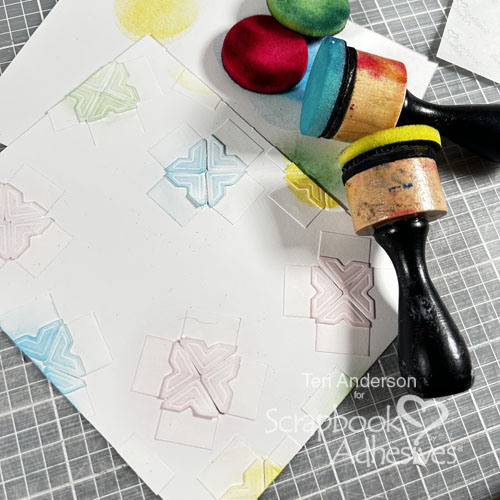
Use your scissors to cut off any corners that run off your paper panel. Use an ink blending tool to lightly apply ink to the middle of your flowers.
Wear Your Adhesive on the Outside with 3D Foam Squares
Apply small 3D Foam Circles White Mix to the middle of each of your flowers. Add several 3D Foam Squares 3mm White Mix of various sizes around the flowers. Apply flock or glitter onto the 3D Foam pieces. Simply remove the top liner, cover with flock/glitter and press to secure. Tap off excess and done!
Adhere your Panel to your Card
Turn your panel sideways. Then add some cardstock and patterned paper strips to it to make one big paper panel. Mount it onto a card at an angle with the Crafty Power Tape Polybag 81ft. Trim the excess with your scissors.
Add the Sentiment
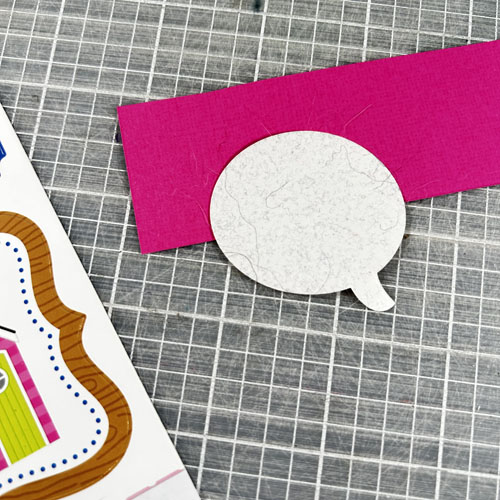
Cut a strip of cardstock. Add it to you to your card. To adhere it in place, simply add some additional 3D Foam Squares 3mm White Mix in the open spaces of your card. Place it right on top of them. Pick a sticker sentiment and alleviate the stickiness tapping on your jeans. Set it aside.
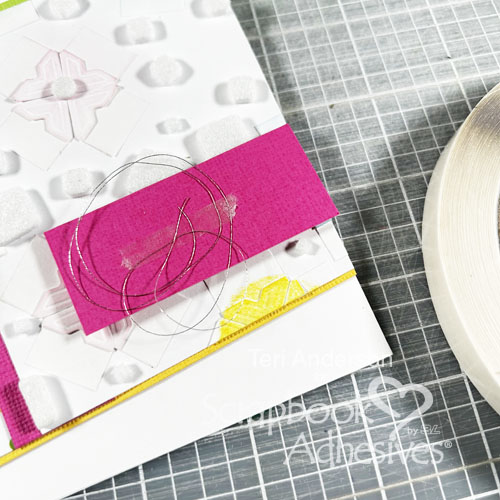
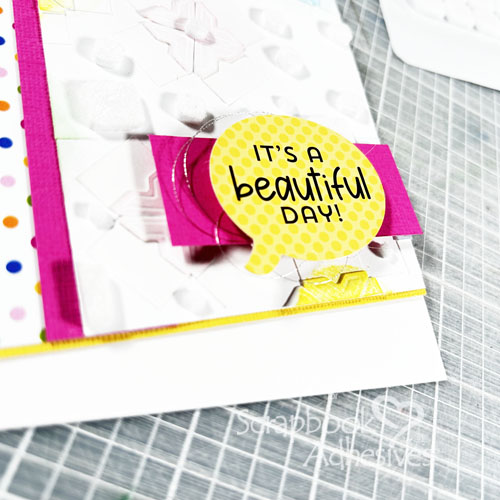
Place a piece of Crafty Power Tape Polybag 81ft on your cardstock strip and place some thin metallic thread to it. Allow the thread to go off the edges. Mount your sentiment sticker to the card with additional 3D Foam Squares 3mm White Mix.
Finish the Beautiful Day Card
To finish, add a few 3D Foam Squares 3mm White Mix to the top and bottom of your card. Remove the top liners and apply a piece of platinum foil from the Metallic Transfer Foil Nature Colors, color side facing you over the exposed adhesive. Rub to transfer the color and peel to reveal the shine!
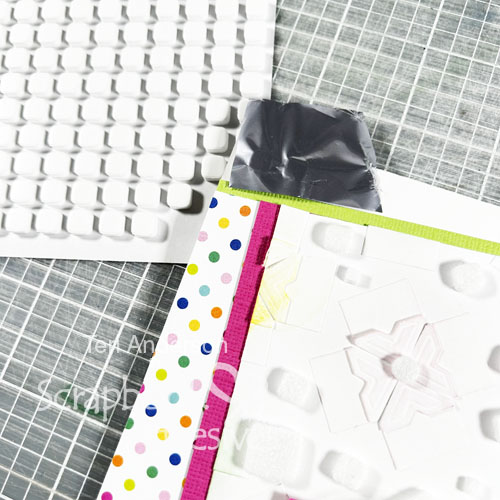
I hope you enjoyed today’s Beautiful Day Card project and are inspired to make your own background paper with these ideas!
Happy Creating!
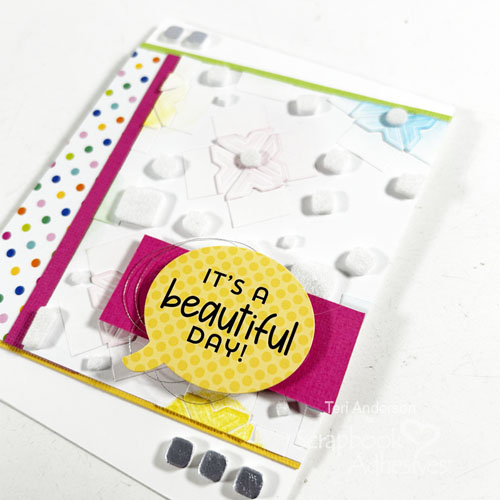
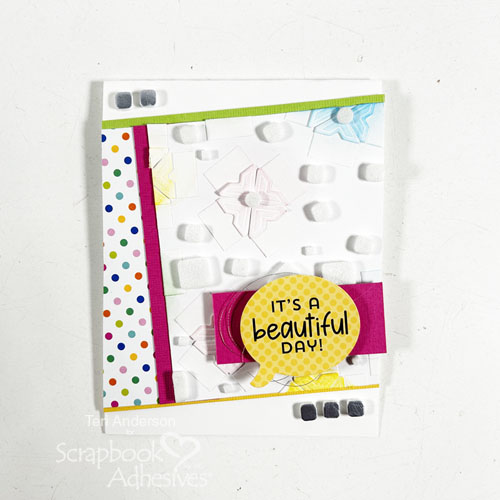
Creative Time: 60 minutes
Skill Level: Intermediate
Materials needed:
Scrapbook Adhesives by 3L®:
3D Foam Squares 3mm White Mix, 3D Foam Squares Micro White and 3D Foam Circles White Mix
Crafty Power Tape Polybag 81ft
Metallic Transfer Foil Sheets – Nature Colors
Other: Cardstock: Neenah (White); Patterned Paper, Sticker and Cardstock: Doodlebug (Summer Fun Collection); Silver Floss: Krenik; Inks: Ranger; Flock: Stampendous
Save to Pinterest!
Visit our Website and Blog!
Sign up for our Newsletter so you never miss a contest or giveaway!