
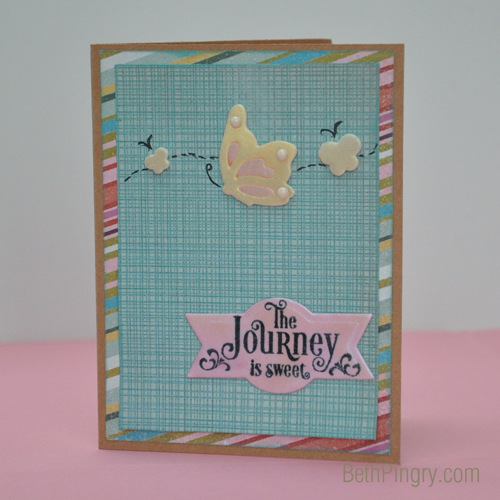
Hi it’s Beth, today I have a new technique for 3D Foam Creative Sheets. These are pieces of our 3D Foam that are not cut, so that you and I can get creative! These 3D Foam Creative Sheets can be punched and die cut, and of course you can use scissors. Let me show you how I made this card.
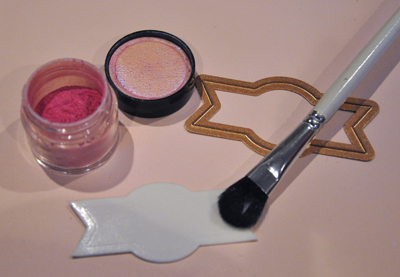
First I die cut the white 3D Foam Creative Sheet (the pack of 2 comes with one white and one black sheet). You can see that it embosses the thin metal dies too!
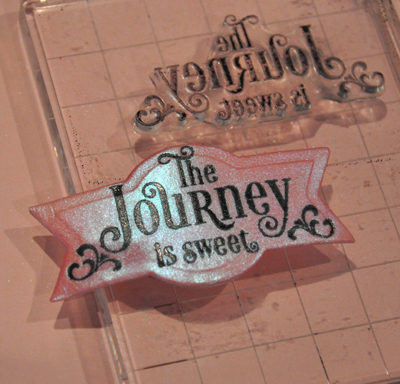
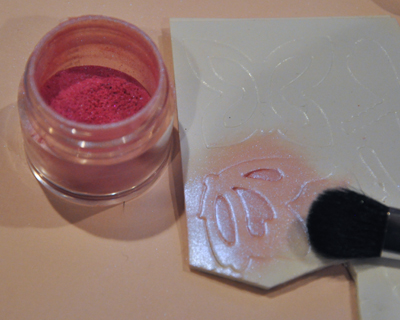
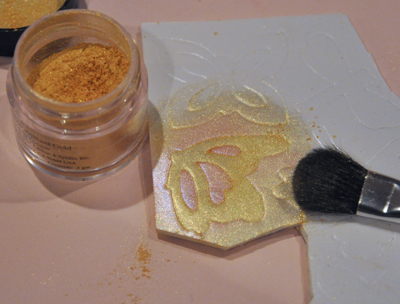
Remove the top liner paper and brush on pigment powder.
When the surface is covered, stamp the sentiment onto the die cut.
For the large butterfly from the 3D Foam Gardens Shapes set, remove the liners from the inside of the design and add pigment powder.
Remove the rest of the liner and add a second color of pigment powder.
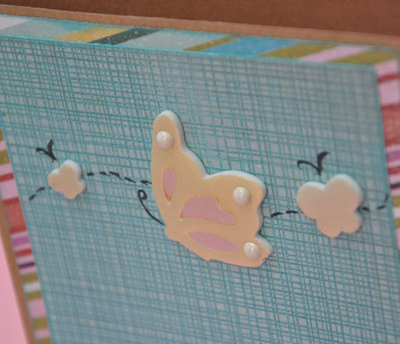
Next I added enamel dots to the butterfly, then assembled my card. I added antennae and lines with a pen.
Thanks!
Supplies Used:
- Scrapbook Adhesives by 3L: 3D Foam Creative Sheets, 3D Foam Garden Shapes, Mounting Squares
- A Jillian Vance Design: Charming Photos stamp and die set
- Basic Grey: RSVP paper collection, Candy Buttons
- Jacquard: Pearl Ex Pigment Powders
- Imagine Crafts/Tsukineko: Stazon Jet Black ink
- Kraft Cardstock, black pen
By Bunny Vance March 1, 2014 - 10:35 am
So pretty! I love the shimmer of the pigment powder!
By Delama Starling March 6, 2014 - 2:35 am
I like the two tags that you made is very adorable. I appreciate you for sharing some of creative with us.
Thank you
Delama