
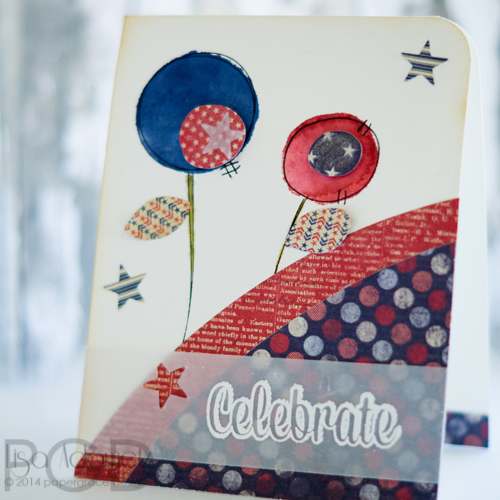
Hi my friends! It’s Lisa here with you today and I have fun and funky little card to share with you today to start you off with your pre-Independence Day celebrations. We LOVE all things Patriotic in my house so this card may just be put up as a decoration. 🙂
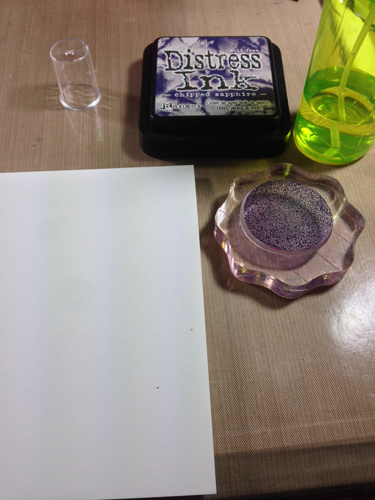
For this card, the solid circle images were stamped using Distress Inks that were inked up, spritzed lightly with water and THEN stamped. That gives the finished image that kind of watercolored, less “finished” look.
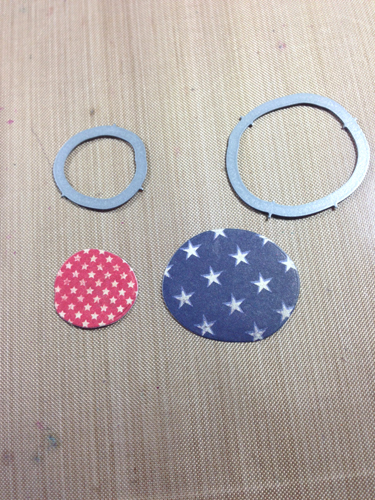
The second stamp (which is the scribble circles) is then stamped over that for both the blue and red solid images in Black Archival Ink. There are small hashtag images or dash lines which can also be used at this time.
I die cut the inner circles out of patterned paper next.
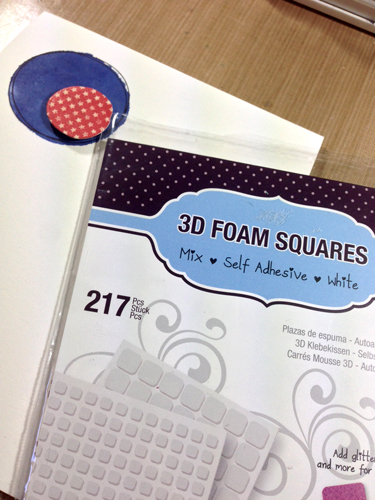
Then I popped up the center circles using the 3D Foam Squares White Mix. I like having these on hand because sometimes I’m just not sure what size squares I want to use for dimension. The mix-packs take out the guess work.
After stamping on the stems of the flowers and die-cutting some petals it was time to adhere the petals. I used my favorite adhesive for this MyStik® Permanent Strips Adhesive.
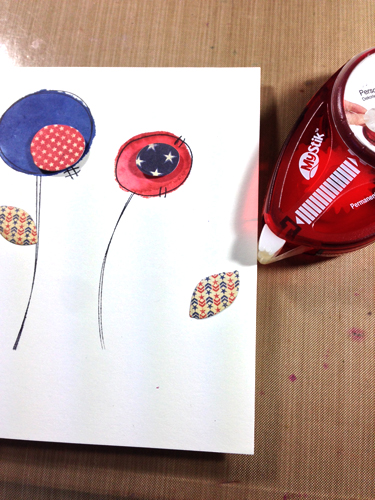
I used a curved die and more patterned paper to create interest at the corner of the paper. I used the MyStik®, once again, to keep it in place.
In the meantime I also stamped my sentiment (which I cut apart) in Versamark on cardstock weight vellum, used white embossing powder, and heat set it. After doing this, and prior to attaching/wrapping the sentiment, I decided to die-cut a few stars. I die-cut a few out of the paper pack and one out of the piece of vellum where the sentiment was stamped.
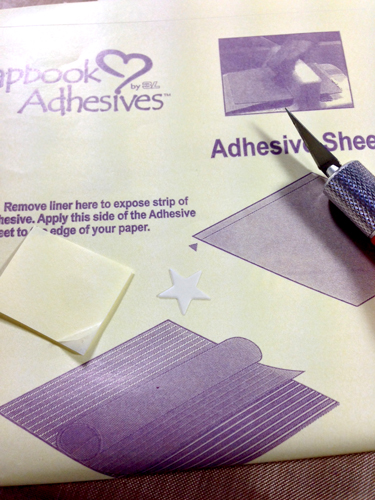
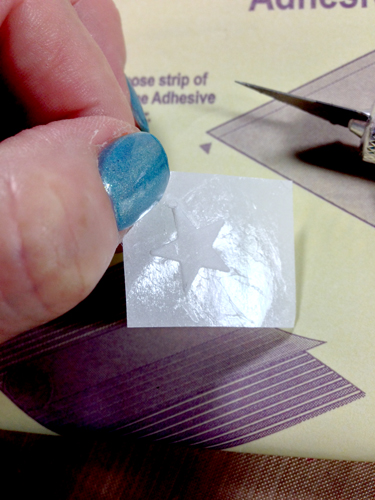
Due to the shape and sheerness (at least of the vellum star) I decided to use the Adhesive Sheets to adhere these down. I have a large 12 x 12″ piece that I love to use even for the tiny pieces because I can use it for everything. This is by *far* the best adhesive for those tiny, intricate and detailed things you just don’t know how to get to stick! And it works amazing for vellum!
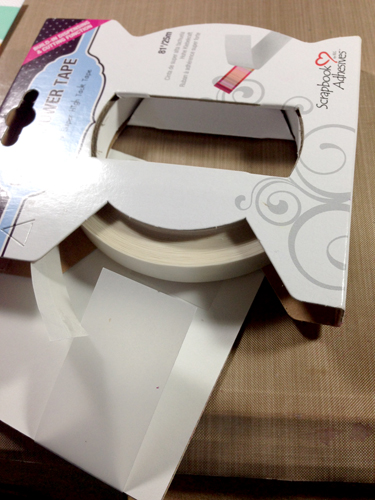
Now I just place my stars where I want them and wrap my sentiment. Of course, to get the sentiment to stay where I want it, I’m breaking out the big guns: The Crafty Power Tape. 🙂
And there you have it! A super cute, funky, fun and very festive card for Independence Day. I added a little bit of ink to the edges, but it’s totally not necessary. This card is super easy to make and looks great with all the patterns of red, white, and blue. Hope you break out your adhesives, patterned paper, and have some fun on YOUR July 4th. It’s less than a week away.
Hope you’re having a wonderful weekend.
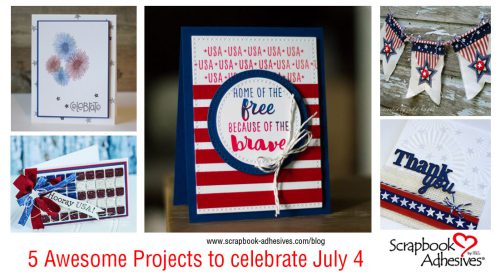
Click to see more patriotic projects!
Hugs,

Supplies:
Scrapbook Adhesives by 3L®:
MyStik® Permanent Adhesive
Adhesive Sheets 12×12”
3D Foam Squares White Mix
Crafty Power Tape 81’
Other Supplies:
Simon Says Stamp: Scribble Flowers Stamp & Die; A2 Card Curved Edge Die
Avery Elle: Celebrate (stamp)
Ranger: Distress Inks, Jet Black Archival Ink, White EP
Authentique: Pride (patterned paper pack)
Tsukineko: Versamark
Bazzill: Cardstock weight vellum
Visit our Website and Blog!
Sign up for our Newsletter so you never miss a contest or giveaway!


