
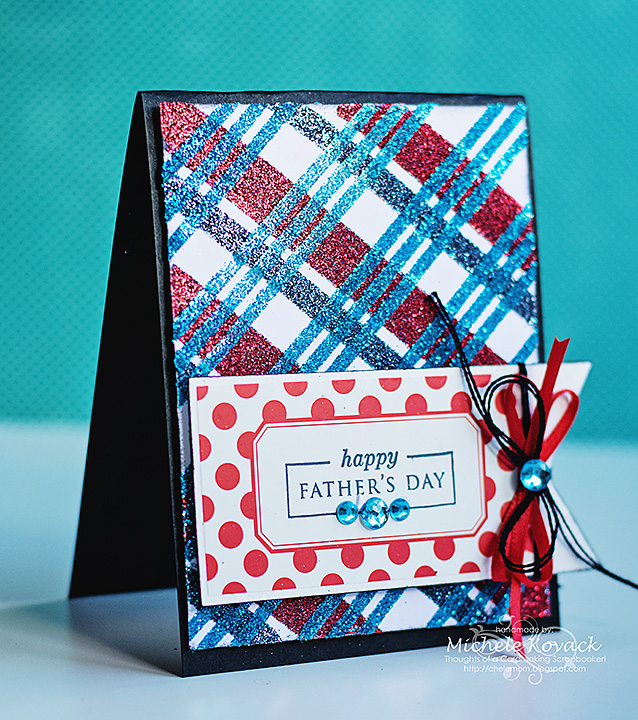
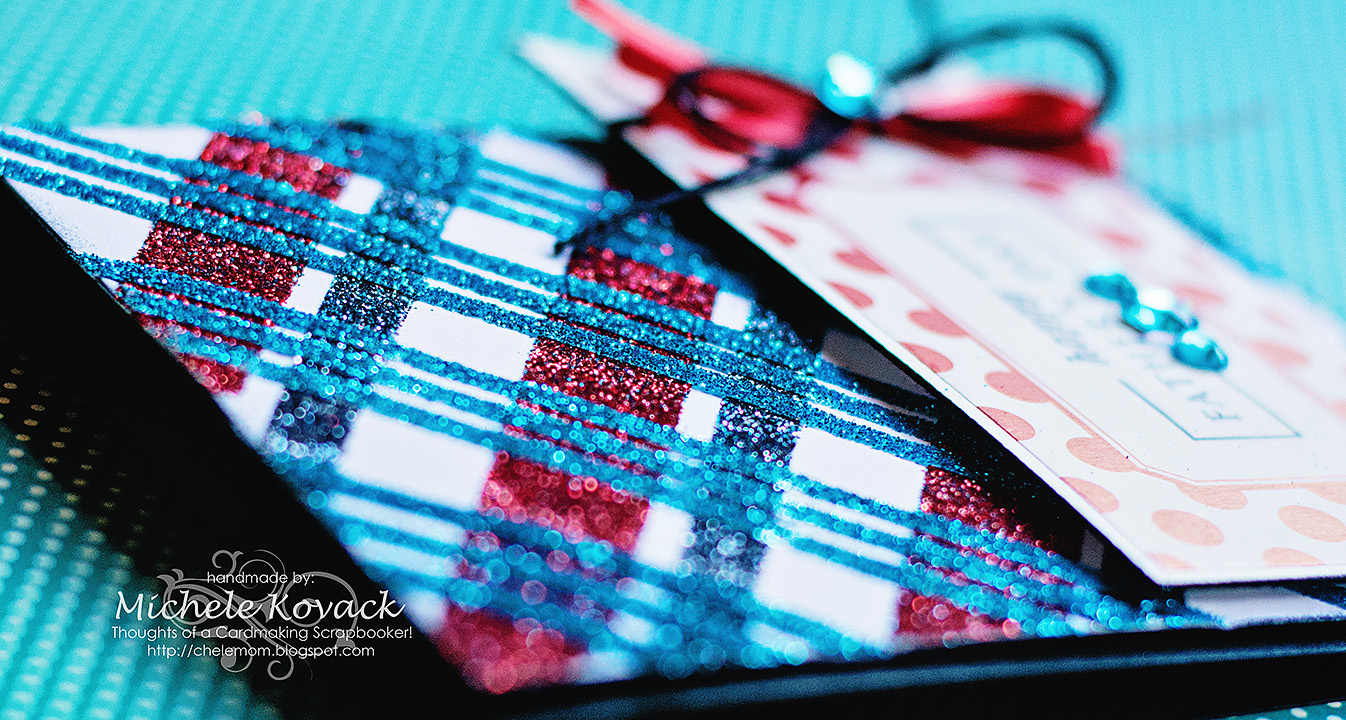
Good morning! Michele here with two cards to share with you using a fun technique! I’ve created my very own plaid background using Home and Hobby by 3L Premium Double-Sided tape! I have a masculine version as well as a more feminine version.
The first was a card I had created for Father’s Day.
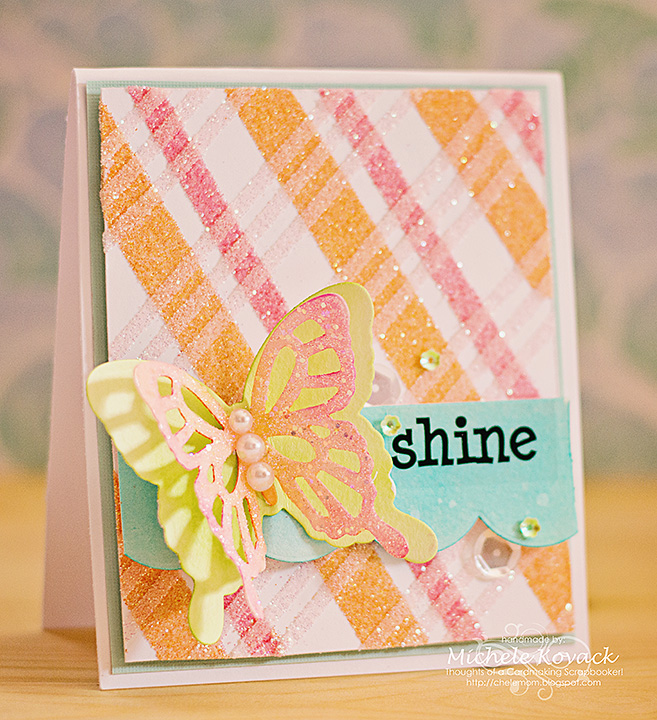
 The second card is a more girly version and would be perfect for a graduation or new job!
So here is how I did it. First grab 3 sizes of the Premium Double-Sided Tape. (1/2, 1/4, and 1/8 inches) (Next time I should take the picture before taking them out of the package! LOL!)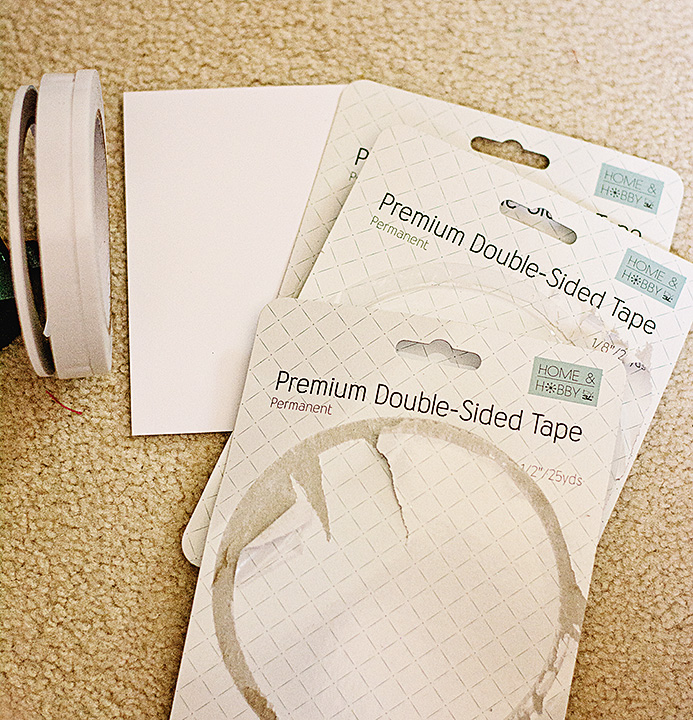
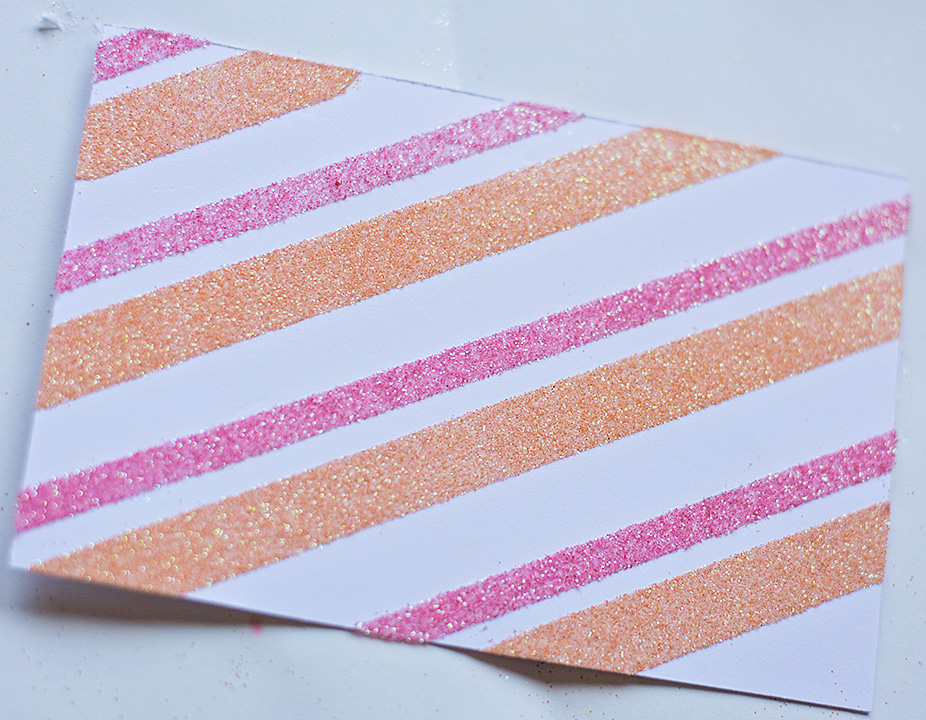
I adhered the widest tape down first. I went over the edge and simply took scissors and cut off any excess.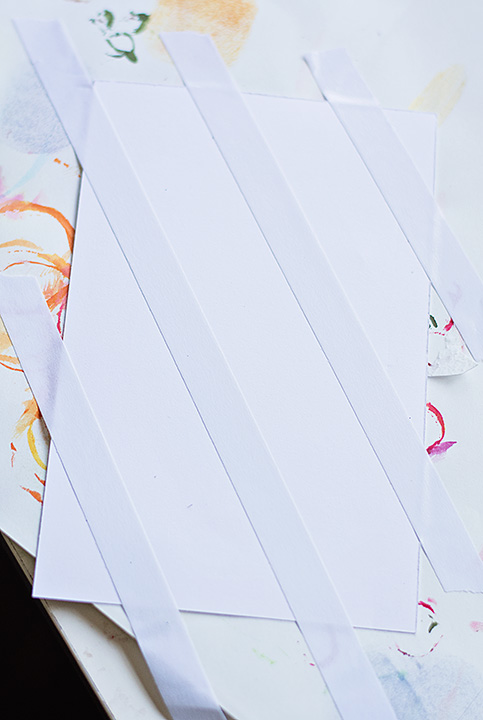
I love my glitters, so these were the 3 colors I chose for this project.

These tapes are perfect for adhering glue or flock because they are sticky on both sides! No messy glues to contend with!
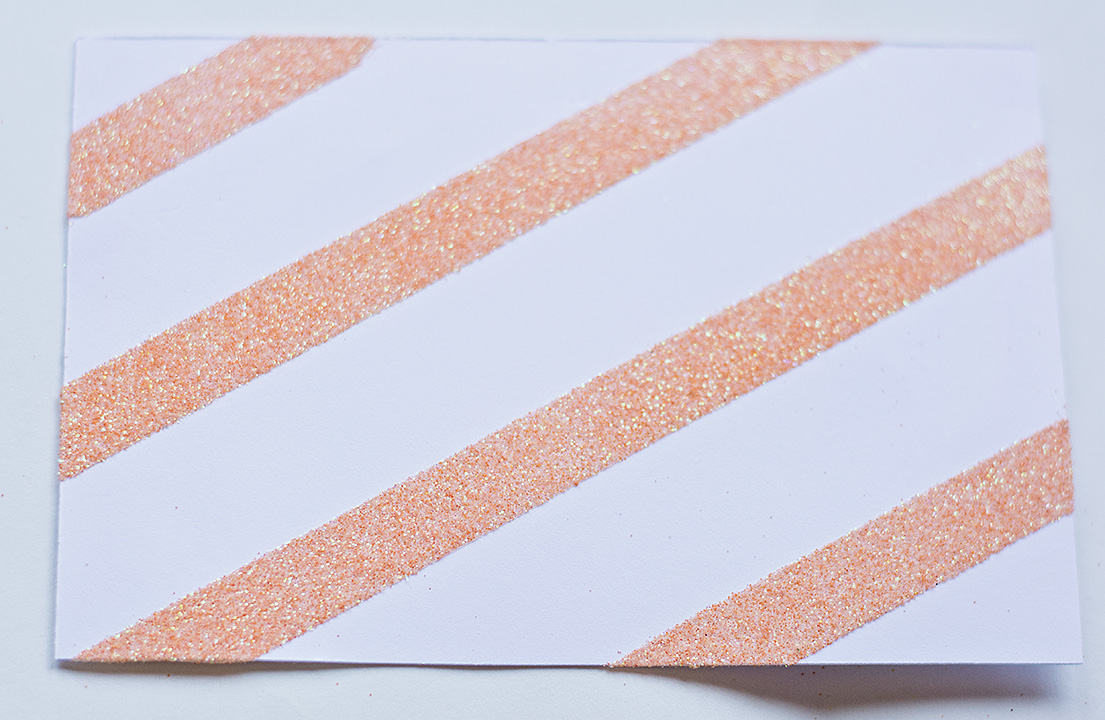
I laid my next widest strip down….
And of course sprinkled with glitter. If any glitter gets in between, or on your other strip, just simply take a clean dry paint brush, and brush the excess off.
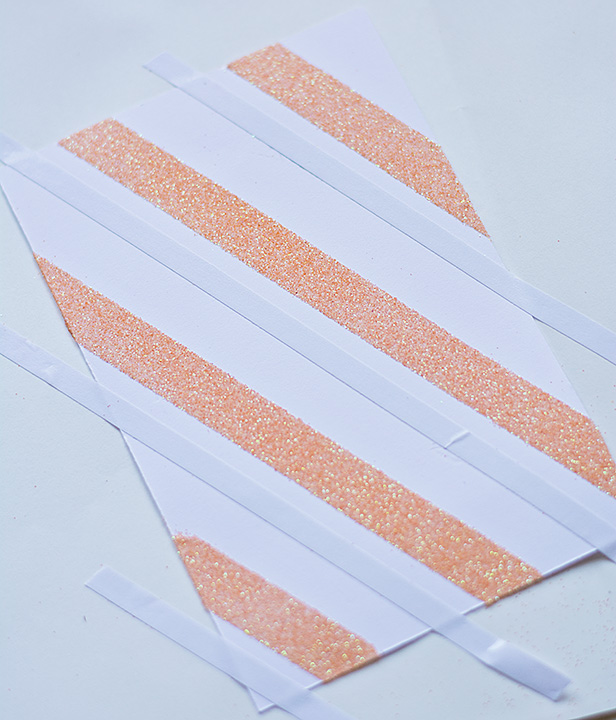
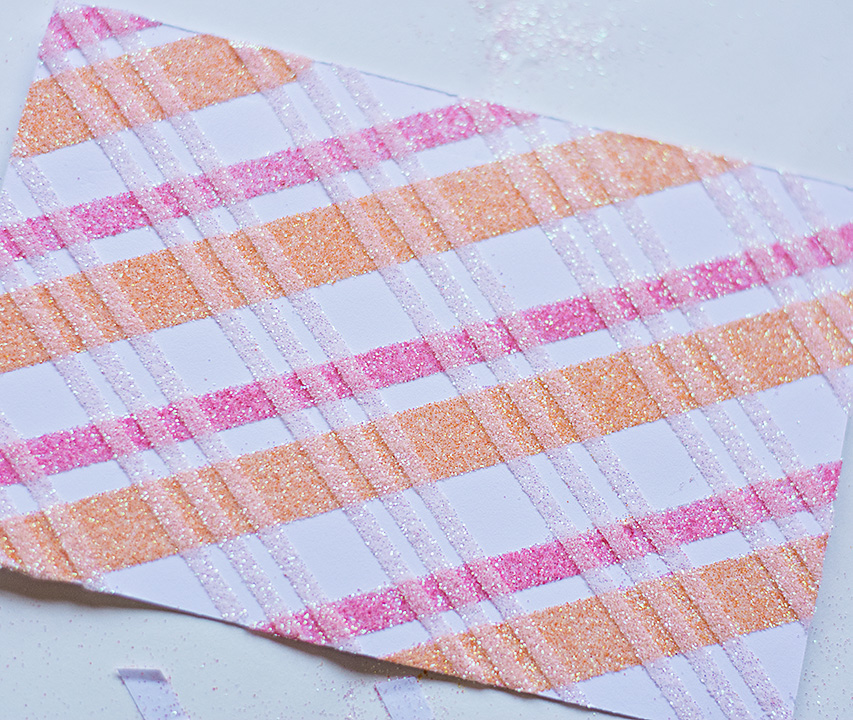
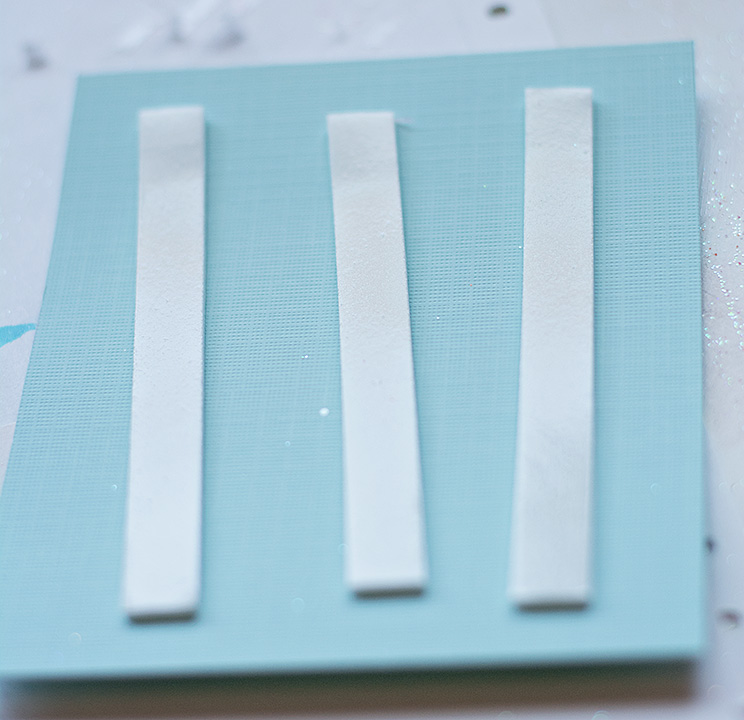
My final step was to adhere the thinnest strips in the opposite direction. 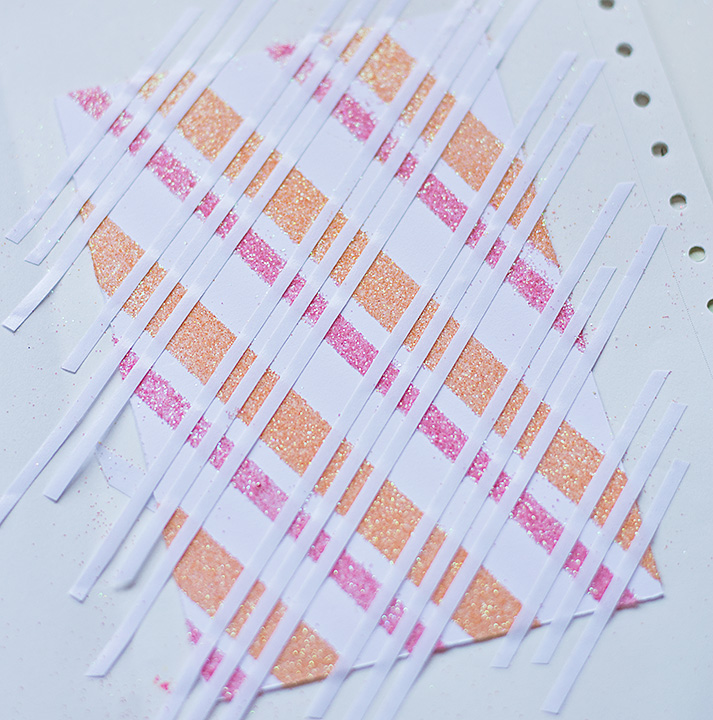
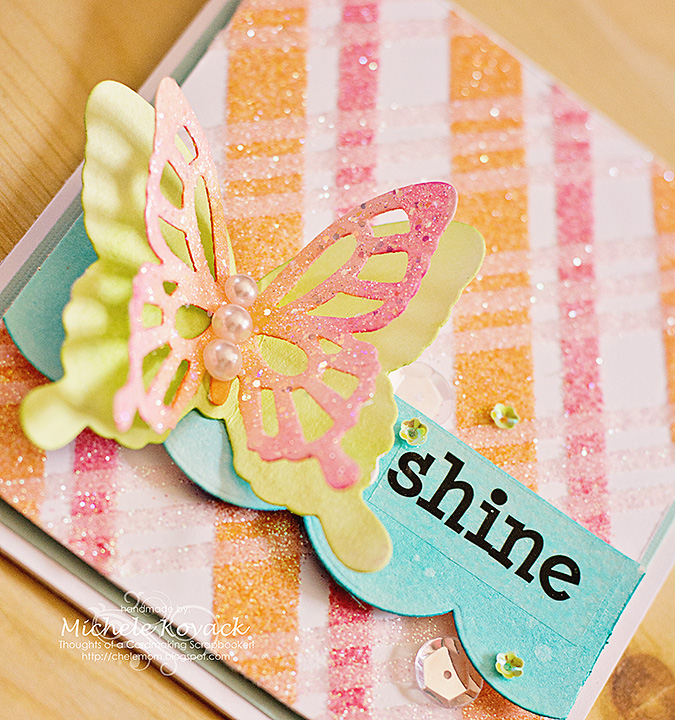
I then sprinkled it with a pale pink glitter.
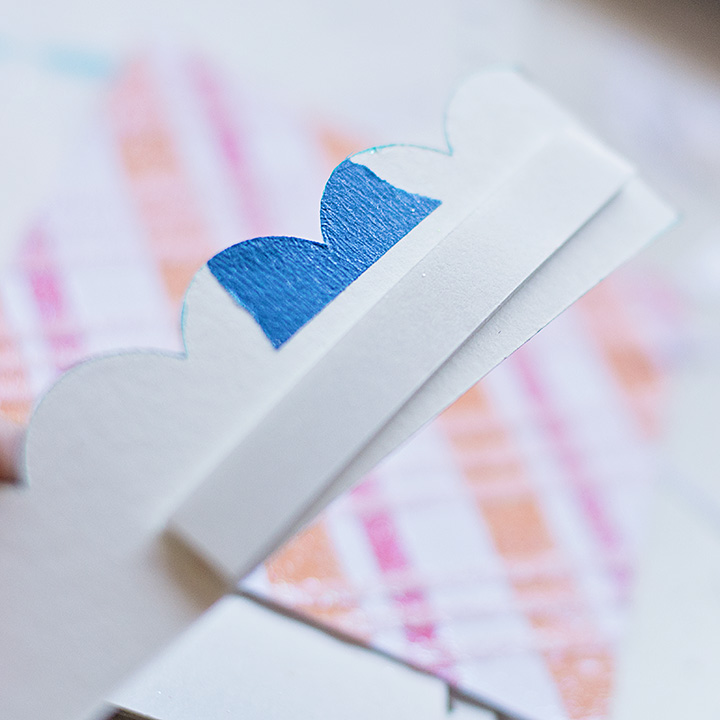
I felt I needed a pop of color, so I water colored a scalloped strip.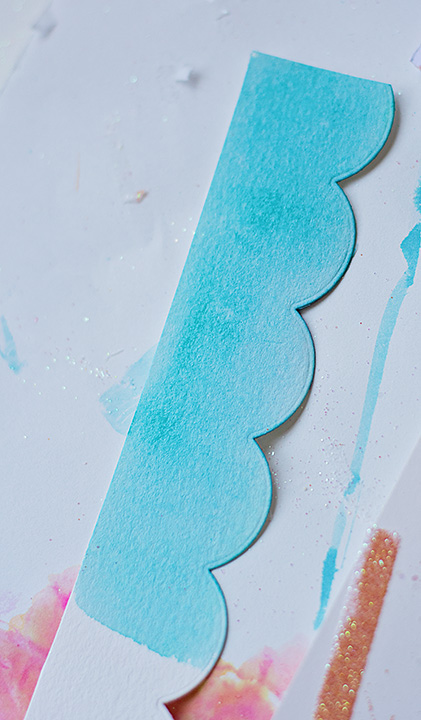
As you all know, I prefer lumpy, bumpy cards with depth and dimension. So using the Crafty Foam Tape is a must!
I adhered my finishing touches, like the butterfly and sequins using Dodz Adhesive Dots Small.
How about one more look at both cards?
I hope you will give plaid backgrounds a try! It is easy and it’s a fun way to customize your cards!
Supplies:
- Crafty Foam Tape-White
- Dodz Adhesive Dots Small
- Premium Double-Sided Tape-1/8
- Premium Double-Sided Tape-1/4
- Premium Double-Sided Tape-1/2
- Glitter
- Ribbon
- Rhinestones
- Sequins
- Sticker
- Sentiment Stamp
- Die Cut
By MargieH July 24, 2015 - 10:44 am
Such a clever way to use the different width of those FABULOUS tapes!! LOVE it, Michele!!
By TK July 25, 2015 - 10:21 am
Beautiful card; awesome use of all those adhesives! PS Love the original “male” card too…