
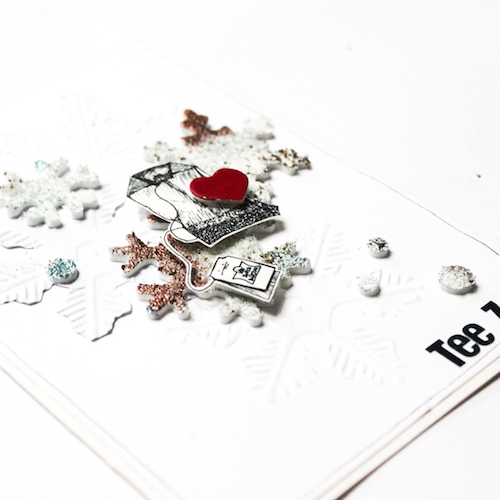
Hi there, it’s Stephanie here today. Christmas is coming and it’s cold outside, so I made a easy card with 3D Foam Snowflakes and glitter and embossing powders.
Here is how I made it.
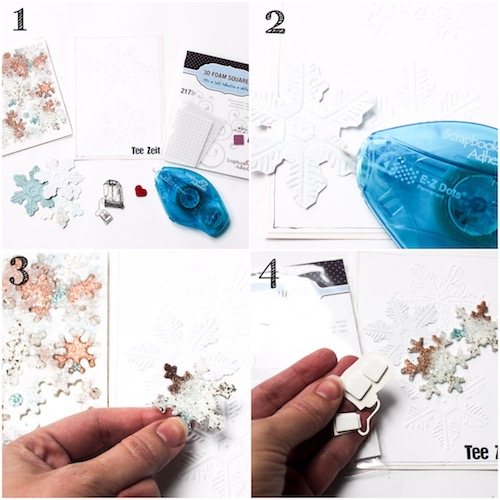
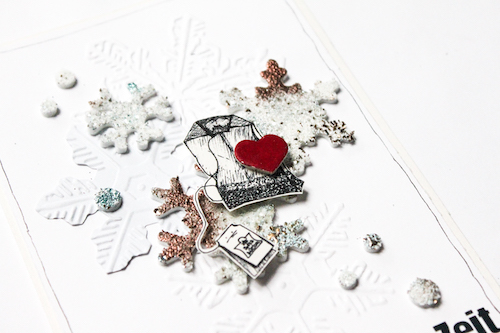
1. With my card panel, I embossed it with a snowflake embossing folder to for a subtle background. For my sentiment, I used alpha stickers. Then laid out all my materials I wanted to use. I embellished my 3D Foam Snowflakes with Glitter and heat embossed some Embossing Powder. I fussy cut my stamped image of a tea bag and painted a little red heart chipboard piece.
2. I used the E-Z Dots® Permanent Refillable Dispenser to adhere a snowflake die cut.
3. Then I choosed some of the 3D Foam Snowflakes and little circles.
4. With 3D Foam Squares Mix – White I adhered the stamp and the little heart.
And inside the card I used a Keepsake Envelope to put some tea in it and another 3D Foam Snowflake to decorate it.

I wish you all a Merry Christmas, have a beautiful day with lots of love, nice presents, happy moments and fun.
Thanks for visiting me today! Have a great day!
Stephanie
Supplies from Scrapbook Adhesives by 3L®
3D Foam Snowflakes
3D Foam Squares Mix – White
Keepsake Envelopes Mix
E-Z Dots® Permanent Refillable Dispenser