
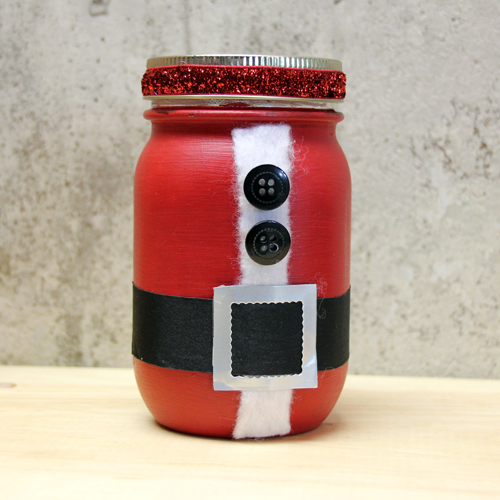
Hi all! Tami Mayberry here with you today to share a fun and easy Santa jar you can create for both gift-giving and home décor displays. It’s not only super cute it’s super simple! Here’s how to make it:
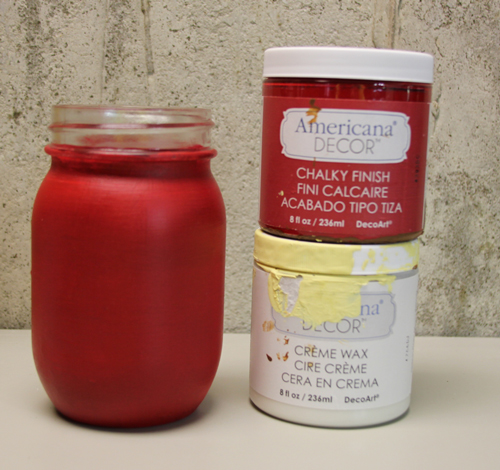
- Following manufacturer’s instructions, paint jar with chalk paint and seal using clear wax.
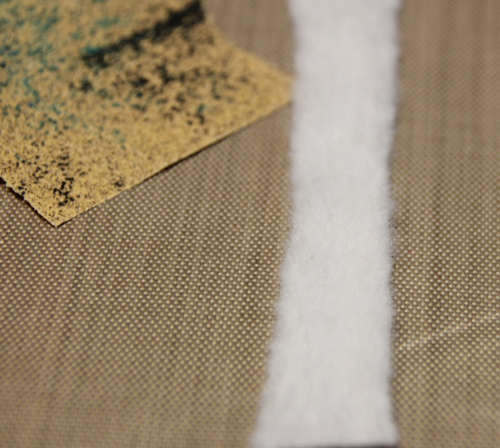
- Cut a piece of white felt the same height as jar and desired width; rub with sandpaper to create a fur look.
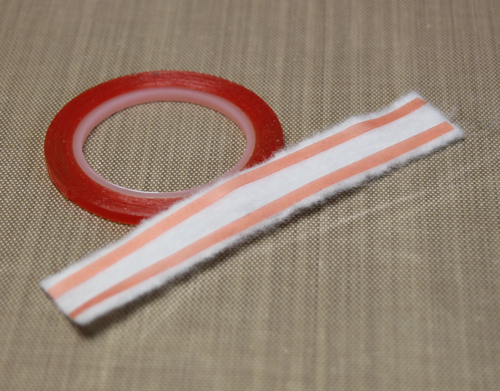
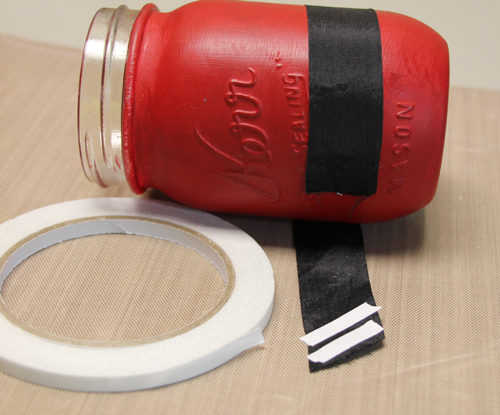
- Attach felt to jar using Extreme Double-Sided Tape 1/8″.
- Wrap jar with ribbon securing overlapping ends to back with Premium Double-Sided Tape 1/4″.
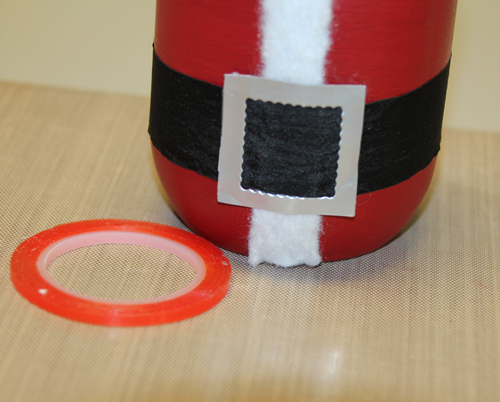
- Nesting square and scalloped square dies together, die-cut buckle shape from soda can. Attach to jar front using Extreme Double Sided Tape 1/8″. Note: If you don’t have the dies needed, you could also cut this from metallic paper or use a real buckle.
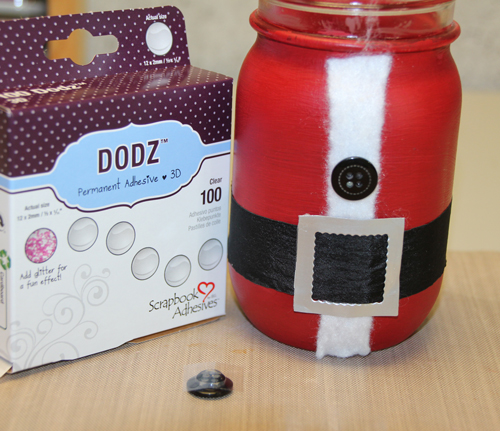
- Attach buttons to jar using Dodz Adhesive Dots 3D.
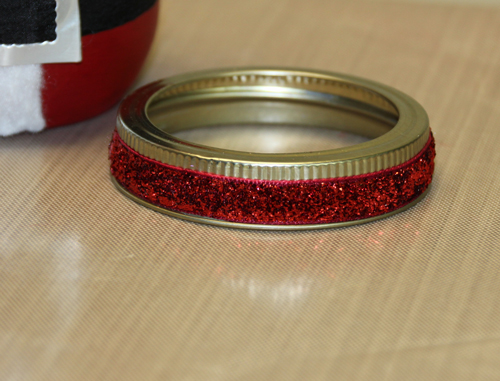
- Wrap gold lid band with Premium Double-Sided Tape 1/4″.
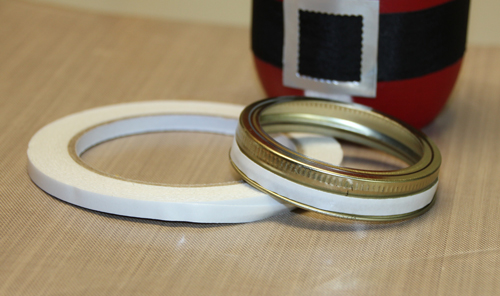
- Remove backing; attach glitter ribbon.
- Attach chalkboard sticker to lid center; place on jar.
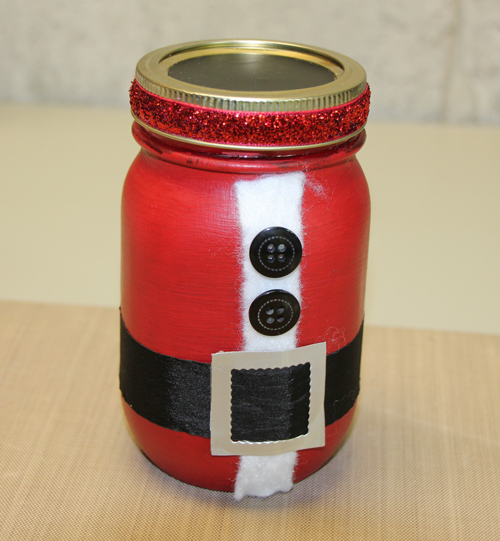
And there you have it!
Tami Mayberry
Scrapbook Adhesives by 3L® supplies:
Other:
- Mason jar with gold lid
- DecoArt Chalky Finish paint
- DecoArt Crème Wax
- Ribbon: 1-inch-wide black, red glitter
- Circle chalkboard label sticker
- 2 black buttons
- White felt
- Sandpaper
- Paintbrush
- Soda can
- Dies: square, scalloped square
- Die-cutting machine