
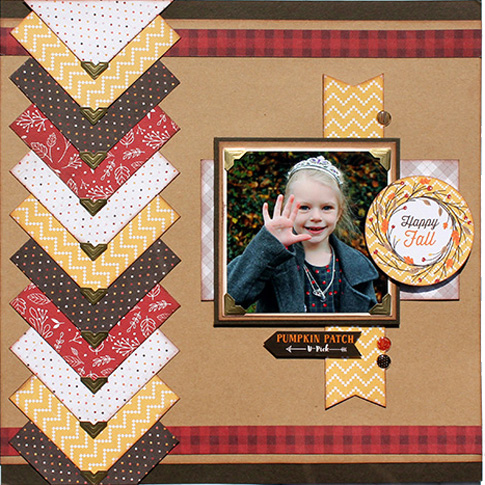
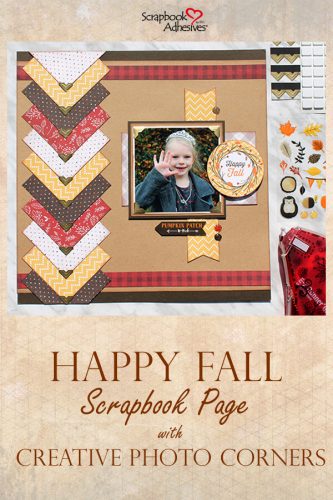
Creative Photo Corners aren’t just for photos anymore! It’s Tracy here sharing a fun fall layout and my obsession with Creative Photo Corners. They can be SO much more than a way to adhere your photos to a layout. On this page I’m using them as an embellishment on my border.
Another crafting confession: I love when the air gets cooler and leaves start changing colour. It’s such a great time of year to take photos. Which means… I LOVE scrapbooking my fall photos. So here a little fall crafty inspiration for you.
This post has been super popular on Pinterest, thank you for pinning it!
Instructions for Happy Fall Page:
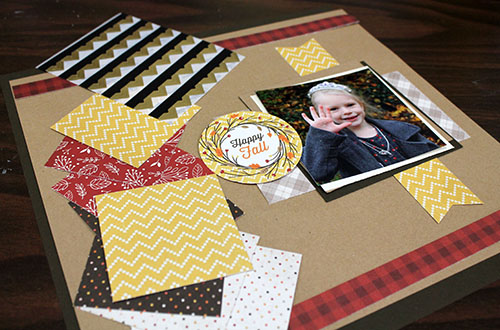
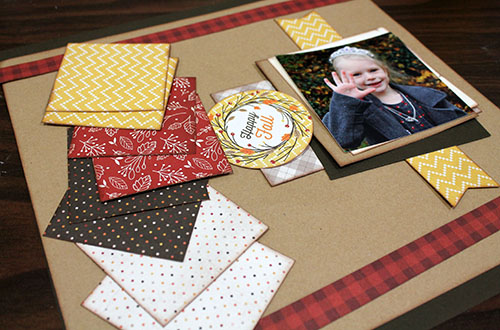
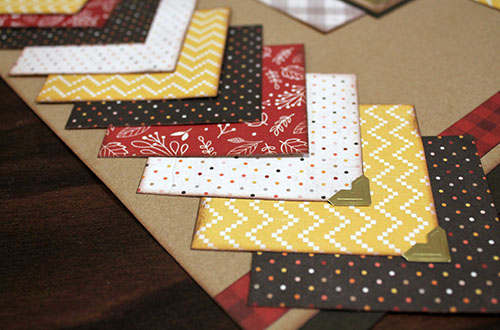
My first step is to always cut the patterned paper pieces and create my basic layout. The squares for my border are 3 inches. I originally cut two squares from four patterns, but in the end added 3 more squares.
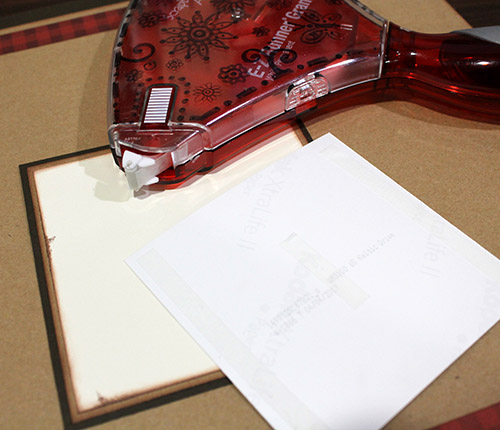
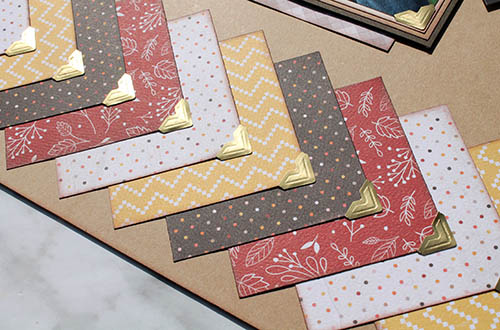
Next, ink the edges of all the pieces with chocolate brown ink.
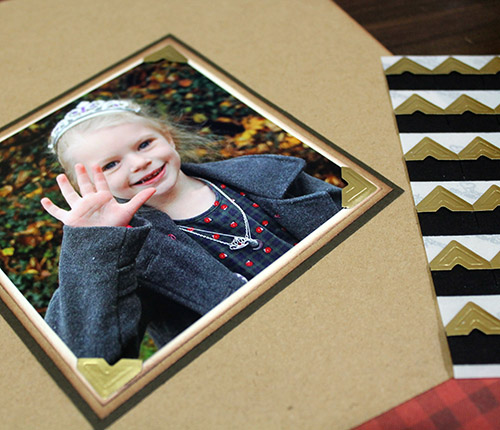
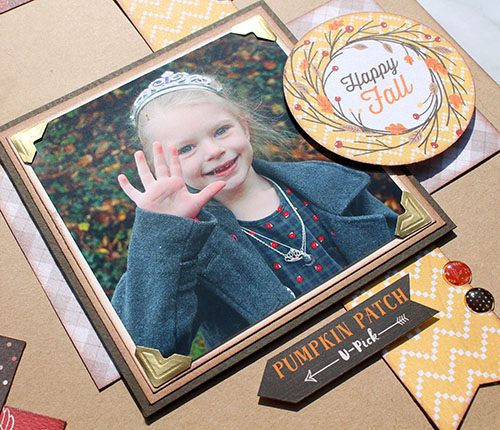
I also added Creative Photo Corners around the edged of my daughter’s photo. They help to frame the photo and create a focal point on my layout.
TIP: I add adhesive to the back of my photo and THEN add the Creative Photo Corners. This ensures that the photo corners don’t slip off as you put your photo in place.
Creating the Photo Corner Border
The patterned paper border was pretty easy to complete. Once I had all of the different patterned paper squares cut, I added a Gold Creative Photo Corner to the bottom corner of each square. If you wanted to measure out the edge of the layout for easier placement, you could do that. I kind of just winged it. The gold corners create a consistent line as you look down the different patterned papers.
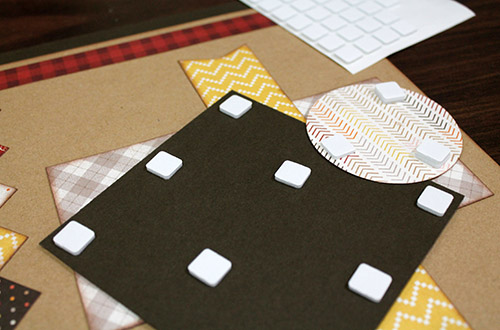
After I created my border, I added the matted photo to the layout. Then I used 3D Foam Squares to adhere my photo to the layout. I layered 2 3D Foam Squares to add extra depth to the title circle.
There you have it! A super easy fall layout created using some of my adhesive favourites.

- Creative Time: 45 Minutes
- Skill Level: Beginner
Thanks for visiting!
Tracy McLennon
Scrapbook Adhesives by 3L® Supplies:
Creative Photo Corners Mix Pack
3D Foam Squares White Regular
E-Z Runner® Grand Dispenser
Other:
Carta Bella: Hello Fall Collection; Kraft, Cream and Chocolate Cardstock; 2.75″ Circle Punch; Brown Ink
Pin This!
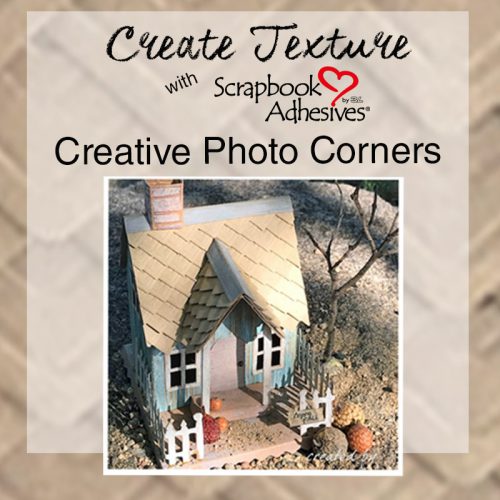
Now check out this post to see How to Create Texture with Creative Photo Corners
Visit our Website and Blog!
Sign up for our Newsletter so you never miss a contest or giveaway!


