
Hello! It’s Dana here with a fun budget-friendly Halloween décor project. One of my favorite holidays is Halloween. I thought it would be fun to dress up my mantel this year. I found a pair of inexpensive framed pieces of art at the thrift store that was perfect for this project. With a little bit of paint and some festive embellishments, I was able to create a fun set of monster frames.
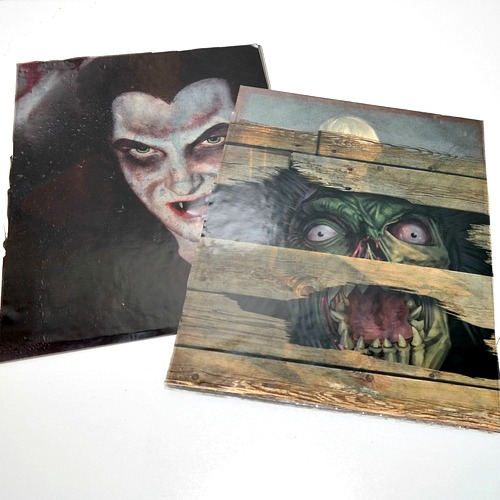
 What did these framed pieces of art look like before their spooky make-over?
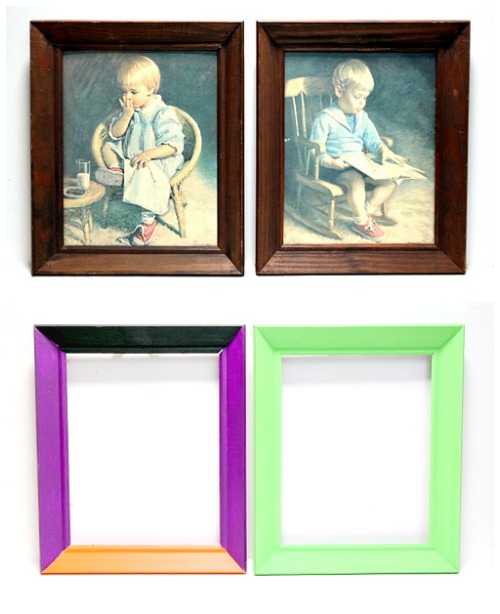
This set of coordinating prints was a great find! I liked the size (10×12 inches) and the frames were in great shape.
Directions:
First, remove the images from the frames and set aside. Next, clean the frames and prime with a coat of gesso. Then, apply bright colors of acrylic paint to the frames and set aside to dry.
Designer Tip: Add interest to a frame by applying more than one color of paint.
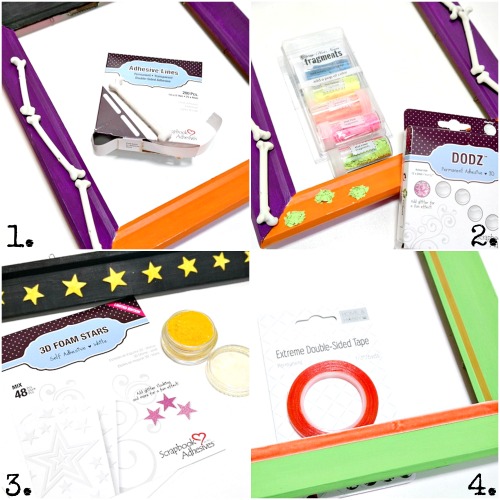
Embellish the frames!
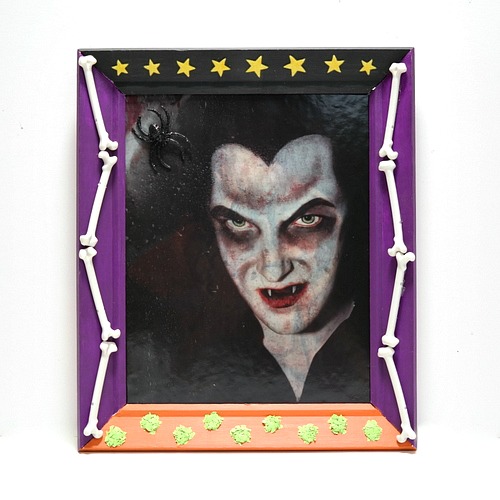
- Use Adhesive Lines to adhere plastic bones, in a zig-zag pattern, to the purple areas of the first frame.
- Apply Adhesive Dots 3D in a zig-zag fashion along the bottom of the first frame. Press Hot Lime Fragments onto the Adhesive Dots.
- Stick 3D Foam Stars along the top of the first frame in a straight line. Sprinkle on yellow glittered flock, press down to adhere the flock to the stars, and then gently shake the frame to remove the excess.
- Line the inner edge of the second frame with Extreme Double-Sided Tape. Remove the top liner and press the ribbon onto the adhesive.
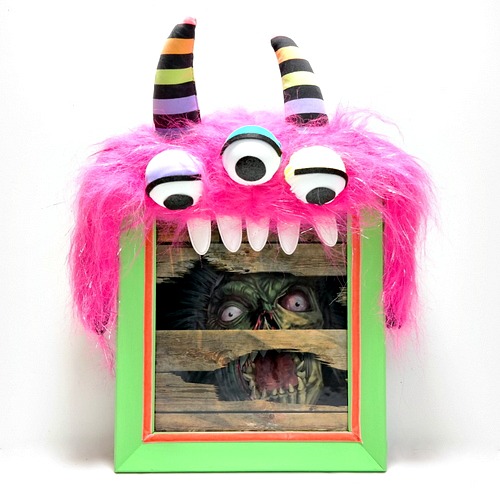
Replace the original art. Note: I used Halloween wall clings for my frames. I applied the clings directly over the original art. Comic books, movie posters, or photos of loved ones dressed up for Halloween would also work here!
Insert the new artwork into the frames and add finishing embellishments.
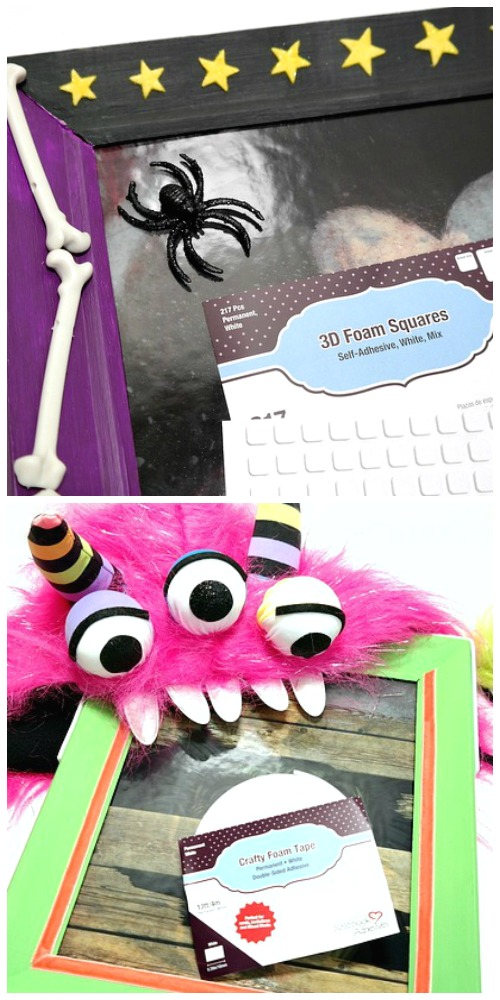
The range of 3D Foam is a great way to add an additional dimension to projects. The strong permanent adhesive makes a lasting bond, and the high-density foam keeps it’s dimension.
I used two small 3D Foam Squares to attach a glittery spider to the corner of the first picture. I lined the top half of the second frame with Crafty Foam Tape and slipped a monster hat over the frame.
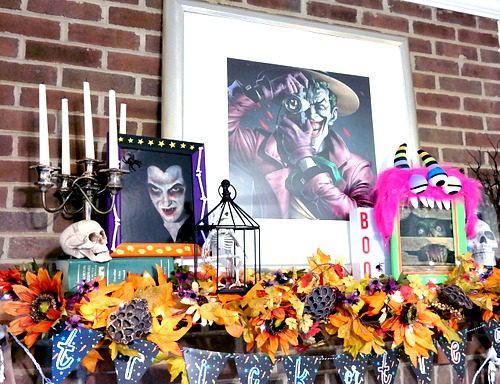
My monster frames look great on my mantel! Do you decorate for Halloween? I’d love to know what you add to your décor this time of year. Leave me a note in the comments section!
Thanks for stopping by today!
Dana Tatar
Scrapbook Adhesives by 3L®:
Adhesives Lines
Adhesive Dots 3D
3D Foam Stars
3D Foam Squares White Mix
Crafty Foam Tape White
HomeHobby Extreme Double-Sided Tape 1/4″
Other: Thrift Store Paintings; Acrylic Paint (DecoArt); Hot Lime Fragments (Stampendous); Flock (Martha Stewart); Monster Hat; Plastic Bones; Spider; Wall Clings
Visit our Website and Blog!
Sign up for our Newsletter so you never miss a contest or giveaway!


By Julie Tucker October 5, 2017 - 7:07 am
These are AWESOME! I loveeeeeeeeeeeee them!!!!!!!
By Dana Tatar October 5, 2017 - 3:49 pm
Thanks Julie!
By Kirsty Vittetoe October 5, 2017 - 12:53 pm
Super cool!
By Dana Tatar October 5, 2017 - 3:49 pm
Thanks so much Kirsty!
By Marjorie Dumontier October 5, 2017 - 4:55 pm
These are awesome Halloween creations !! Thanks for sharing.
By Dana Tatar October 7, 2017 - 3:01 pm
Thank you Marjorie!