
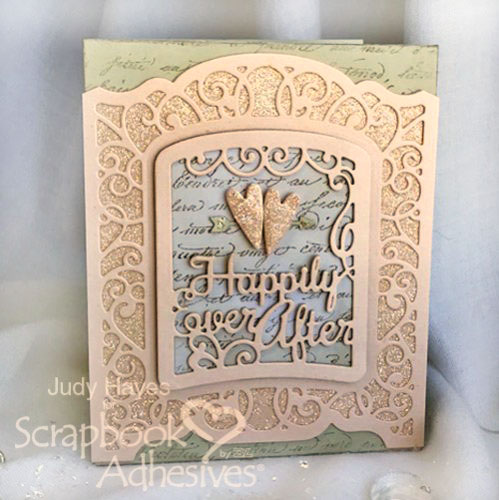
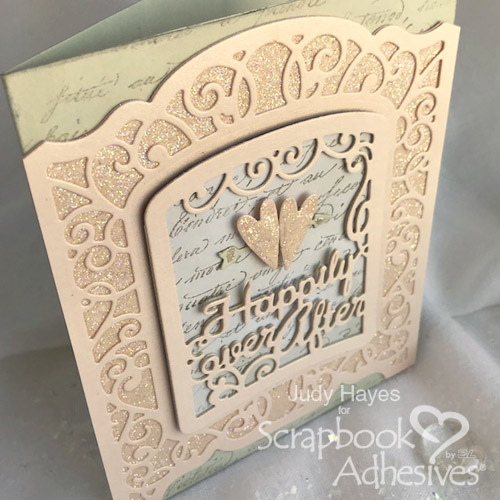
Today I’m sharing a Glittery Wedding Card made with Adhesive Sheets. These sheets make it so easy to add glitter to the front of the paper. It’s called Wear Your Adhesive on the Outside!
Also included in my project are the NEW 3D Foam Circles White Mix, Thin 3D Foam Squares White Mix and E-Z Runner® Micro Refillable Dispenser. The E-Z Runner® Micro has a narrow strip of adhesive which is perfect to assemble the “Happily Ever After” die cut layers along the narrow edge.
Create a Glittery Background
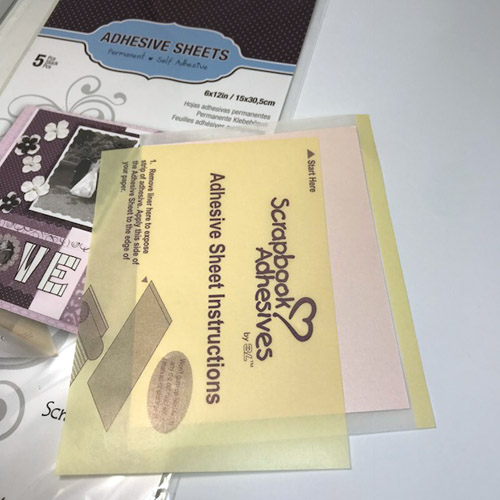
The glittered border on this card is easy to do with Adhesive Sheets 6 x 12 inch. First, apply a piece of Adhesive Sheets 6 x 12 inch to 4.25 x 5.5 inch piece of rose quartz cardstock. Then die cut it using the Grand Cabinet Outline Die (solid shape) with the adhesive side up (the backing).
Next, use another 4.25 x 5.5 inch piece of rose quartz cardstock and die cut with Grand Cabinet Inlay Die (intricate design).
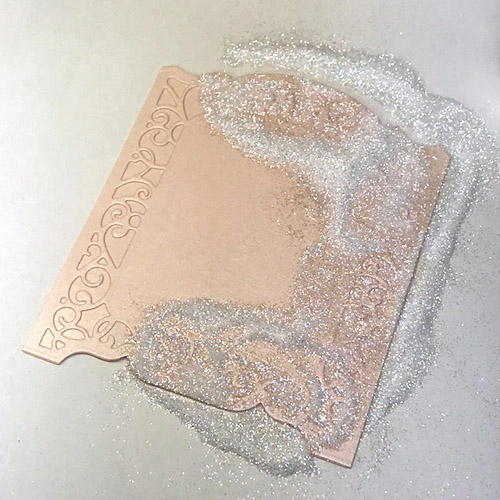
Remove the adhesive liner from Grand Cabinet Outline Die (solid shape). Place Grand Cabinet Inlay Die Cut (intricate design) over the solid shape die cut (make sure to remove its backing). Align all edges and try not to touch the exposed adhesive in the open areas.
Cover the open areas with glitter and press into the adhesive to secure. Tap to remove excess. Ta-da! It’s a beautiful glittery border 🙂
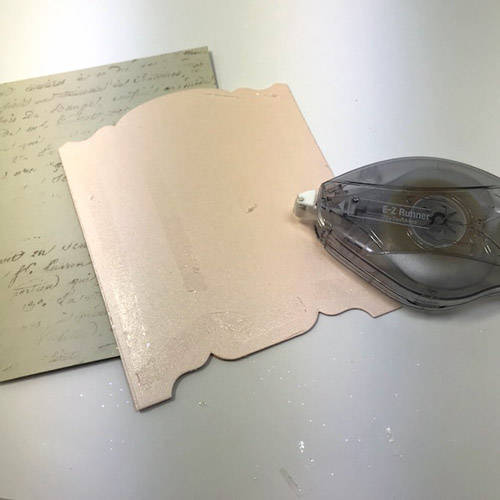
Stamp a script over 4.25 x 5.5 inch card with Pumice Stone ink and smear the ink slightly for a distressed look. Fasten the glittered piece to card front with E-Z Runner® Ultra Refillable dispenser. The Ultra Adhesive is very sticky and has an immediate hold. It works well with pearlescent paper with a slippery finish.
Create Happily Ever After
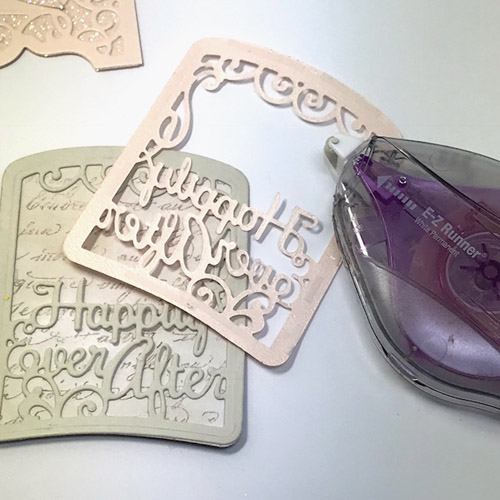
For this layer, die-cut the Outline Design Die from Layered Happily Ever After Etched Die Set and stamp the script over the die cut.
Next, die-cut Happily Ever After Insert Dies twice – one from rose quartz pearlescent and the other from Taffy cardstock. Now fasten them together using E-Z Runner® Micro Refillable Dispenser. The narrow adhesive easily fits along the edges. Finally, fasten over the script background using the same adhesive. Note I used E-Z Runner Micro Refill in the E-Z Runner® Ultra Refillable dispenser – it’s so easy to switch adhesive cartridges with any refillable E-Z Runner dispenser!
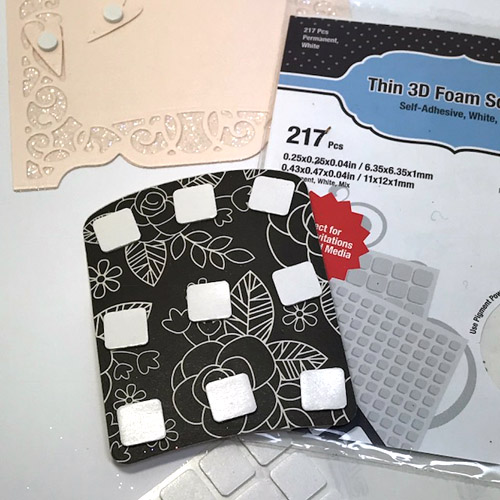
Fasten the layer to the card with Thin 3D Foam Squares White Mix.
Adding Finishes Accents
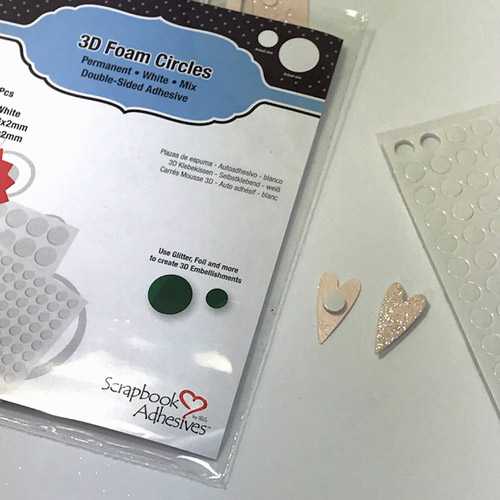
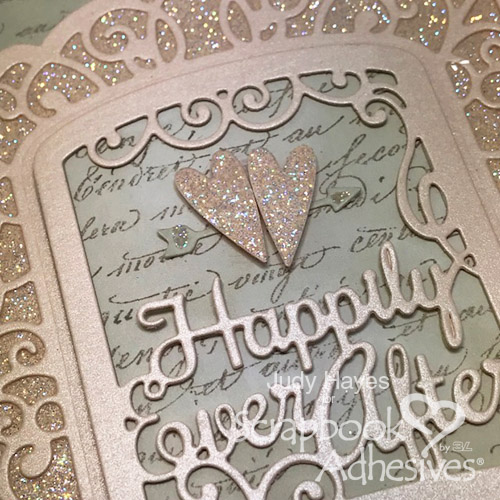
From the same die set above, die-cut two heart shapes from rose quartz paper that has been applied with Adhesive Sheets 6 x 12 inch to the front of it. Remove the top liner and cover with glitter. Fasten them to the card with 3D Foam Circles White Mix. These work so nice for rounded shapes like the hearts, there are no corners to trim off!
Die-cut an arrow from Taffy cardstock. Add tiny dot of glue to the arrow ends using the Dual Tip Glue Pen and add glitter.
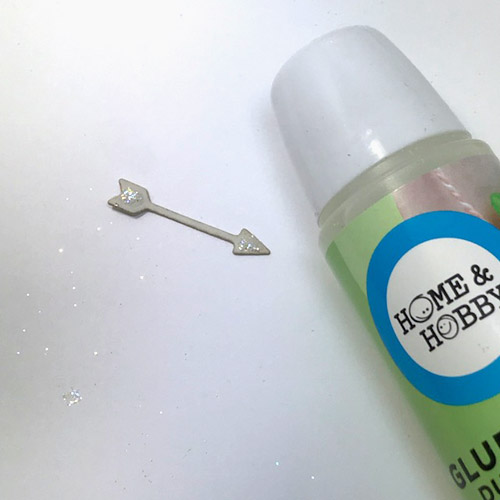
Cut the arrow in half and attach each end behind the hearts using Dual Tip Glue Pen.
Enjoy!
See more Wedding Craft Ideas on the blog and Pinterest!
Thanks so much for visiting!
Judy Hayes
Creative Time: 1 hour/Intermediate Level
Materials Needed:
Scrapbook Adhesives by 3L®:
Adhesive Sheets 6 x 12 inch
E-Z Runner® Micro Refillable Dispenser
E-Z Runner® Ultra Refillable Dispenser
3D Foam Circles White Mix
Thin 3D Foam Squares White Mix
HomeHobby by 3L®
Dual Tip Glue Pen
Other Supplies:
Dies: Spellbinders® Paper Arts (Layered Happily Ever After and Grand Cabinet 3D)
Cardstock: Bazzill Paper (Taffy) and Solar (White)
Metallic Cardstock: Stardream (Rose Quartz)
Patterned Papers: Simple Stories (Always & Forever “Together”)
Glitter: Prisma
Ink: Ranger Ink (Pumice Stone Distress Ink)
Stamp: Penny Black (Script)