
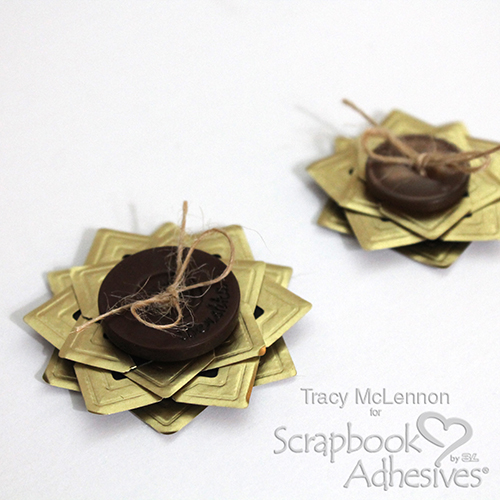
Welcome back my crafting friends! Today I have a sweet and easy little tutorial to share. Here is how I created these simple Creative Photo Corner Sunflowers.
I love to create quick and easy embellishments that I can add to future projects. Here is the complete tutorial on how you can create these sweet and easy Creative Photo Corner Sunflowers.
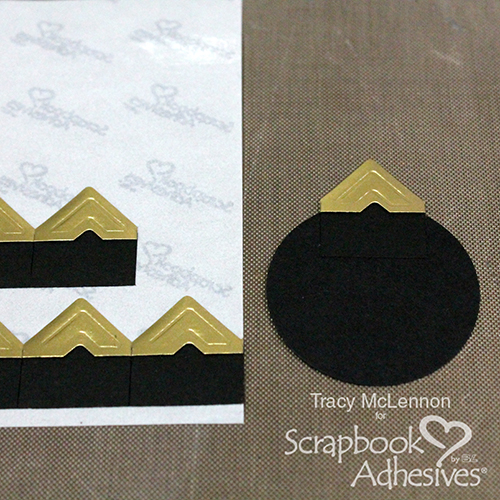
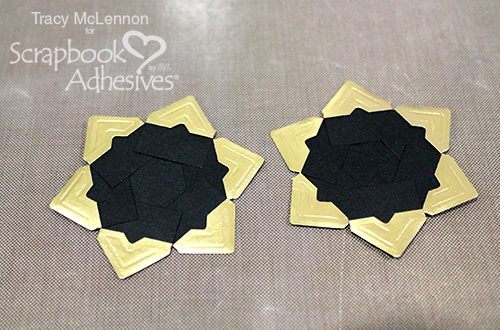
First of all, I cut out two 1.5″ circles from black cardstock. Then I started adding the Gold Creative Photo Corners around the circle. You can see below how I lined up the gold edge with the edge of the black cardstock circle.
Then in the next photo you see that I add the next Creative Photo Corner right next to the last and continue.
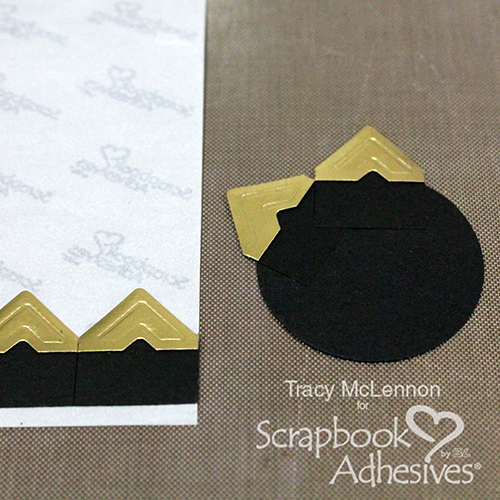
With the 1.5″ circle, you should be able to fit 6 Creative Photo Corners around. Do the same with the second 1.5″ circle.
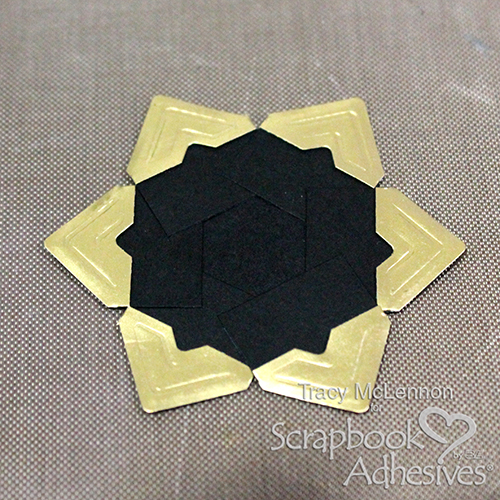
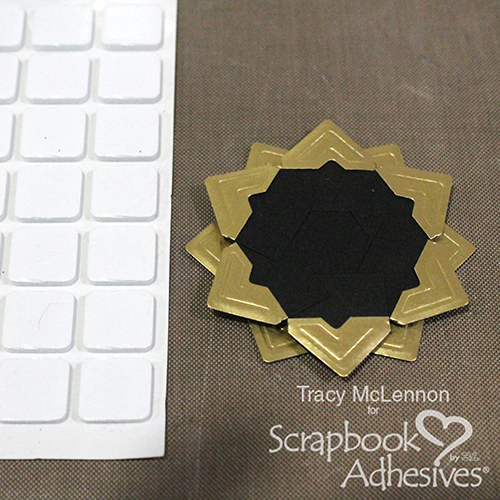
Adhere these 2 circles together using 3D Foam Squares White Regular.
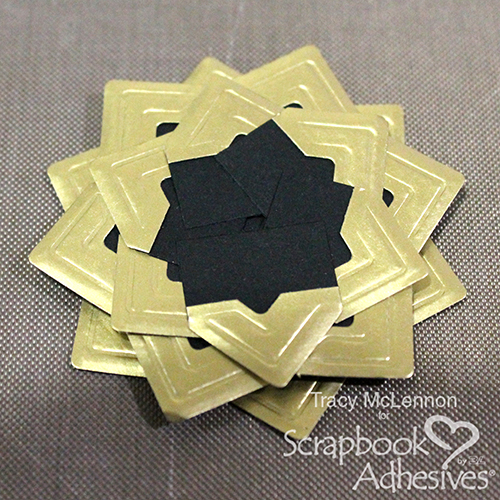
Using a 1″ cardstock circle, repeat the same process overlapping the Creative Photo Corners just a little bit more than before. Adhere that smaller circle directly to the layers below using Adhesive Dots Medium.
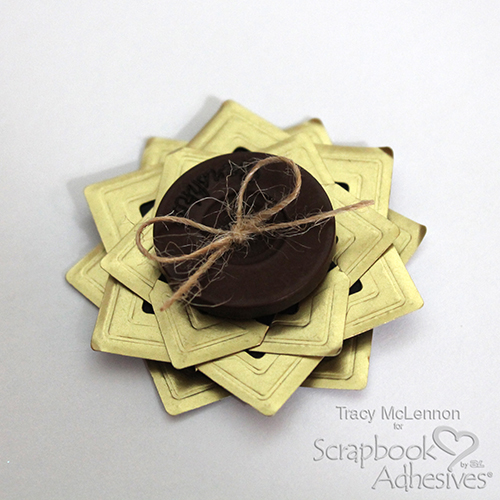
To complete the sweet and easy Creative Photo Corner Sunflowers, I added a large brown button with a burlap string bow tie, using Adhesive Dots Medium.
Thanks so much for stopping by!
Tracy
Creative Time: 20 Minutes
Skill Level: Beginner
Materials Needed:
Scrapbook Adhesives by 3L®:
Adhesive Dots Medium
Creative Photo Corners Gold
3D Foam Squares White Regular Size
Other Products Used:
Circle Punches- 1″ and 1.5″, Black Cardstock