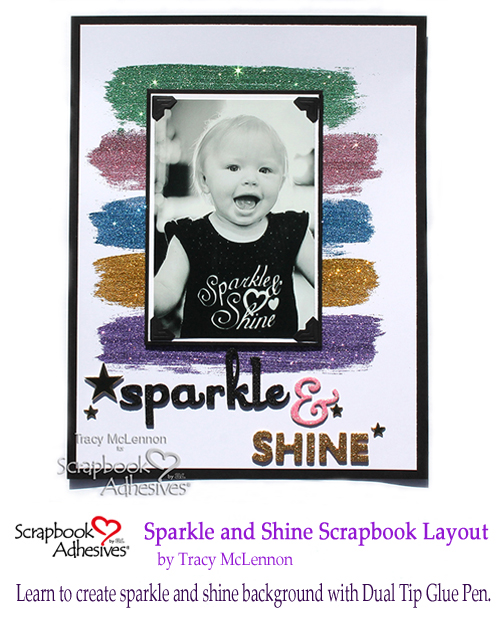
Welcome back, scrappy friends. Tracy McLennon here and today I have a sweet and simple layout tutorial to share that packs a huge punch of SPARKLE! Here is my complete tutorial on how to add Sparkle & Shine with the Dual Tip Glue Pen.
Glitter….do you LOVE it like me? It’s just SO darn pretty. I do have a little tip for you, keep a dusting cloth in your craft area for quick stray glitter clean up. Inevitably a piece of glitter will end up on your face, it’s just science. Let’s Sparkle & Shine with this tutorial.
Bring on the Sparkle!
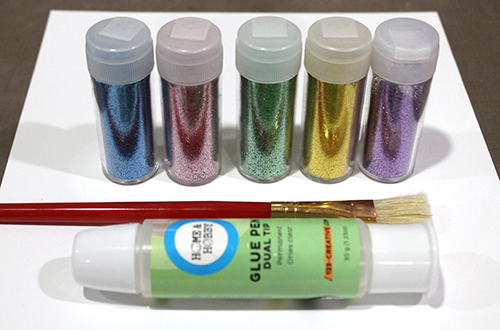
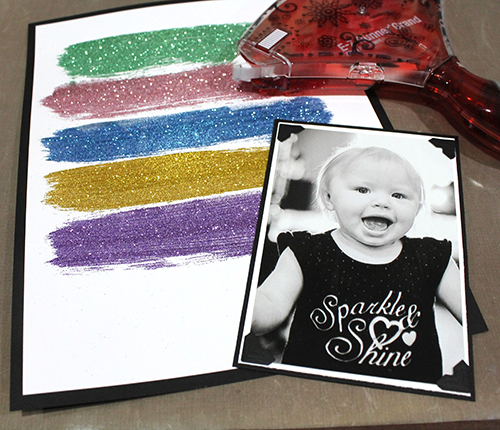
First, grab the glitter you would like to use, your Dual Tip Glue Pen and a thick bristled brush.
Cut the white cardstock to 8×10.5.
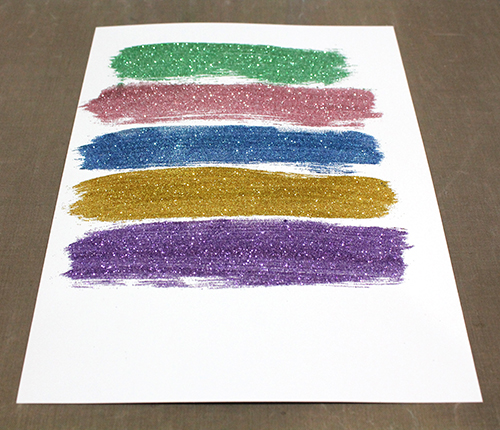
I marked on my background where I wanted my photo to end up, that way I knew where I wanted my glitter strips to reach. I created a small pool of liquid adhesive from the Dual Tip Glue Pen on my craft mat then brushed the adhesive onto the white cardstock, making sure to leave some wispy brush strokes on the ends. Then add the glitter.

Repeat this with all of the glitter colours. Let dry.
Finishing Touches!
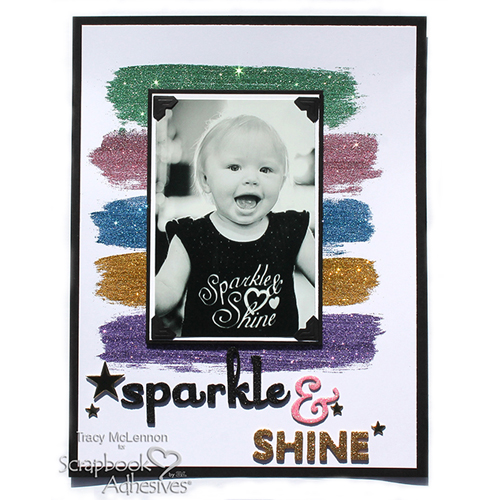
Adhere the white cardstock onto a piece of 8.5 x 11-inch black cardstock.
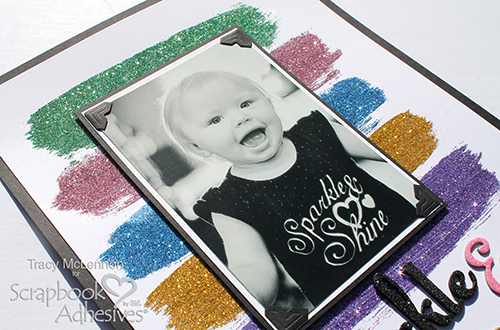
I matted my 4 x 6-inch black & white photo in white and then black cardstock using the E-Z Runner® Grand Refillable Dispenser. I added Black Creative Photo Corners to the photo for a little extra pizzaz.
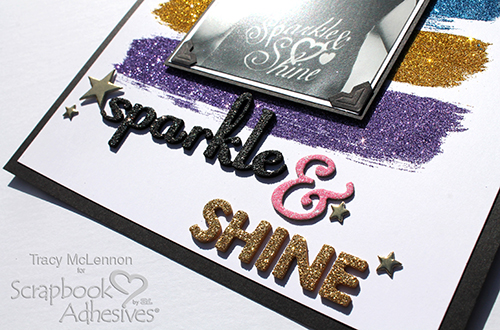
Adhere the matted photo to the layout using 3D Foam Squares White Regular. I then added the title using different letter stickers.
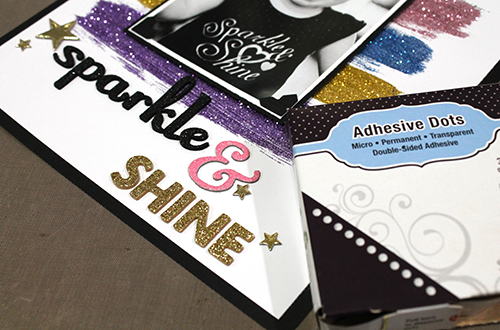
I added the gold star accents using Adhesive Dots Micro.
Thanks so much for stopping by!
Tracy
Creative Time: 45 minutes
Skill Level: Beginner
Materials Used:
Scrapbook Adhesives by 3L®:
3D Foam Squares White Regular Size
Adhesive Dots Micro
Creative Photo Corners Black
E-Z Runner® Grand Refillable Dispenser
HomeHobby by 3L®:
Dual Tip Glue Pen
Other Products Used:
Cardstock (White, Black), Craft Mat, Paint Brush, Fine Glitter, Letter Stickers, Gold Star Embellishments
Pin It!