
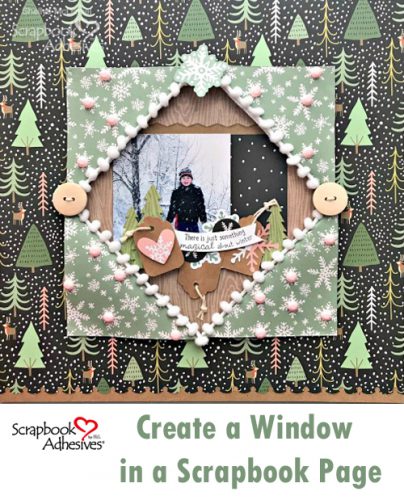
Hello, all! Shellye McDaniel here with a sweet dimensional scrapbook layout with a window feature. It’s a simple way to draw focus to a single photo, so let’s get started!
Create the Window Feature
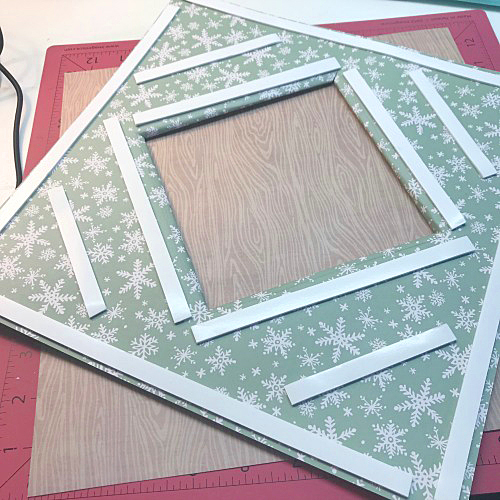
To begin take a 12×12-inch sheet of double-sided scrapbook paper and place a 6×6-inch square in the center for tracing.

Next cut from point-to-point of the traced square, from the center, as shown below.
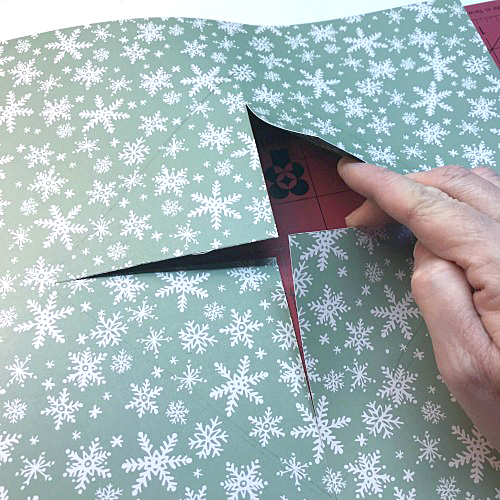
Fold the edges back gently by bringing the flaps over the front of the patterned paper.
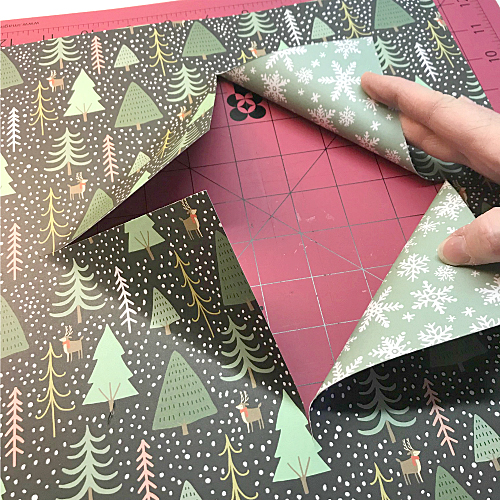
Now use small pieces of Crafty Foam Tape and attach it to the backside of each corner of the flaps.
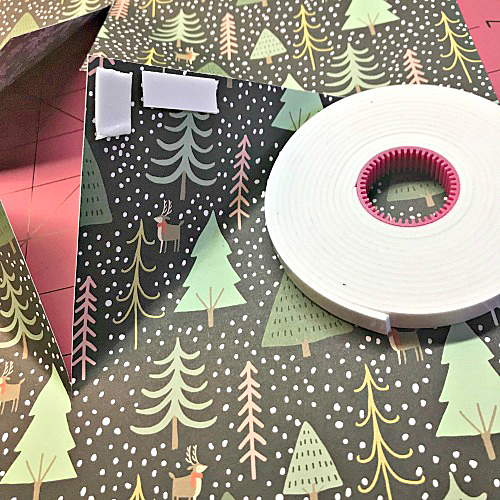
Attach the flaps to the front of the scrapbook paper. Make sure that each of the flaps is evenly spaced and forms a neat square.
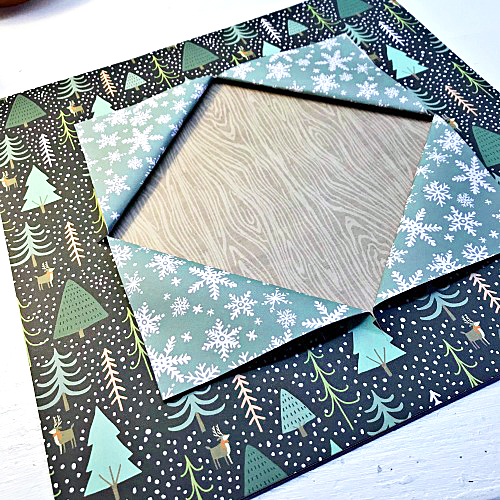
Making the Second Layer
For the second layer attach a wood-grain patterned paper to the back of the page using strips of the Crafty Foam Tape as shown below.
I now have the perfect background slate for photos and embellishments!
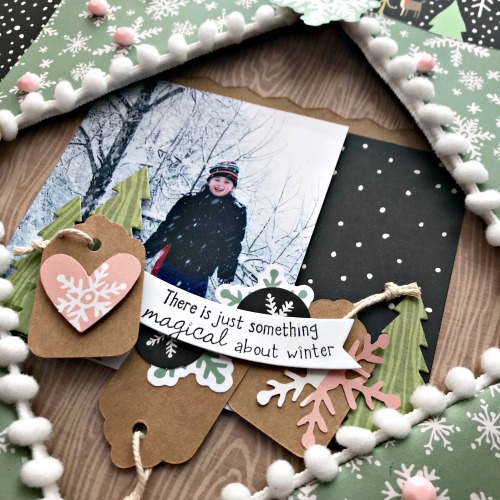
The Embellishing Details
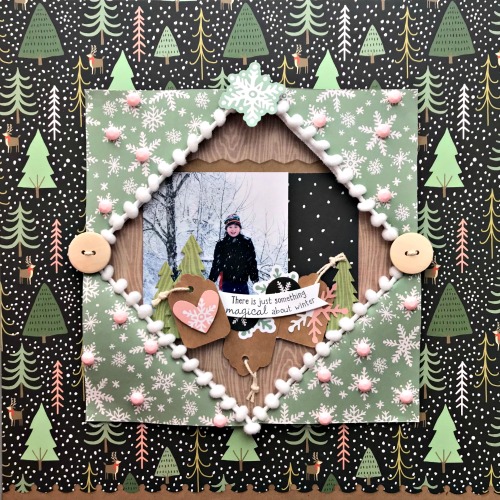
Add pom trim to the inside of the window with strips of Extreme Double-Sided Tape 1/8in to hold it in place.
After threading with twine, attach two wooden buttons to the sides of the window with Adhesive Dots 3D.
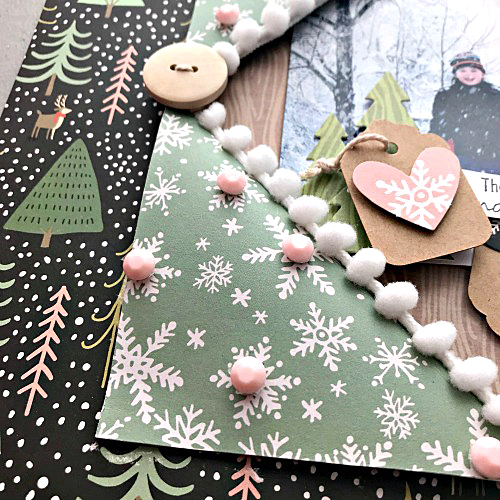
Of course, the snowflakes need some bling, use pink rhinestones with the smallest of the 3D Foam Circles White Mix. By using 3D Foam I can continue the dimensional effect!
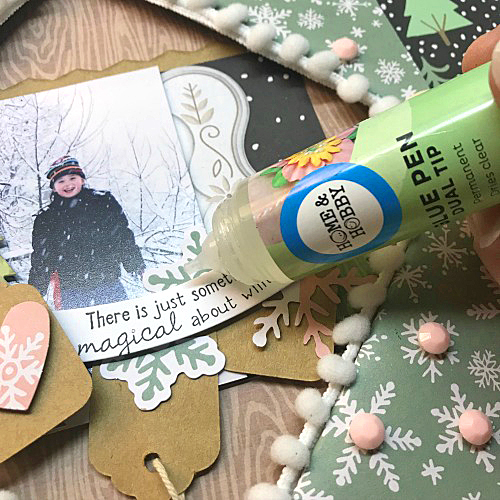
Add the cardstock tags and then with the Dual Tip Glue Pen attach pieces of the die-cut snowflakes. I like using just a small dollop of the glue so that the die-cuts aren’t completely flat.
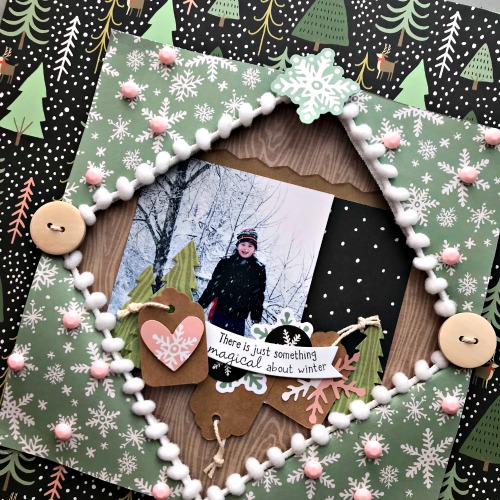
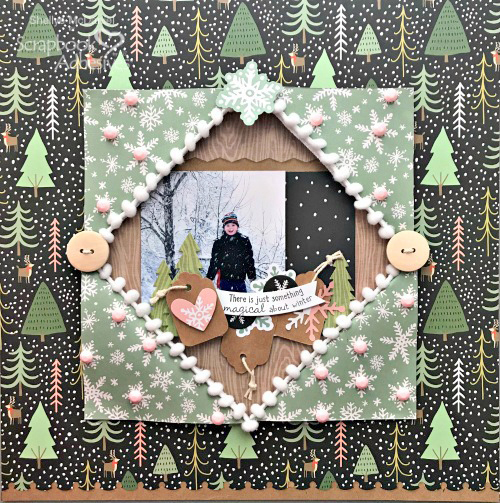
Finally, my Winter Window Layout is complete! It’s like peering outside and seeing my little one enjoying a snowy day 🙂
Thank you for stopping by!
Creative Time: 30 Minutes
Skill Level: Intermediate
Materials Needed
Scrapbook Adhesives by 3L®
Crafty Foam Tape
3D Foam Circles White Mix
Adhesive Dots 3D
HomeHobby by 3L®
Extreme Double-Sided Tape 1/8in
Dual Tip Glue Pen
Other
Patterned Paper: Fancy Pants (Trees) and We R Memory Keepers (Woodgrain); Die Cuts: Fancy Pants; Pom Trim: Offray; Pink Rhinestones: Paper Studio; Kraft Tags; Kraft Border; Buttons
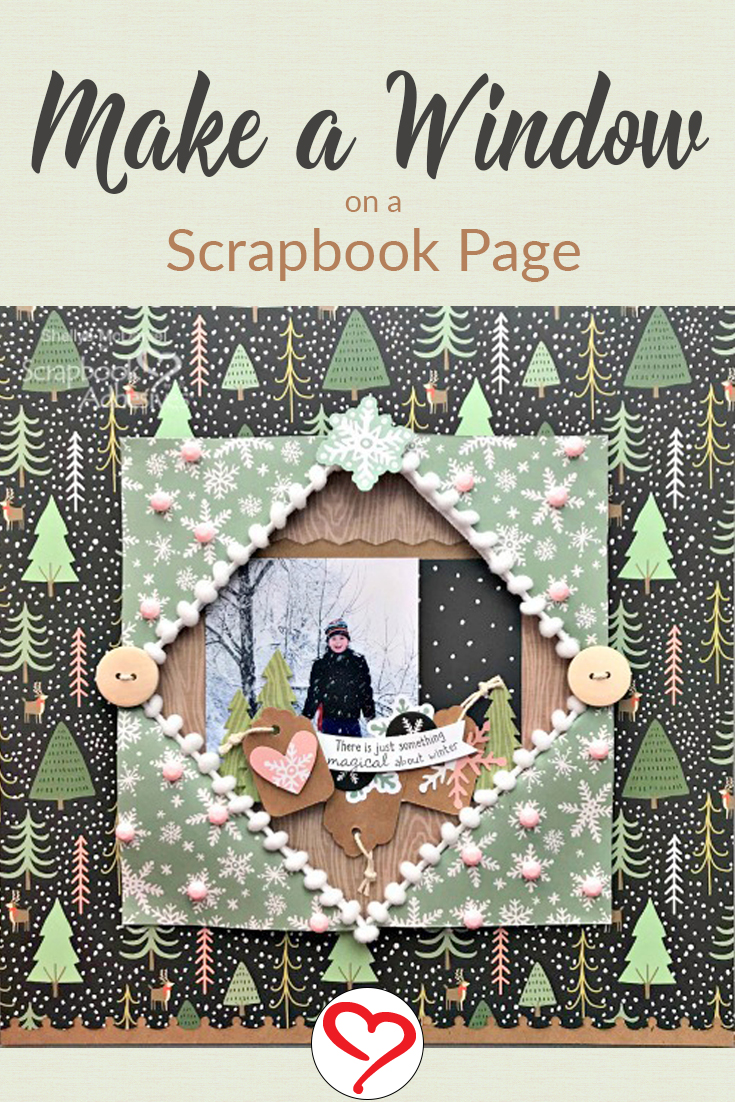
Pin It!
Visit our Website and Blog!
Sign up for our Newsletter so you never miss a contest or giveaway!


