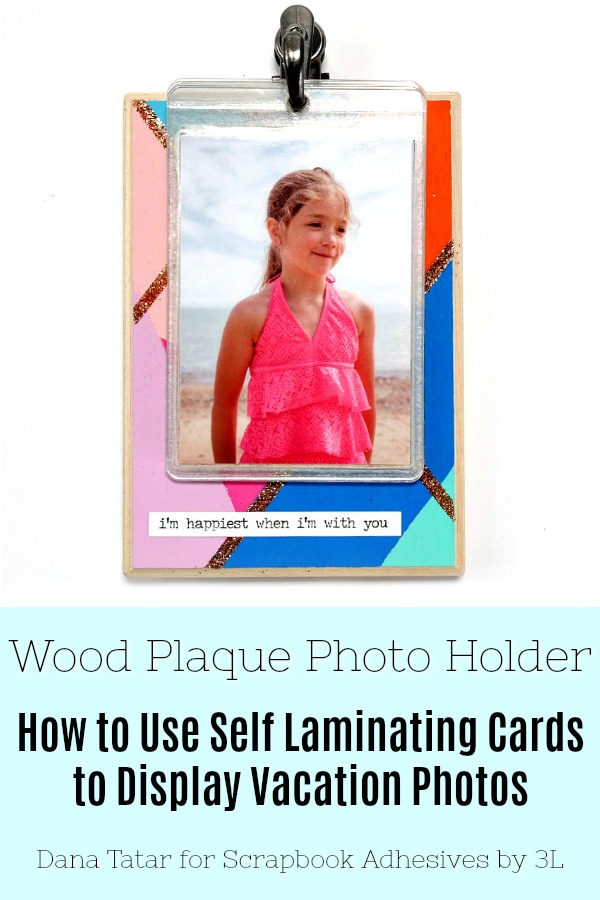
Hi friends! Dana Tatar here today sharing how to assemble a wood photo holder using Self-Laminating Cards and vacation photos. There is something about the excitement of traveling that motivates me to take more (and better) pictures.
I thought it would be fun to showcase some of my favorite travel pics on a small piece of art. I used a wood plaque that measures 3.5 x 5 inches for this project, the perfect size to sit on a desk or side table. The Self-Laminating Cards are easy to rearrange on the clip hook to display another memory.
Make the Photo Holder with Self-Laminating Cards
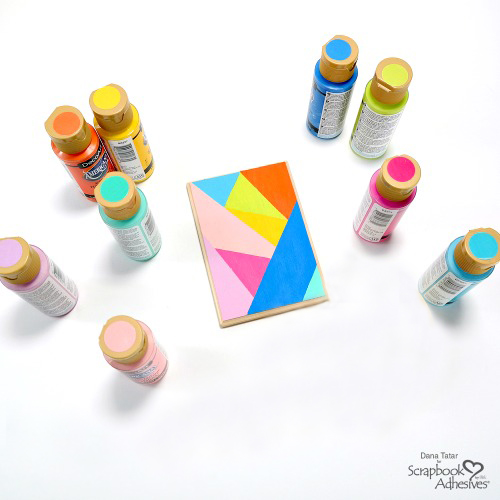
Step 1: Use masking tape to cover portions of the wood plaque. Apply bright colors of acrylic paint to the plaque in a geometric design, removing tape and masking areas as you work. Let dry.
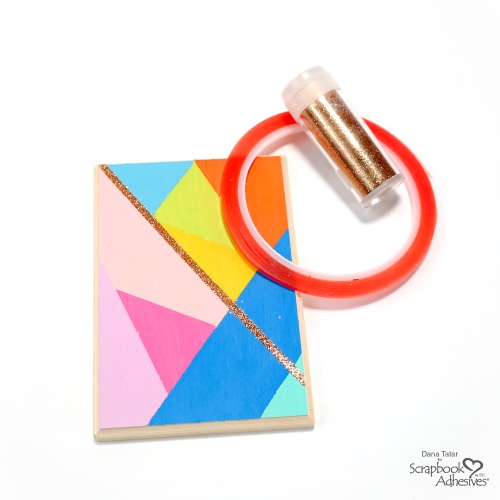
Step 2: Apply Extreme Double-Sided Tape along a painted line on the plaque. Remove the red liner and sprinkle with glitter. Repeat this process several times to add a touch of sparkle to the project.
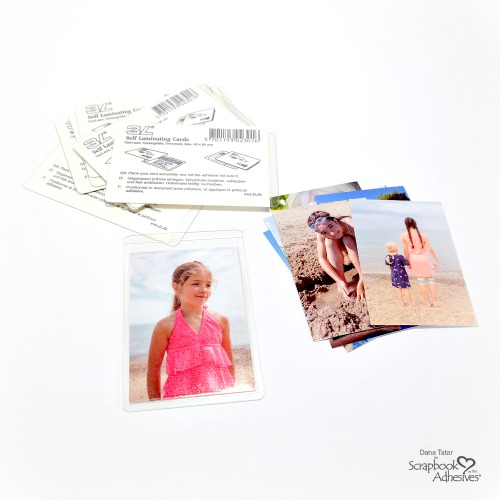
The Photo Details
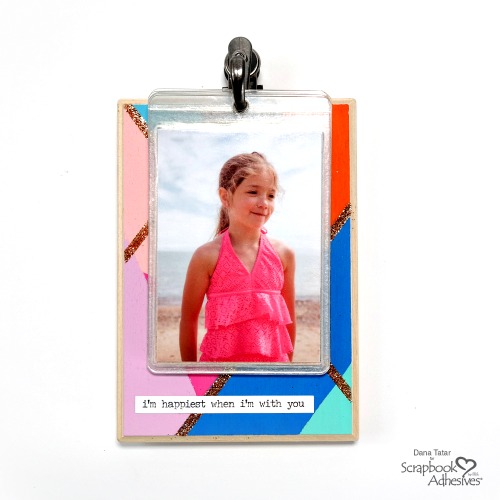
Step 3: Cut vacation photos to fit inside a Small Self-Laminating Card. Be sure to cut the photo slightly smaller than the dimensions of the card to ensure that the self-laminating edges seal. Place the photos inside the Self-Laminating Cards. Remove the liner and press the sides together to seal.
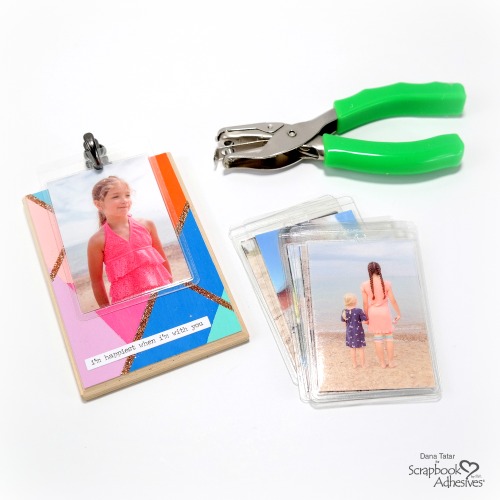
Step 4: Punch a hole in the top of each card. Place the cards onto a clip hook and attach to the painted board. Display and enjoy!
Thanks for stopping by today! I hope I have inspired you to display some of your favorite photos.
~Dana
Creative Time: 45 Minutes
Skill Level: Beginner
Materials Needed
HomeHobby by 3L®
Self-Laminating Pouches – Cards Small
Extreme Double-Sided Tape 1/8 in.
Other
Rectangle Mini Thin Wood Plaque (Walnut Hollow); Copper Glitter (Martha Stewart); Acrylic Paint (DecoArt); Sentiment Sticker (Ranger); Decorative Clip Hook: WRMK; Masking Tape
Pin It!