
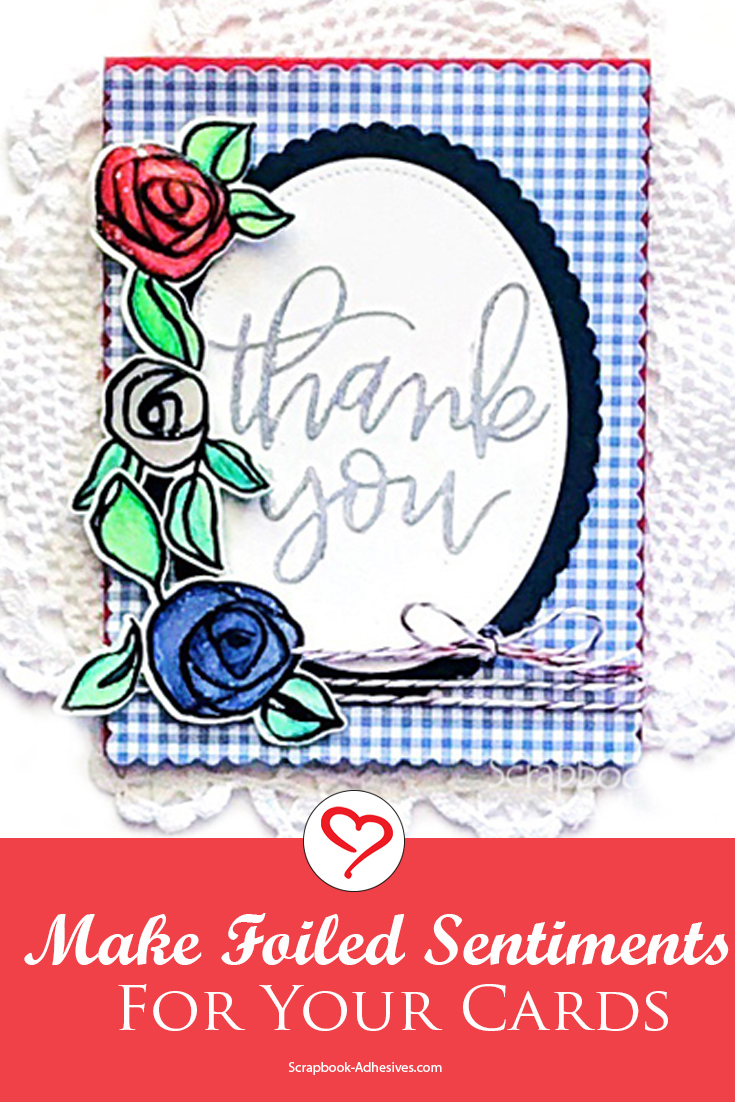
Hello, fellow paper crafters! Lisa Adametz here guest blogging today to showcase my Foiled Thank You Roses Card. I love how the foiled sentiment really pops on the card. Let me share my tutorial, using their NEW Metallic Transfer Foil Sheets in Holographic set.
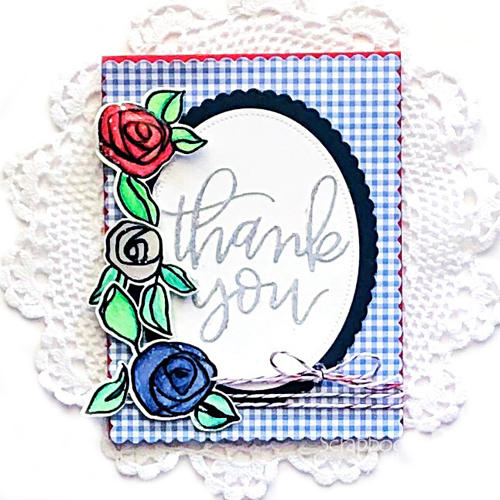
Foiled Thank You Roses Card Instructions
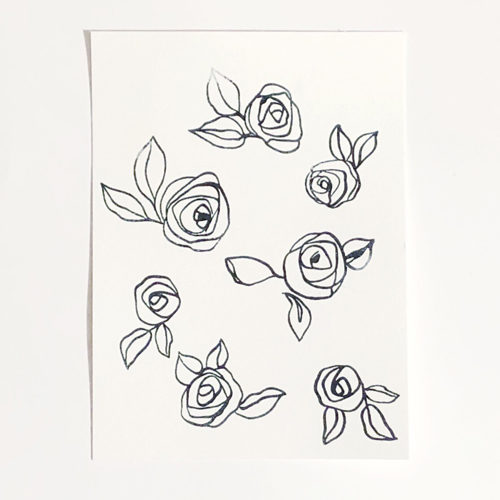
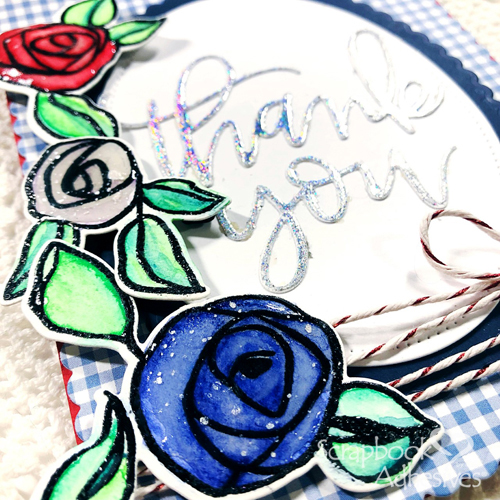
On white cardstock, I stamped three rose images and leaves with Versafine Onyx Black Ink. After adding clear embossing powder, just heat emboss to melt.
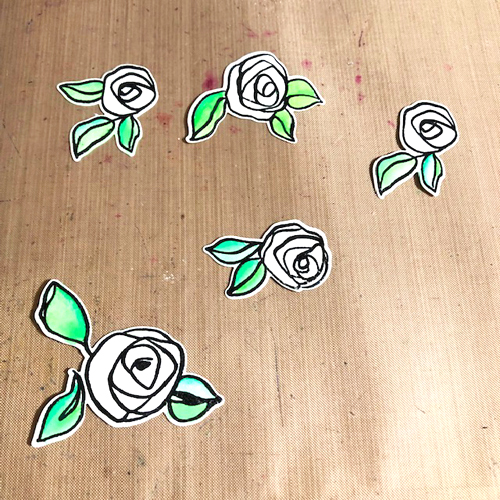
Then die-cut the stamped images with coordinating dies. Watercolor the rose and leaf images. Coat each rose blossom with a glaze and let sit for 24 hours.
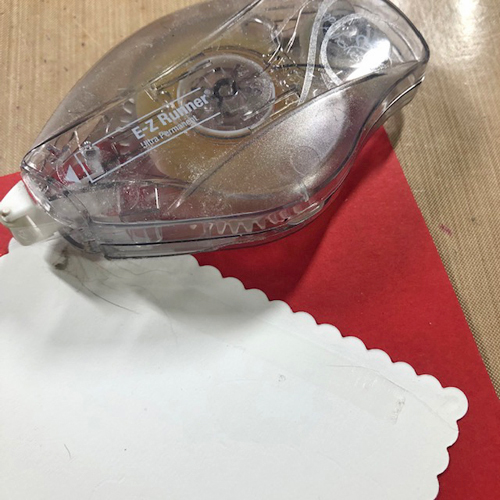
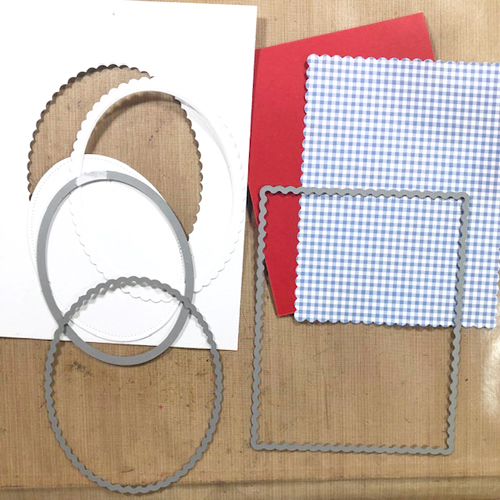
Create a top-fold A2 (4.25 x 5.5-inch) card base out of red cardstock. For the card panel, die-cut a scalloped rectangle shape with a piece of blue check patterned paper. Apply the E-Z Runner® Ultra Strong Refillable Dispenser on the back and adhere to the card base.
Next die-cut an oval shape with a piece of white cardstock. With a piece of navy cardstock, die-cut a scalloped oval shape. Make sure that the ovals nest nicely with each other.
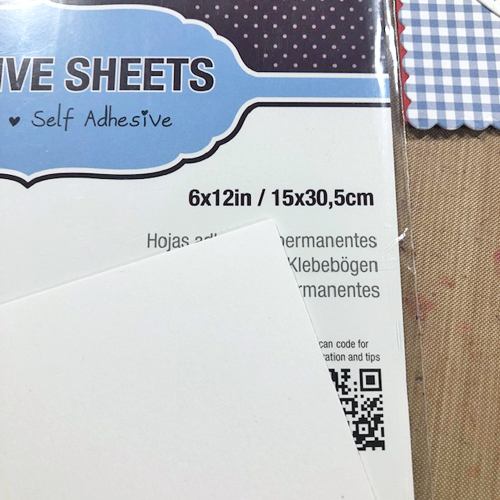
Apply Adhesive Sheet 4 x 6-inch on the back of a 4.25 x 3.75-inch white cardstock. See a quick video on How to Use Adhesive Sheet for Die Cutting.
Adding the Metallic Transfer Foil
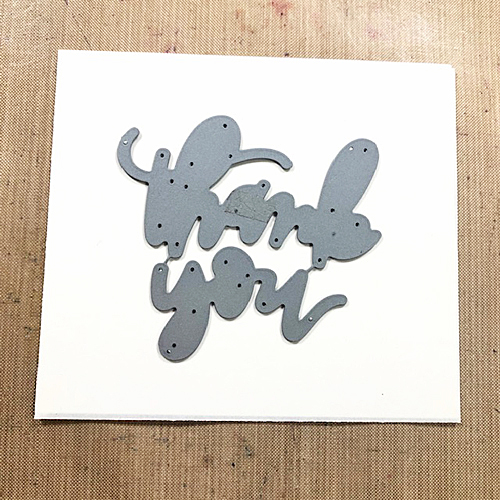
On the adhesive side of the cardstock, center “Thank You” die and run through a manual die-cutting machine. Remove the die cut.
Note: Use the rounded tip of the bone folder to gently burnish the Adhesive Sheet liner of the die cut to ensure the adhesive transferred to the die cut.
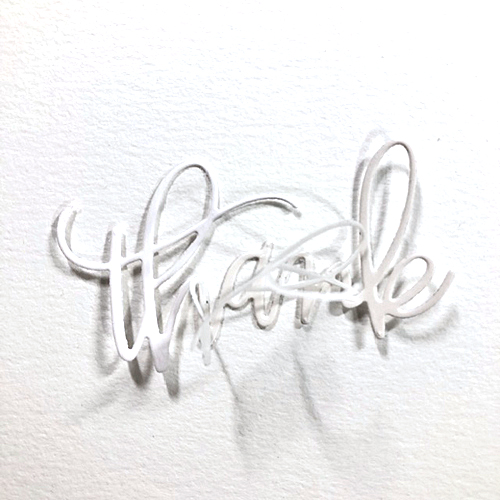
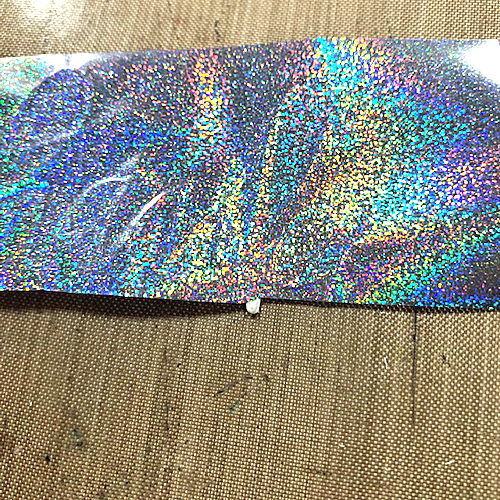
Trim the Metallic Transfer Foil Sheet Holographic in Silver to size – just enough to cover the sentiment. Remove the top liner of the sentiment to apply the foil. Place the foil color UP (facing you) over the die cut and gently burnish with your finger to transfer the color. Re-foil areas that did not cover the first time.
The Finishing Touches
Adhere the foiled thank you sentiment to the center of the oval using E-Z Runner® Micro Refillable Dispenser. The oval will be adhered using Thin 3D Foam Squares Black Mix for a subtle dimension.

After the center oval has adhered, wrap the red sparkle twine around the bottom of the card. Secure the ends by tying in a bow. Secure the bow with an Adhesive Dots Small.
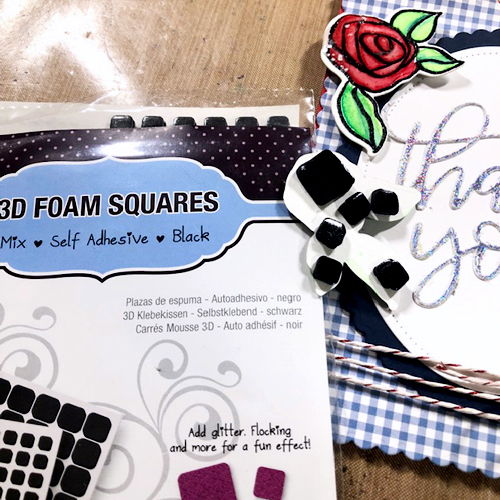
Begin securing all the roses and leaves, using a variety of layers of the Thin 3D Foam Squares Black Mix AND 3D Foam Squares Black Mix. I love that you have choices in height!
Thanks for stopping by!
Lisa Adametz
Creative Time: 45 minutes
Skill Level: Intermediate
Materials Needed
Scrapbook Adhesives by 3L®
E-Z Runner® Ultra Strong Refillable Dispenser
Adhesive Sheets 4 x 6-inch
Metallic Transfer Foil Sheets Holographic (Silver Color)
E-Z Runner® Micro Refillable Dispenser
Thin 3-D Foam Squares Black Mix
3D Foam Squares Black Mix
Adhesive Dots Small
Other
Ink: Tsukineko (Versafine Onyx Black Pigment Ink); Clear Embossing Powder; Watercolor Pencils: Faber-Castell (Albrecht Dürer Watercolor Pencils); Craft Dies: Avery Elle (Sweet Scallops Die Set), Pretty Pink Posh (Thank You Script Die) and Altenew (Bamboo Rose Die Set); Stamp: Altenew (Bamboo Rose Stamp Set); Red Sparkle Cord: Lawn Fawn; Check Patterned Paper: My Favorite Things (Tiny Check 6” x 6” Paper Pack); Red, White, and Navy Cardstock
Pin It!
Visit our Website and Blog!
Sign up for our Newsletter so you never miss a contest or giveaway!


By Margie Higuchi May 30, 2019 - 10:21 am
Welcome, Lisa!! It’s great to see your wonderful creations on the blog. Lovin’ the color combination (my fave) and that sentiment looks FABULOUS! Thanks for sharing your tutorial with us xo
By Lisa Adametz May 30, 2019 - 2:35 pm
Thank you so much for having me, Margie. What a joy to be back creating for SABy3L®. 🙂