
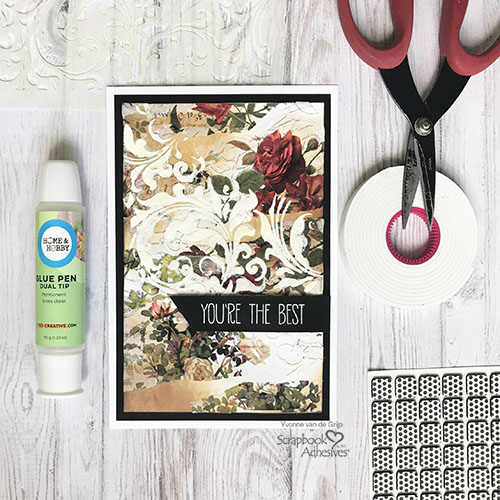
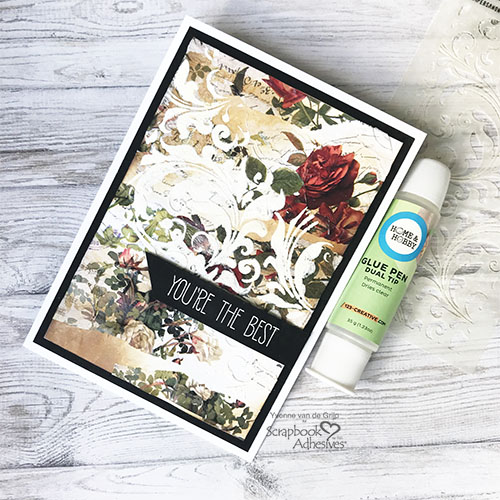
Hi everyone, Yvonne here and today I would like to show you how to make a gorgeous vintage background for your card using tissue paper. My secret ingredient for adhering is Dual Tip Glue Pen! Shall we make this card together?
Tissue Paper Card Background Steps
I created this card using tissue paper to design your own patterned paper.
Start with a rectangular white card panel and distress it by using brown ink and an ink blending tool.

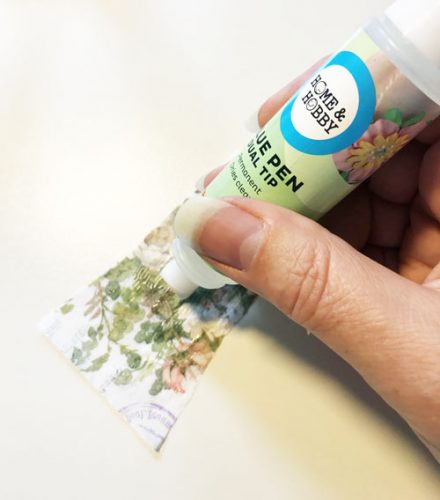
Tear some decorated tissue paper into pieces. Use the broad tip of the Dual Tip Glue Pen to apply glue to the back of the tissue paper.
Adhere the pieces to the card panel. No need to perfectly adhere them, wrinkles in the tissue paper are okay!
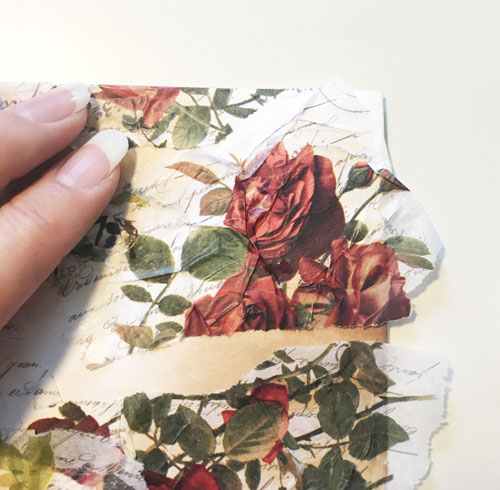
Use the pointed tip of the Dual Tip Glue Pen to place a small drop on your fingertip and rub over the loose ends of the tissue paper to adhere to the card panel.
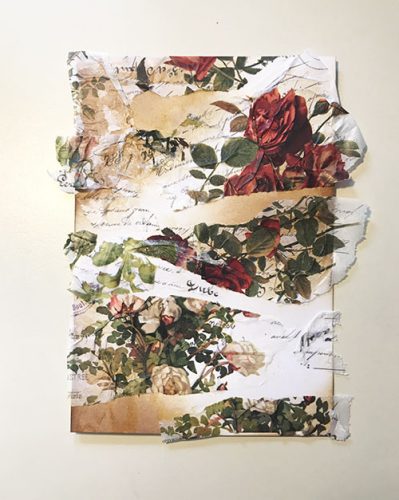
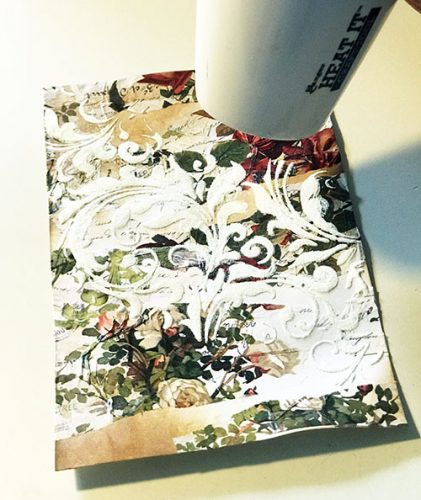
Cut excess tissue paper sticking out with scissors. If the tissue paper is still moist, let dry. Tip: you can use a heat gun to speed up the drying.
Tissue Card Panel Details
To give more depth to the tissue paper card panel, use a stencil and texture paste. After applying texture paste over the stencil, add some sparkle with dry glitter while wet. Tap off any excess glitter for a sparkly effect!
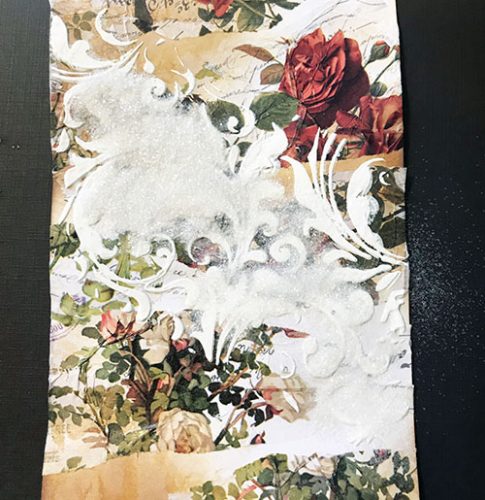
Then dry thoroughly or use a heat gun to hurry the drying process.
The Card Base
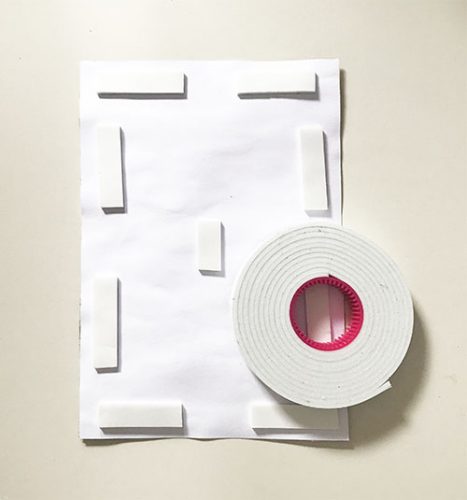
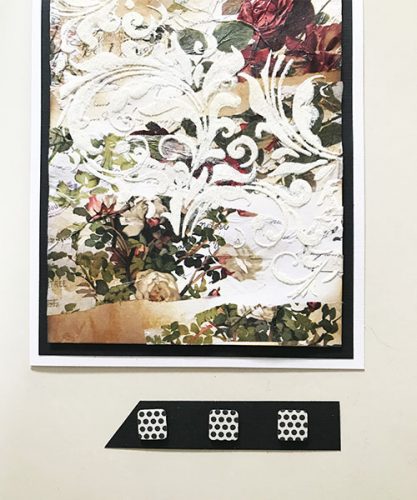
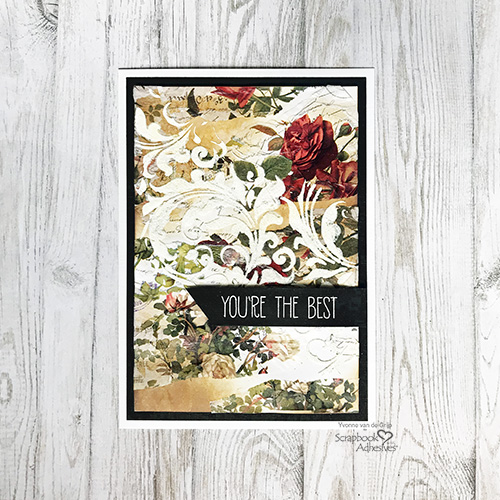
Adhere the tissue card panel onto a black card panel using Crafty Foam Tape White. Then place it on a white card base using the E-Z Runner® Ultra Strong Refillable Dispenser.
Adding the Sentiment
Stamp a sentiment onto black cardstock using watermark ink. Sprinkle white embossing powder over it and melt with a heat gun. Next, trim to banner shape and adhere to the card panel using 3D Foam Squares Black Mix.
And voila…You’re the Best Tissue Paper Card is ready. I hope you enjoyed this tutorial!
Wishing you happy crafting!
Yvonne van de Grijp
Creative Time: 45 minutes
Skill Level: Intermediate
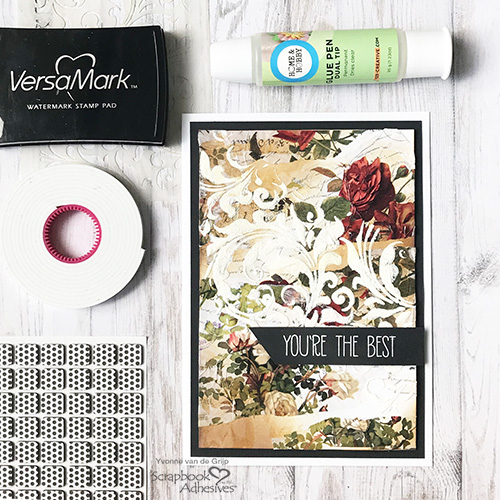
Materials Needed
Scrapbook Adhesives by 3L®
Crafty Foam Tape White
E-Z Runner® Ultra Strong Refillable Dispenser
3D Foam Squares Black Mix
HomeHobby™ by 3L
Other
White and Black Cardstock; Tissue Paper: Tim Holtz idea-ology (Collage Paper Floral); Stencil: Tim Holtz (Flourish); Glitter: Ranger Ink (Distress Dry Glitter); Embossing Powder: WOW! Embossing Powder (White); Texture Paste: Prima Marketing (Finnabair Texture Paste White Crackle); Stamp Avery Elle (Handwritten Notes); Inks: Ranger Ink (Distress Oxide Vintage Photo) and Tsukineko (Versamark Watermark Ink); Spatula; Scissors; Ink Blending Tool; Heat Gun; Bone Folder; Paper Trimmer
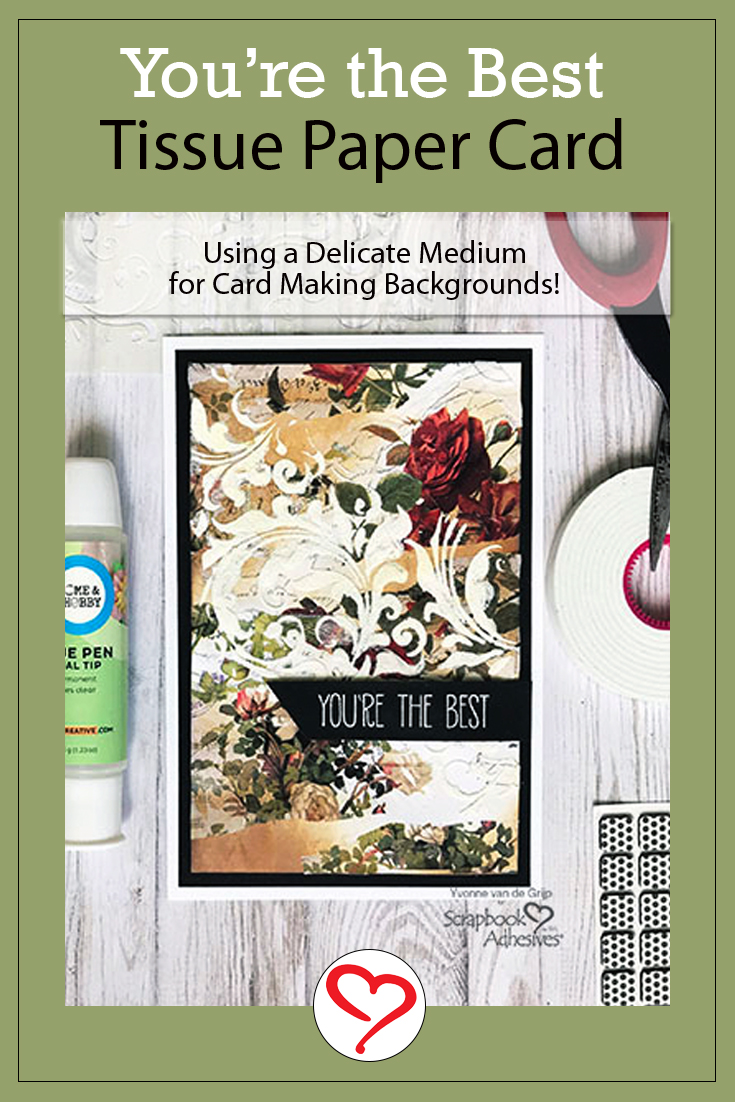
Save It to Pinterest!
Visit our Website and Blog!
Sign up for our Newsletter so you never miss a contest or giveaway!


