Hi, all! Back to school will be in session soon, and I’ve got a fun way to add a little cheer for your kids. Teri here and I’m going to show you how to make my version of skinny cards!
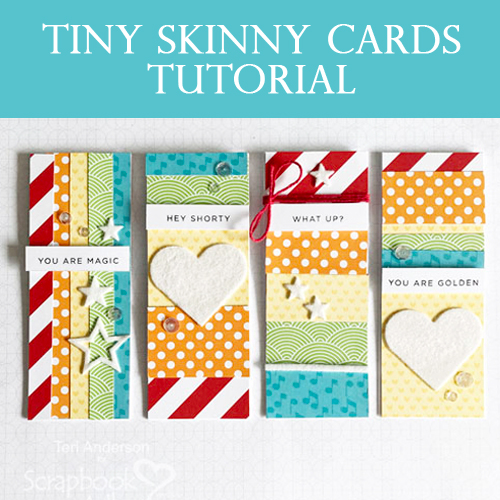
These tiny cards are perfect for leaving a quick note in your child’s lunch box or backpack to let them know you are thinking about them. Doing online schooling this year? Use these tiny cards to leave encouraging notes by their computers or tablets! Skinny cards are easy to make and can be put together quickly with a few basic papercraft supplies! Let’s get started.
Skinny Cards Basics
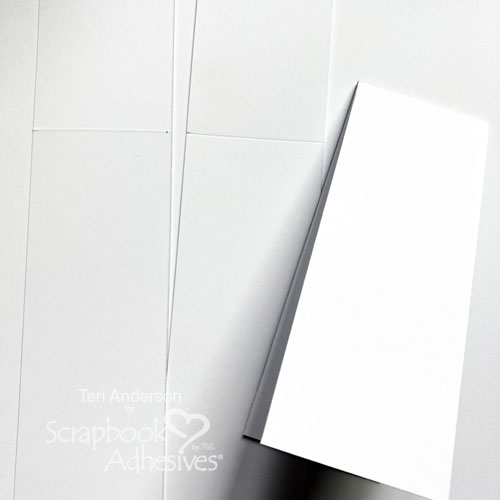
Begin by taking cutting several 2 1/8″ x 11″ pieces of cardstock. Score and fold them in half to make several skinny card bases.
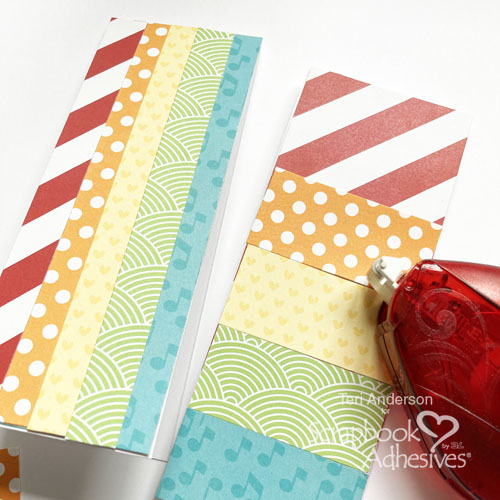
Cover your cards with patterned paper strips. You can arrange them vertically or horizontally. This is a good opportunity to use up your stash of paper scraps! Adhere the strips with the E-Z Runner® Permanent Strips Refillable Dispenser.
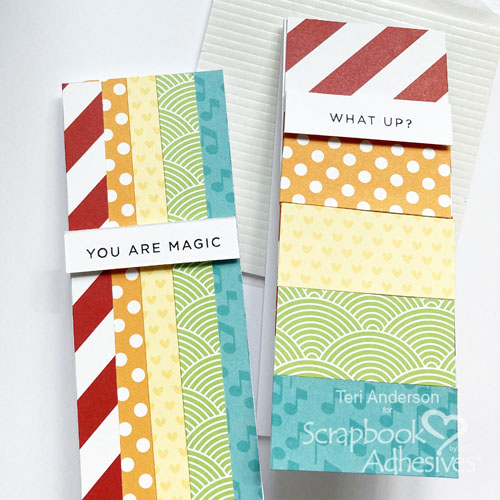
Next, stamp sentiments on strips of cardstock. Give them dimension by lifting them up and adhering them to your cards with Crafty Foam Tape or 3D Foam Strips.
Embellishing the Card Front
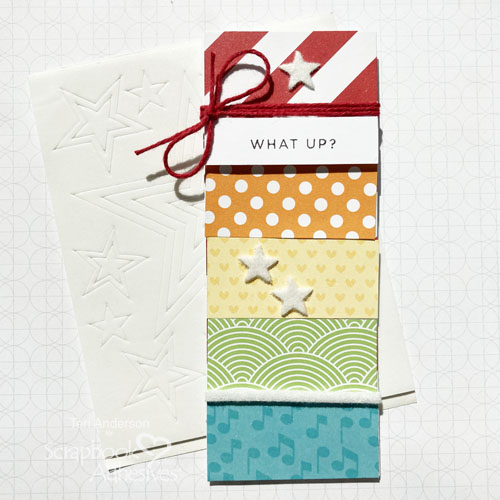
Apply several 3D Foam Stars (or some other 3D Foam shape of your choosing) to your cards. Remove the release paper and apply flock or glitter to the stars. Want them to sparkle? Try using the Metallic Transfer Foil Sheets instead!
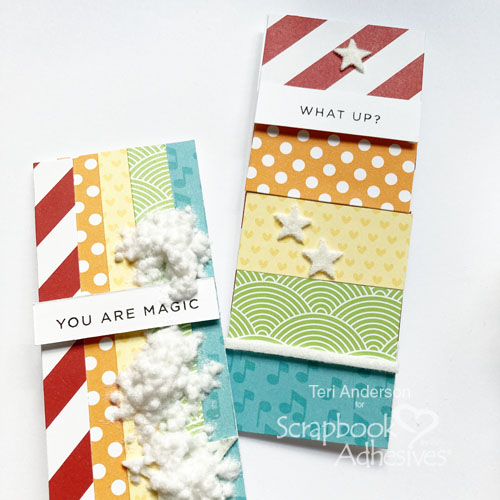
Complete your cards by adding some twine or sequins and securing them with Adhesive Dots Micro.
Design for a Different Look
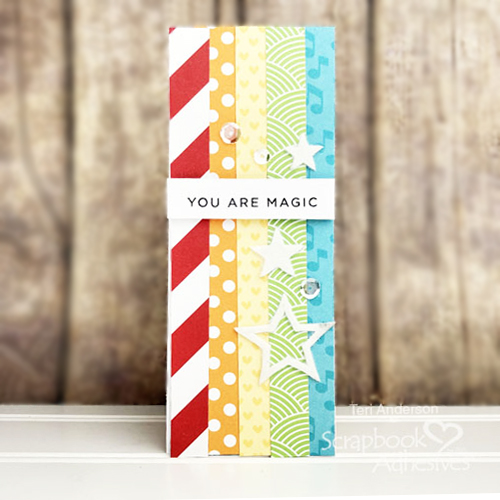
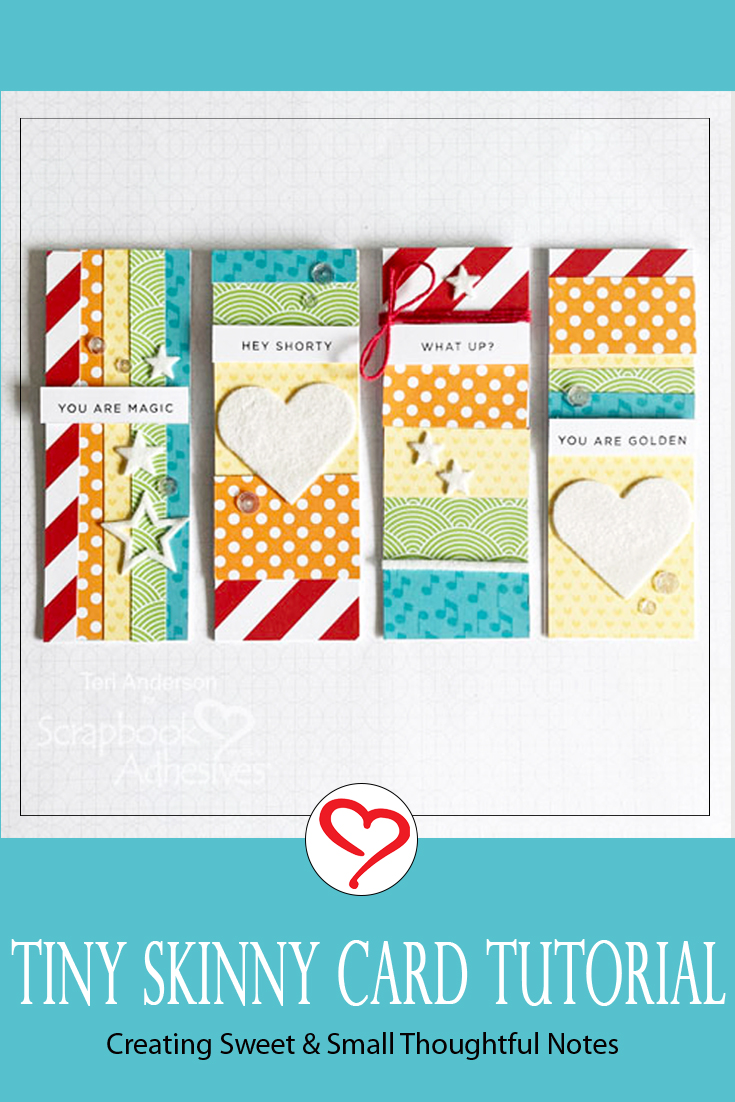
It’s easy to change up the look of these skinny cards! Rather than decorating your skinny cards with paper strips that are approximately the same size, mix it up! Use big strips and small strips.
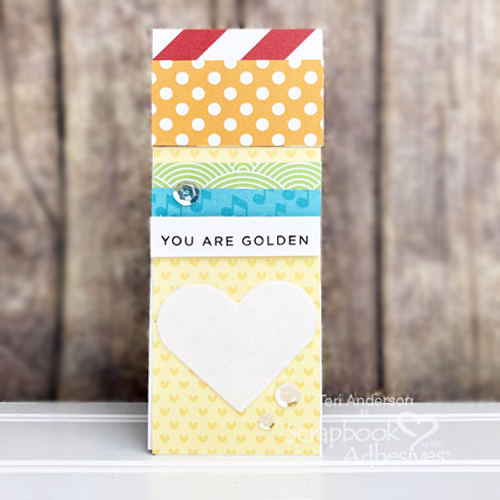
Consider decorating your cards with something rather than stars. 3D Foam Hearts are a nice alternative as hearts work with most card sentiments. Or die-cut your favorite shape with the 3D Foam Creative Sheets. Many options!
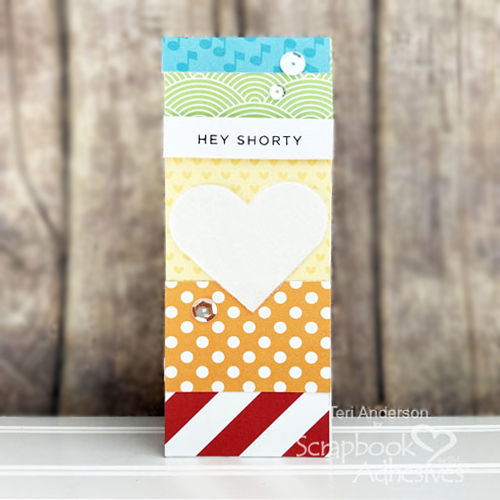
Another option is using paper die-cuts instead. Cut several of the same die cuts from cardstock. Stack them on top of each other and then adhere them to your skinny cards with the E-Z Dots® Permanent Refillable Dispenser.
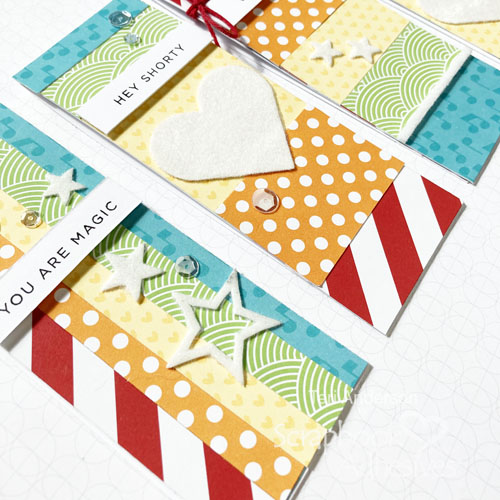
I hope you enjoyed this tutorial and are inspired to make some skinny cards of your own. Remember, there are no rules when it comes to making skinny cards. Decorate them however you want them to look!
Happy creating,
Teri Anderson
Creative Time: 45 Minutes
Skill Level: Beginner
Materials Needed
Scrapbook Adhesives by 3L®
- E-Z Dots® Permanent Refillable Dispenser
- E-Z Runner® Permanent Strips Refillable Dispenser
- 3D Foam Hearts, 3D Foam Stars, 3D Foam Strips
- Adhesive Dots Micro
Other
White Cardstock: Georgia Pacific; Patterned Papers: Doodlebug Design, Lawn Fawn, American Crafts; Stamps: Simon Says Stamp! (Simple Sentiments No. 1 Stamp Set); Black Ink Pad: Ranger Ink; Flock: Stampendous!; Twine: Whisker Graphics; Sequins: Pretty Pink Posh
Love It? Save It to Pinterest!
Visit our Website and Blog!
Sign up for our Newsletter so you never miss a contest or giveaway!


