
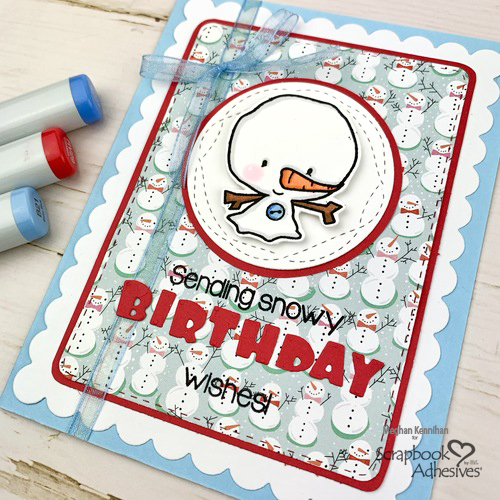
Hi Crafty Friends, Meghan here and I am back again! It’s almost the NEW YEAR which means I’m guessing your Birthday Card stash is depleted. I created a Snowy Birthday Wishes card using a variety of Scrapbook Adhesives products to inspire you to start stocking up that birthday stash again.
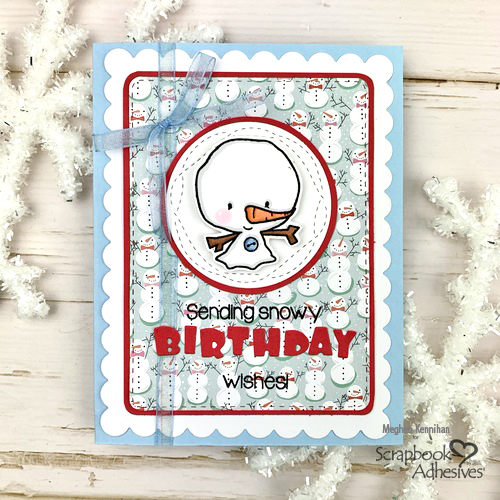
Snowy Birthday Wishes Layers
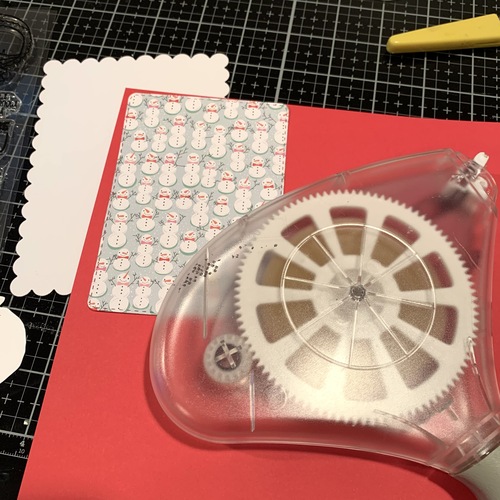
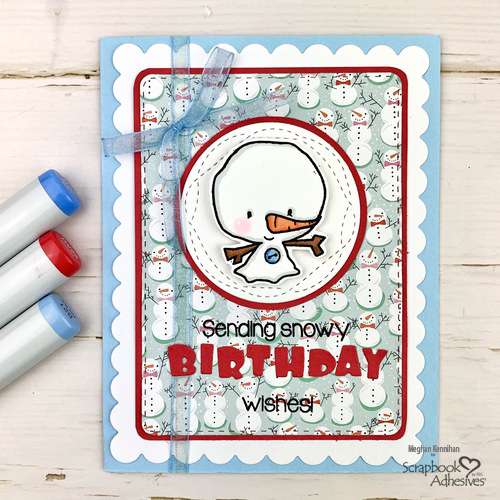
Step #1: To build my card layers, I adhered my scalloped panel to the blue card base with the E-Z Runner® Grand Refillable Dispenser (my FAVORITE tape runner). Next, layer the snowman panel to a red mat. Don’t forget to round the corners on the red layer.
Birthday Sentiment
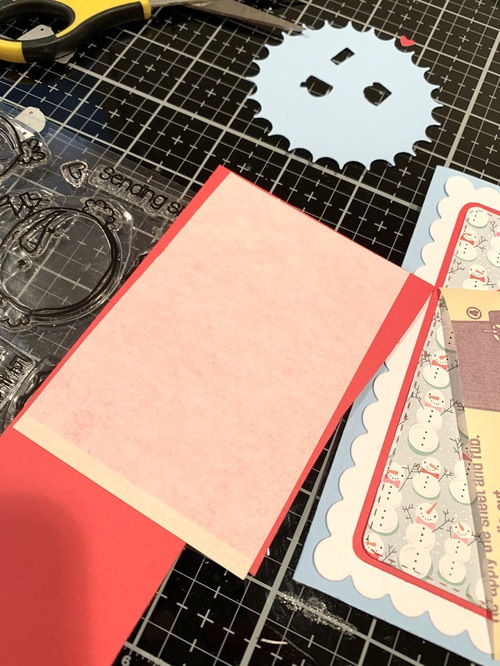
Step #2: On another piece of red cardstock, apply an Adhesive Sheets 4 x 6-inch on the back. Then die-cut the word BIRTHDAY and set them aside. After assembling the other pieces I will know how to place the sentiment.

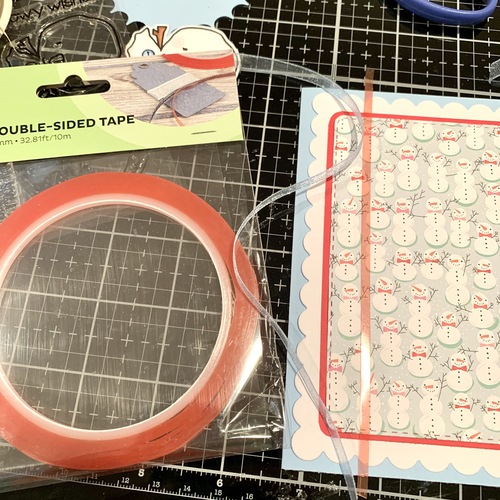
Step #3: To adhere the sheet ribbon on the edge of the card front, I used Extreme Double-Sided Tape 1/8-inch. I love this tape because it’s clear and is so strong for holding onto any ribbon even silky material.
Card Making Details
Step #4: Die-cut two circle mats in red and white cardstock. Then I used the smaller size of the 3D Foam Circles White Mix on the back of my darling stamped and colored snowman just to make him stand out from the card to place on top of the layered circles.
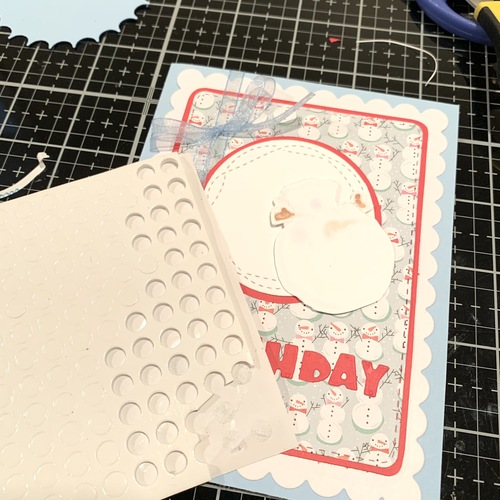
Step #5: I peeled off the yellow paper from my BIRTHDAY letters and adhered them to my card. It’s so convenient to use adhesive sheets for this because the letters are SO SMALL and this way you don’t have to deal with messy glue. Plus the adhesive covers edge-to-edge on the letters (think secured)!
Hope you enjoyed this Snowy Birthday Wishes tutorial! I will be back next month so stay tuned!
Meghan Kennihan
Creative Time: 45 minutes
Skill Level: Intermediate
Materials Needed:
Scrapbook Adhesives by 3L®
Adhesive Sheets 4 x 6-inch
E-Z Runner® Grand Refillable Dispenser
3D Foam Circles White Mix
HomeHobby™ by 3L
Extreme Double-Sided Tape 1/8-inch
Other
Stamps: C.C Designs Snow Peeps Stamp Set; Craft Dies: My Creative Time Frame Collage Dies
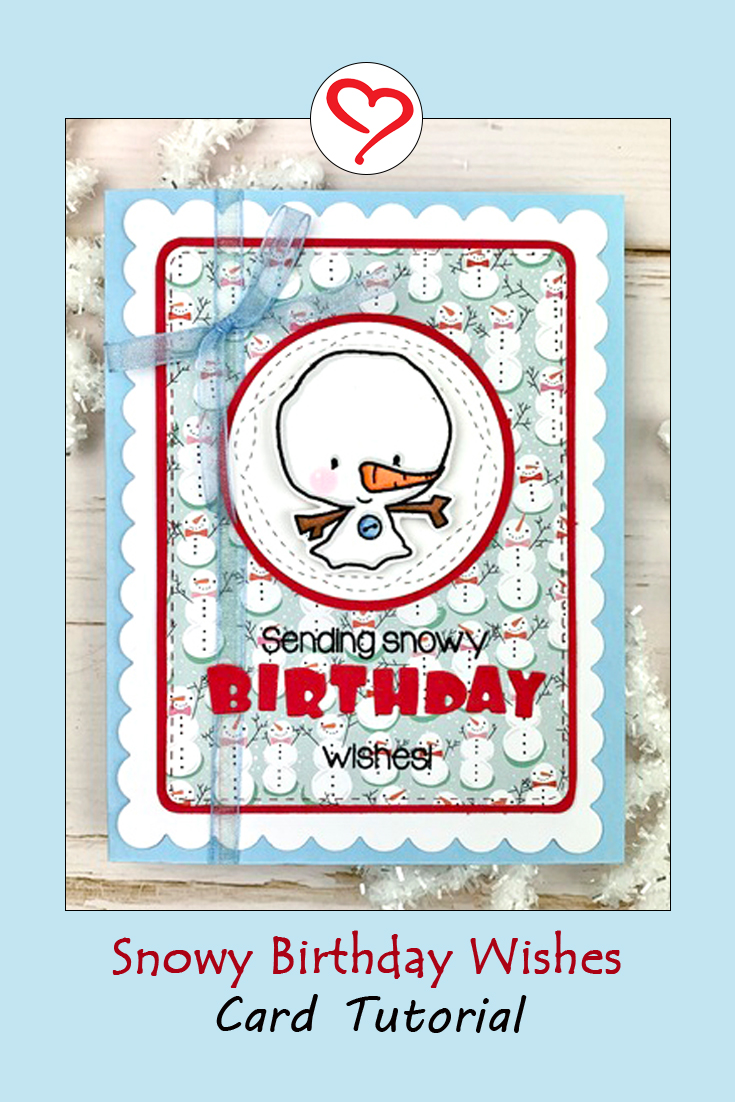
Save It!
Visit our Website and Blog!
Sign up for our Newsletter so you never miss a contest or giveaway!


By Denise Bryant January 26, 2021 - 4:36 pm
Super cute card! I love that tip about using the Extreme Double-Sided Tape for attaching the sheer ribbon! Great idea, and so much neater than using glue!