
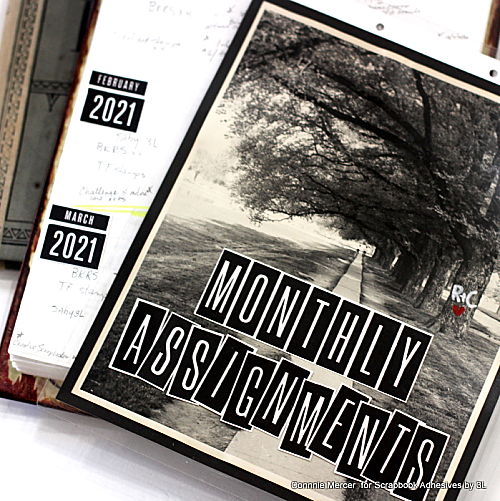
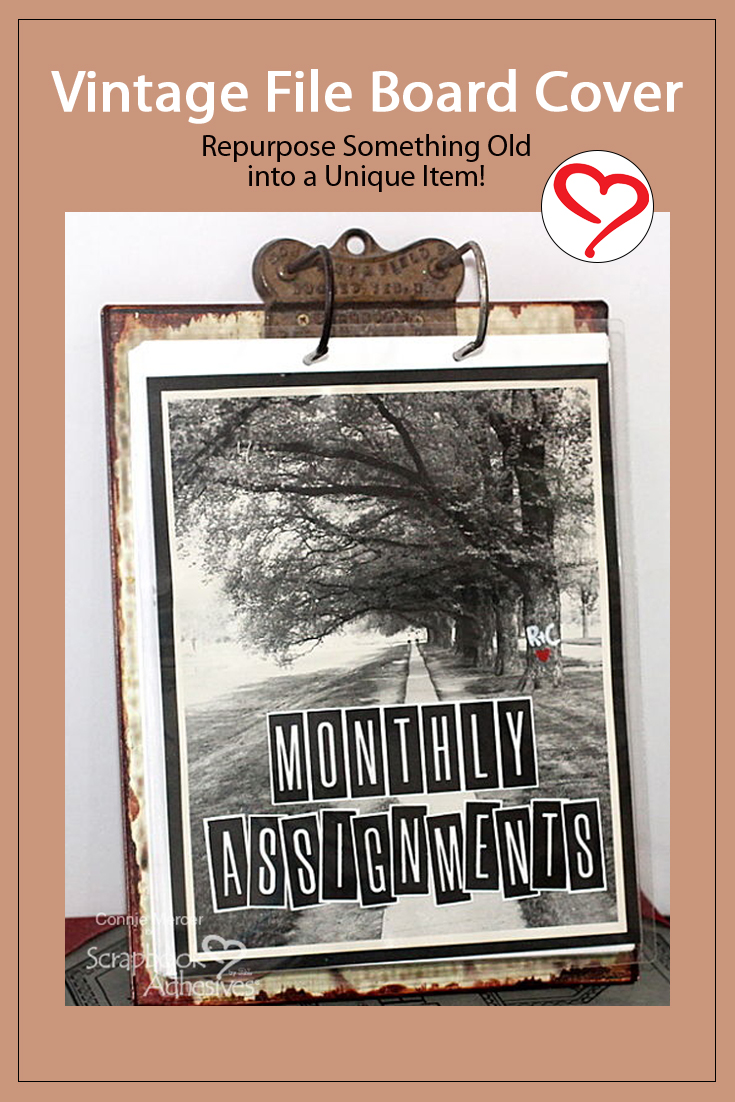
Hi, Connie here with a really cool project. It’s a Cover, for a lack of a better word, to be placed in front of a Vintage File Board. The Self-Laminating Pouches-cards XL made this task easy to achieve. And I almost left out FUN!!!
I keep track of all my design work and dates so I don’t forget. It is also a great place to keep track of products, magazines, and other industry information that is important to me. This can be easily re-designed by using pattern paper and calendar pages for the inside.
Vintage File Board Supplies
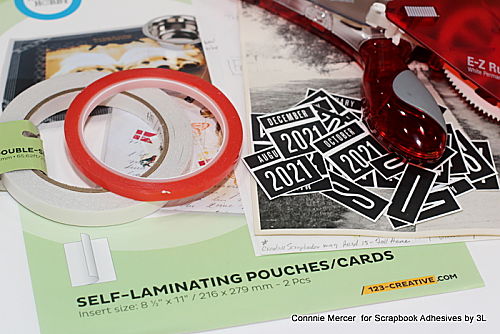
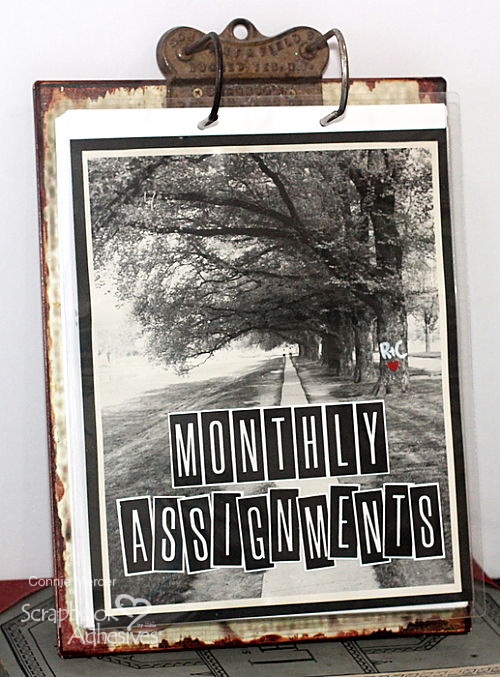
Gather some of my HomeHobby products and faithful E-Z Runner Grand Refillable Dispenser as my foundation. Also, an Alphabet stamp set, and a Calendar stamp set, together with the Archival Black ink. My project is centered around an 8 x 10″ vintage photo.
Vintage Cover Instructions
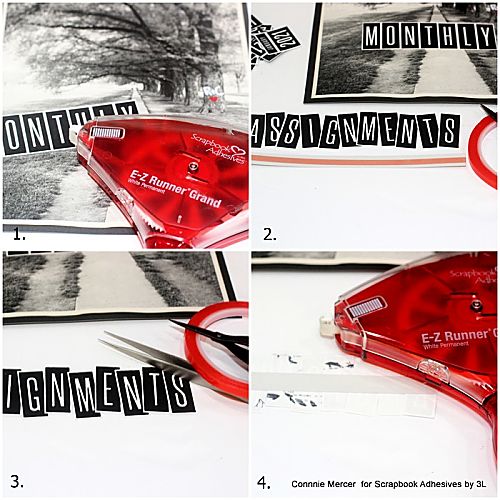
- Stamp all the letters, months and numbers, on white cardstock, with black ink, and trim out. Using the E-Z Runner Grand Refillable Dispenser, mat the vintage photo to the black cardstock.
- Add the title (MONTHLY) to the front of the photo with the E-Z Runner Grand Refillable Dispenser. Apply Extreme Double-Sided Tape 1/4″ to a strip of cardstock.
- Remove the liner and add each letter on the cardstock strip creating the word, ASSIGNMENTS. This makes it easier to get the placement of each letter correct.
- Adhere under the word MONTHLY with the E-Z Runner Grand Refillable Dispenser.
Inside Pages and Cover
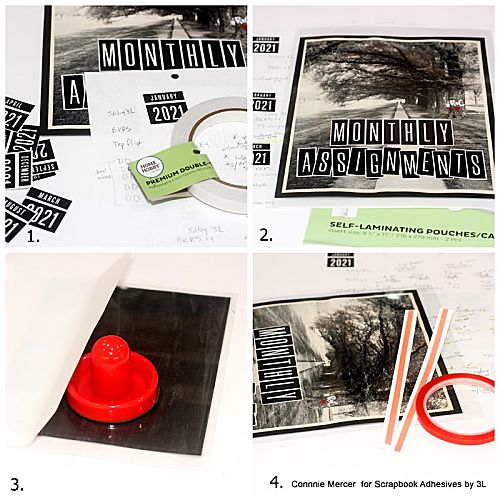
- Use the Premium Double-Sided Tape 1/2″ to secure each month and year stamped cut out onto each area on the page.
- When the pages are completed set aside and let’s work on the cover.
- Insert the Vintage Photo inside the Self-Laminating Pouches/Cards XL (making sure it is straight and the margins on all sides are equal). Gently pull the release sheet back. I used a Hockey puck to rub back and forth for a smooth finish. It worked great!
- Lastly, make a strip for the top of the cover to be punched. With the Extreme Double-Sided Tape 1/4″, adhere both the front and back of the Vintage Photo Cover. Punch two holes so it will fit on the Vintage File Board.
Thanks for stopping by!!
Connie
Creative Time: 90 minutes
Skill Level: Intermediate
Materials Needed
Scrapbook Adhesives by 3L
E-Z Runner Grand Refillable Dispenser
HomeHobby™ by 3L
Self-Laminating Pouches/Cards XL
Extreme Double-Sided Tape 1/4″
Premium Double-Sided Tape 1/2″
Other
Stamps: Kerri Bradford, Ink: Ranger Ink (Archival/Black Ink), 8 x 10″ Vintage Photo, Cardstock, Hole Punch
Pin It!!
Visit our Website and Blog!
Sign up for our Newsletter so you never miss a contest or giveaway!


