
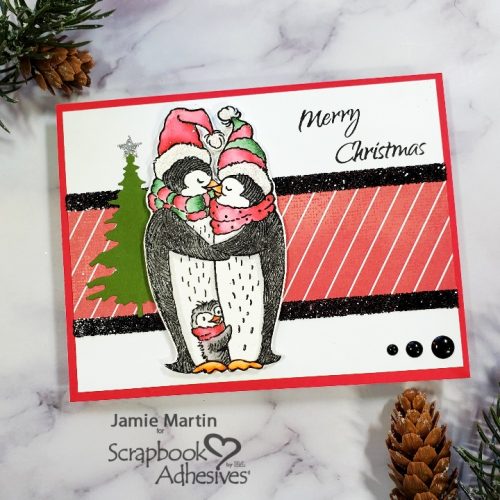
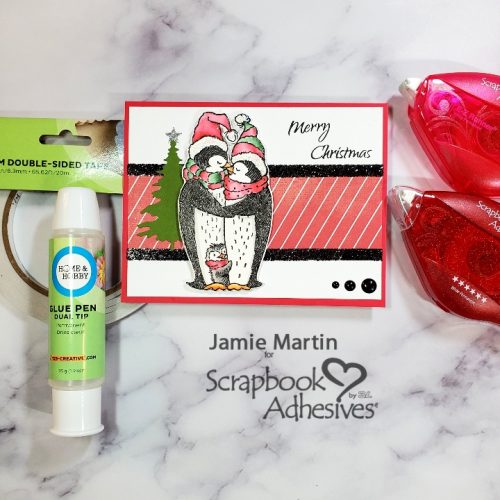
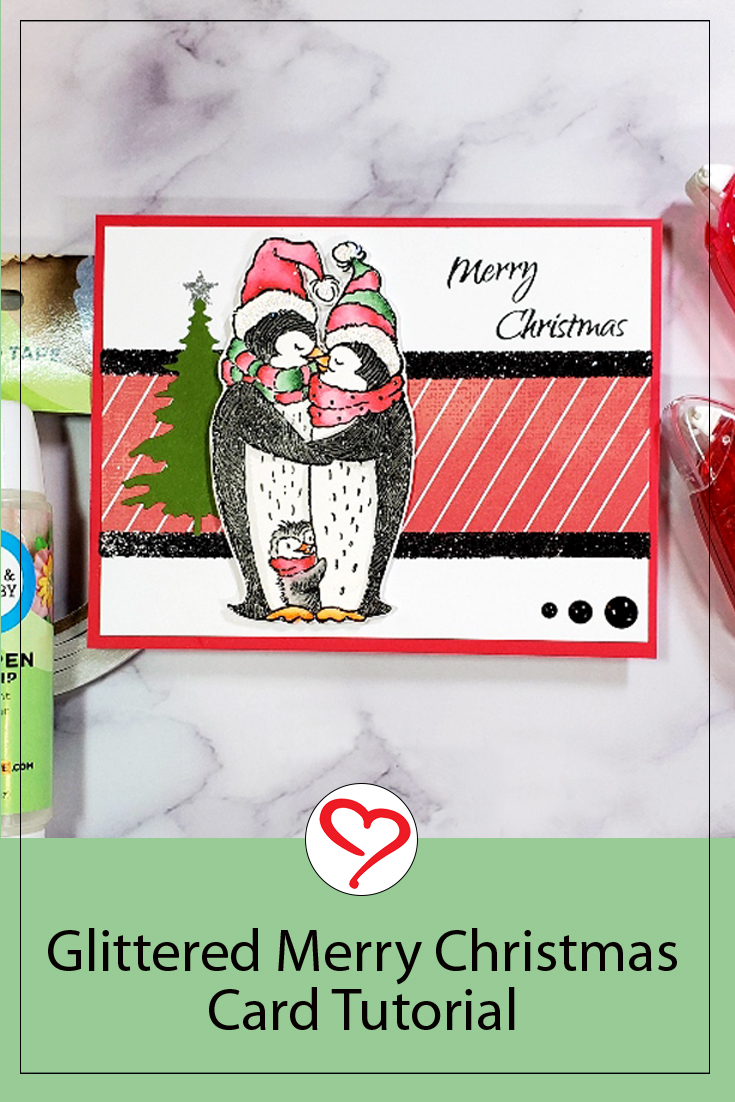
Hi and happy December 1st! Jamie here with you today and if you haven’t started those Christmas cards, it’s time to get on it! I am sharing this sweet penguin-themed Glittered Merry Christmas Card. Let me show you how to make this sparkle!
Glittered Merry Christmas Card Base
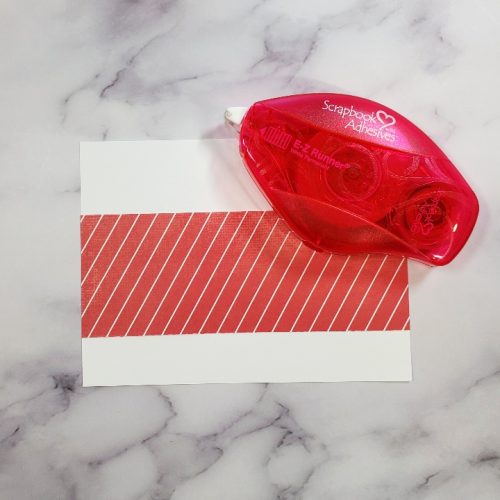
To make my card, I cut white cardstock to make a 4″ x 5 1/4″ panel and then a strip of 2″ x 5 1/4″ decorative paper. Use the E-Z Runner® Permanent Strips Refillable Dispenser to attach the strip to the card panel.
Wear Your Adhesive on the Outside
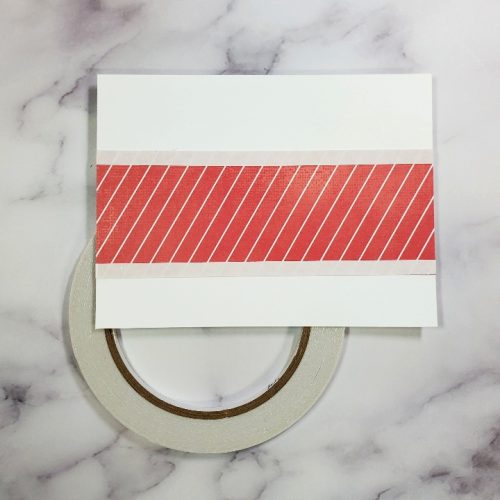
Next, I wanted to add a strip of glitter to the top and bottom of the decorative paper, to do this I placed Premium Double-Sided Tape 1/4″ to the top and bottom.
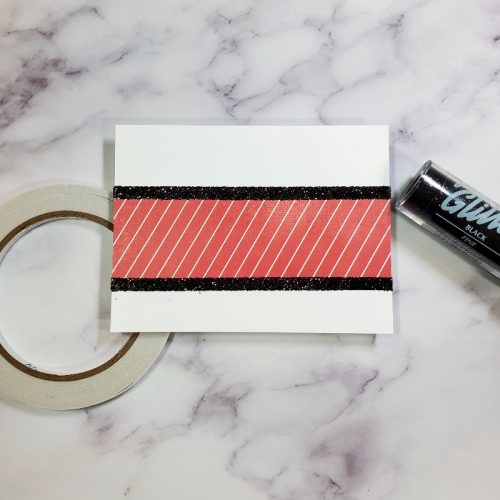
Cover the glitter over the Premium Double-Sided Tape 1/4″ and rub it with my finger to secure it before tapping off the excess.
Adding the Penguin Family
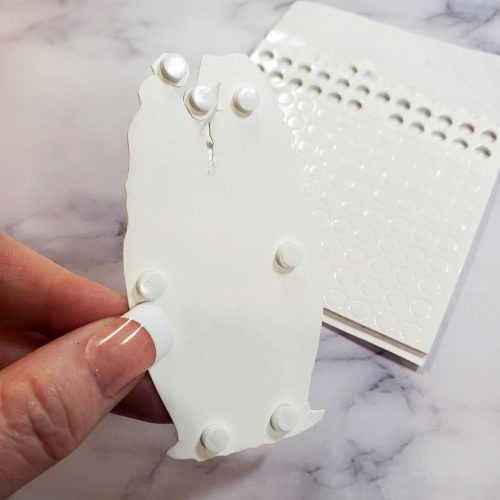
Stamp the penguin image on watercolor paper with Onyx Black VersaFine Ink and heat emboss with clear embossing powder. Next, color with Clean Color Real Brush Pens and cut out. Add 3D Foam Circles White Mix on the back of the image and place it on the left side of the card for dimension.
A Christmas tree was die-cut from green paper and glued behind the penguins using the Dual Tip Glue Pen. Apply a star from the E-Z Runner Stars to the top of the tree. Stamp the sentiment at the top right of the card and lastly, add three enamel dots along the bottom right side.
Skill Level: Intermediate
Creative Time: 35 minutes
Materials Needed:
Scrapbook Adhesives by 3L®
3D Foam Circles White Mix
E-Z Runner® Permanent Strips Refillable Dispenser
E-Z Runner® Stars Refillable Dispenser
HomeHobby™ by 3L
Premium Double-Sided Tape 1/4″
Dual Tip Glue Pen
Other
Stampendous- Penguin Nestle Red Rubber Stamp Set, Black Fine Glitter, Silver Ultra Fine Glitter
Rubbernecker Stamps- Die
PrintWorks- Cardstock
Save to Pinterest!
Visit our Website and Blog!
Sign up for our Newsletter so you never miss a contest or giveaway!


