Hi everyone, Yvonne here with a Cute Little Tiger Card. To add a little extra sparkle to the card, I accented it with a subtle gold dotted background using the Wear Your Adhesive on the Outside technique.
I would love to share how I made my card. Would you like to join me?
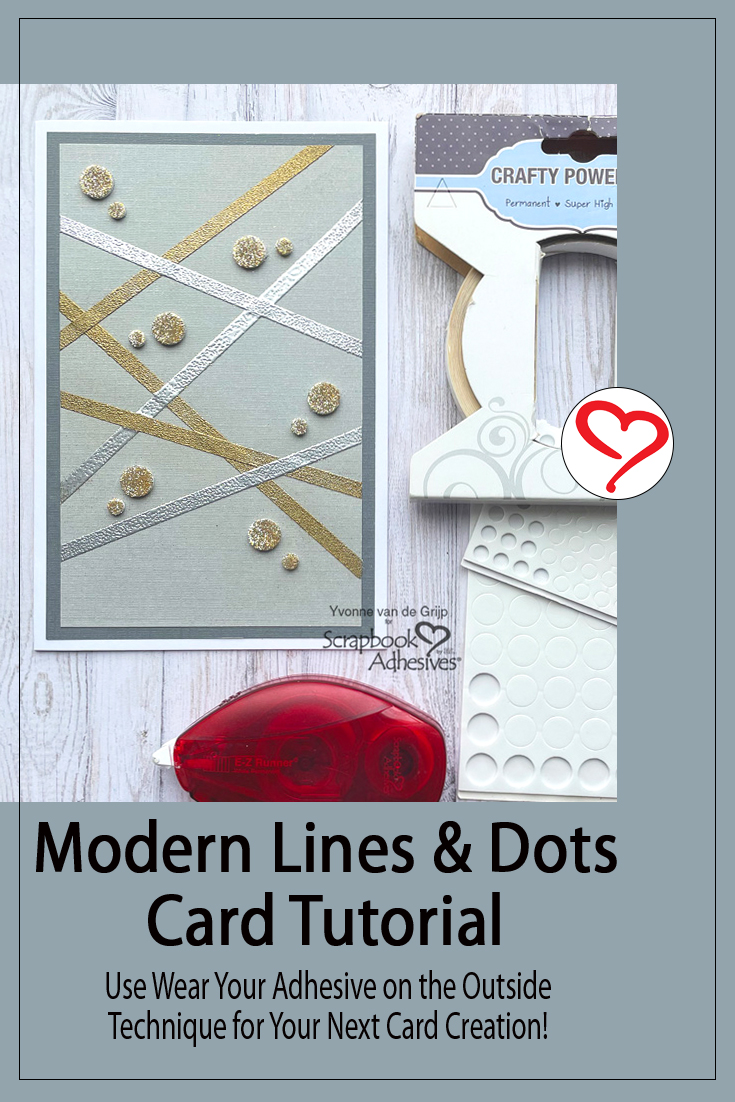
Creating the Tiger Card Panel
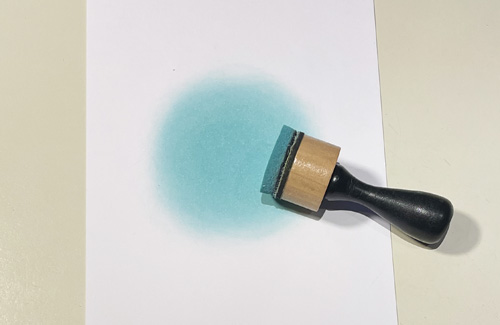
Make a blue circle on a piece of white cardstock with blue chalky ink and an ink blending tool. Just add a dab of the blue ink to the center of the cardstock and rub it in a circular motion. This creates a lovely “glow” of blue background for the Cute Little Tiger Card. Designer’s Tip: Use a chalky ink to give it a better glowing effect, as it dries slowly than normal ink and is easier to blend.
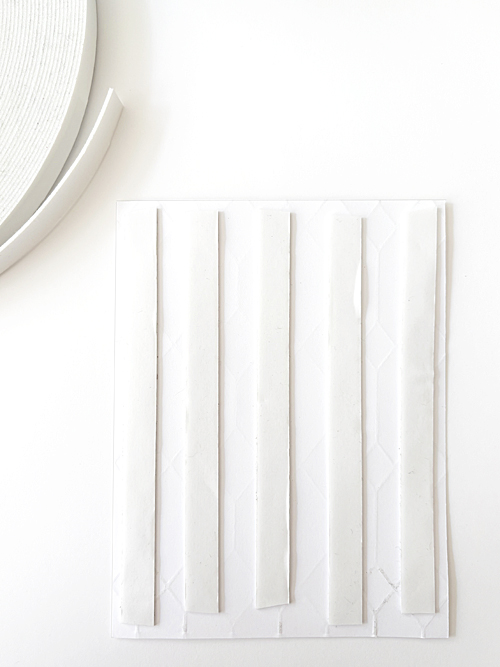
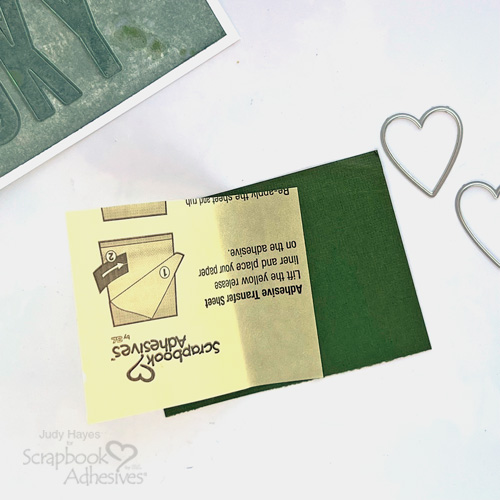
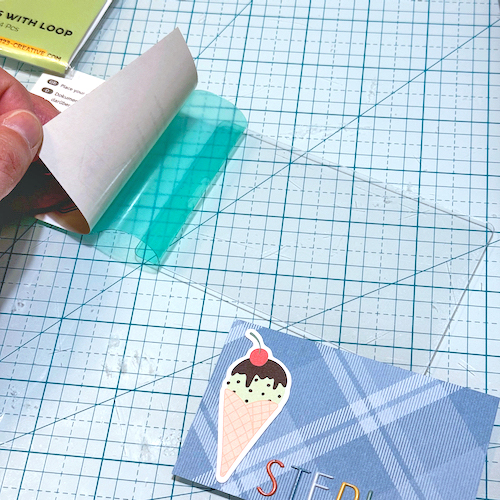
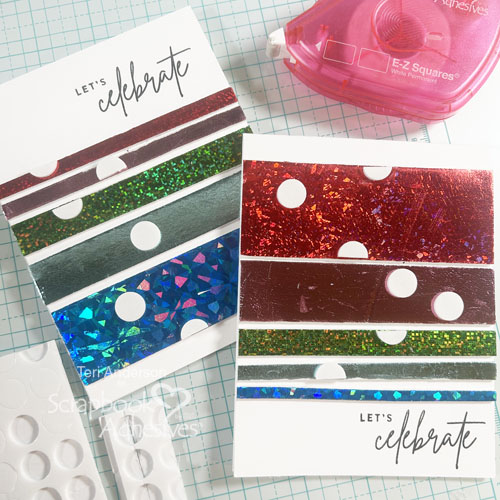
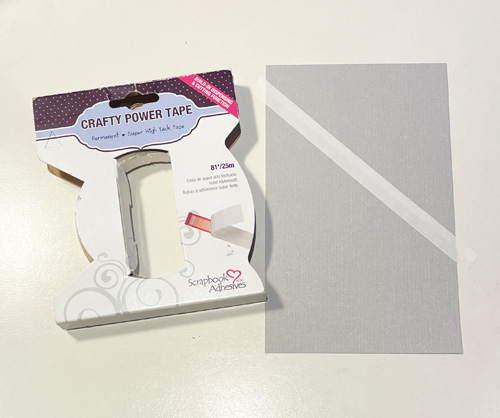
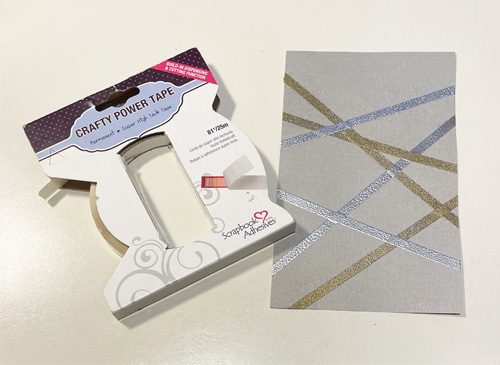
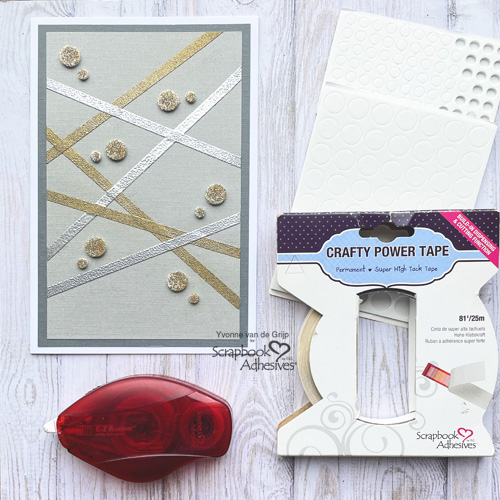
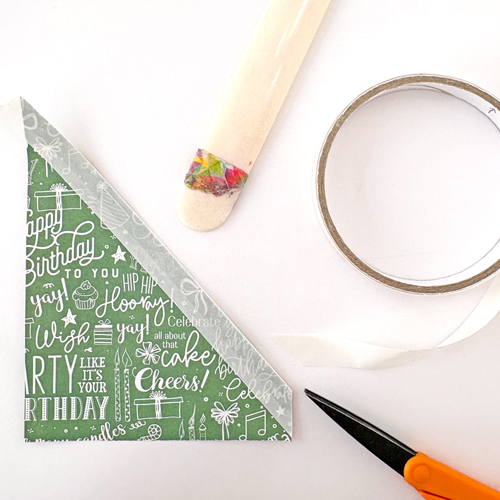
Wear Your Adhesives on the Outside with E-Z Dots®
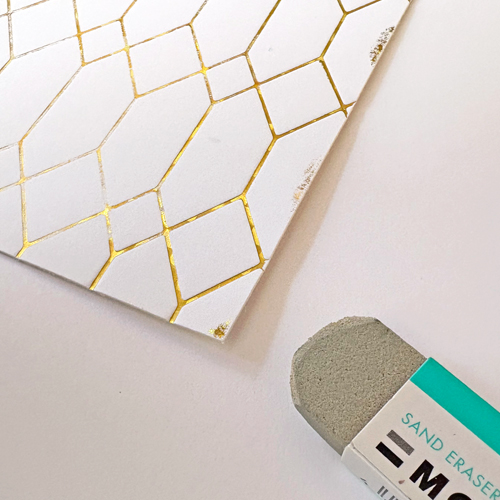
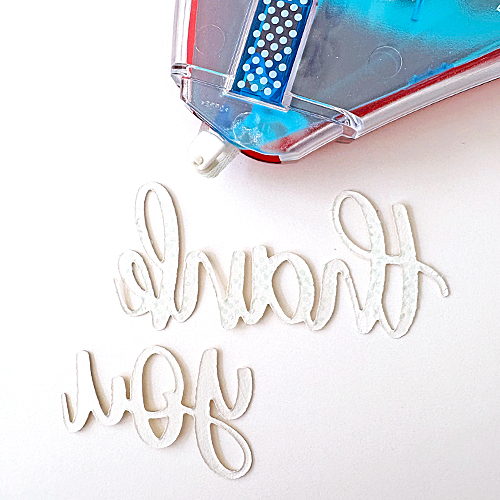
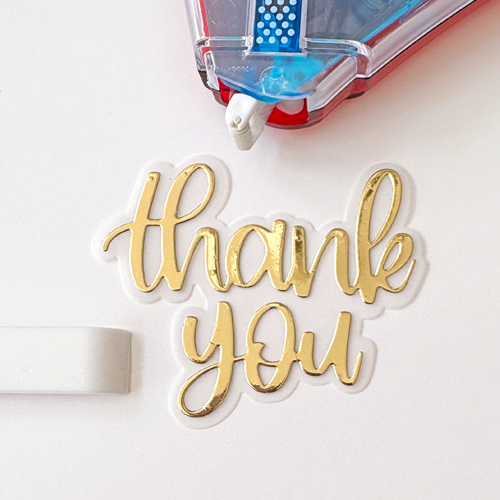
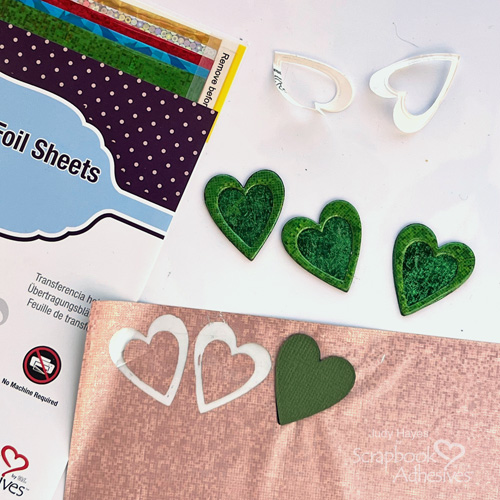
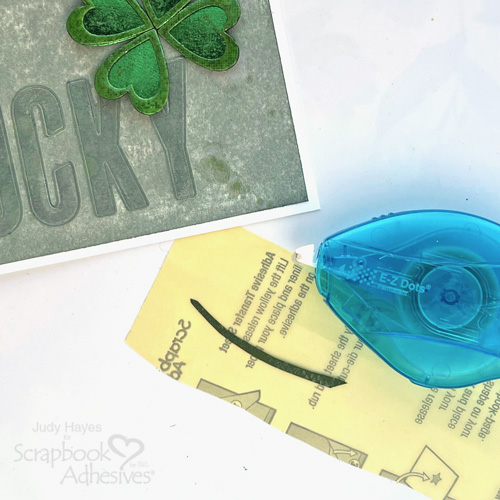
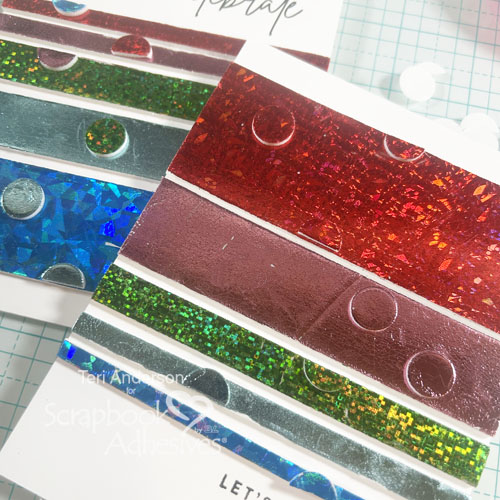
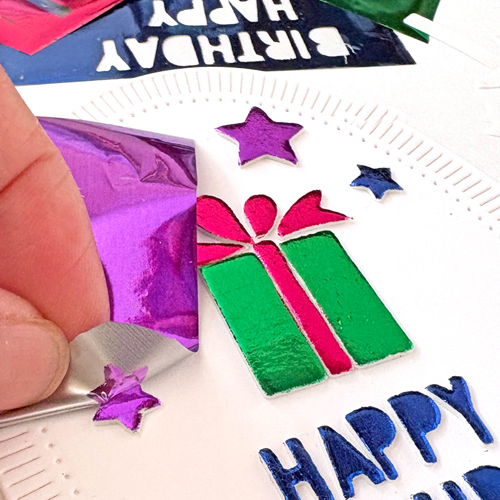
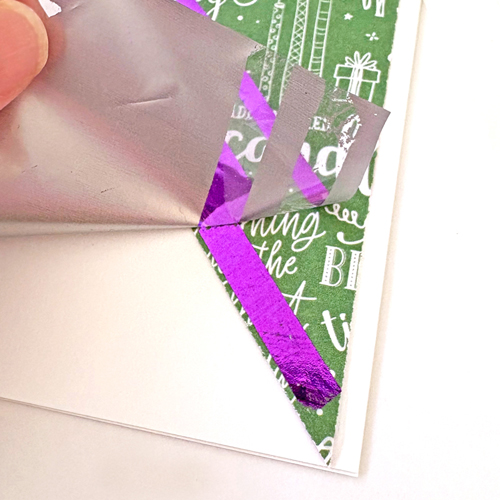
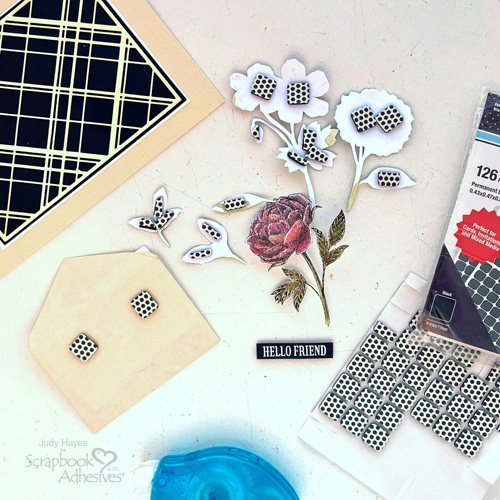
Roll and tap the E-Z Dots® Refillable Dispenser across the inked circle, leaving tiny glue dots, as shown in the image. Next, take a piece of gold foil from the Metallic Transfer Foil Sheets Pastel Colors and with the color side facing you tap on the exposed dotted adhesive. Rub the foil to transfer the color. Reapply the foil in missed areas.
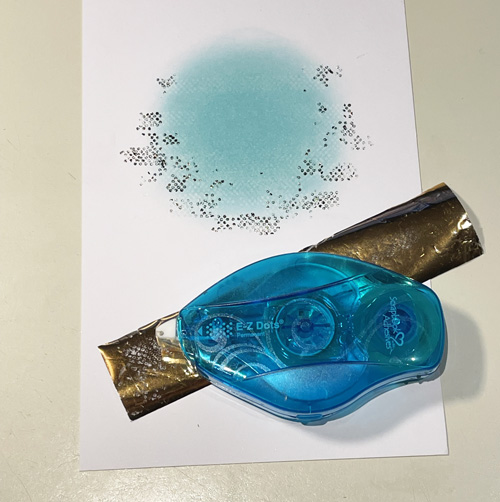
This Wear Your Adhesive on the Outside technique makes your adhesive into embellishments.
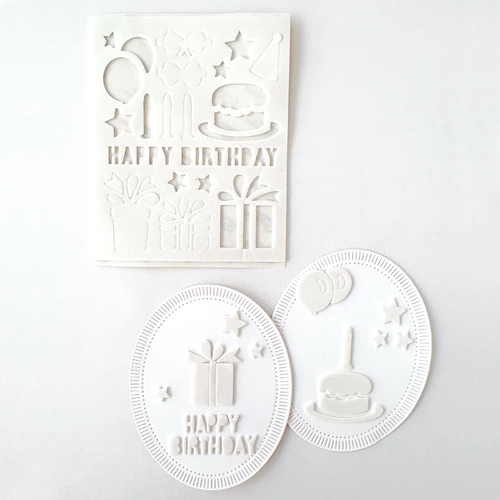
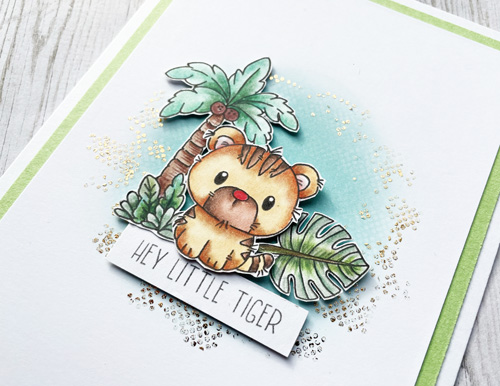
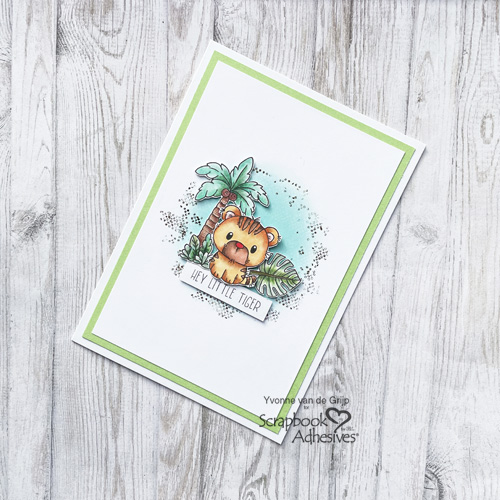
Cute Little Tiger Elements
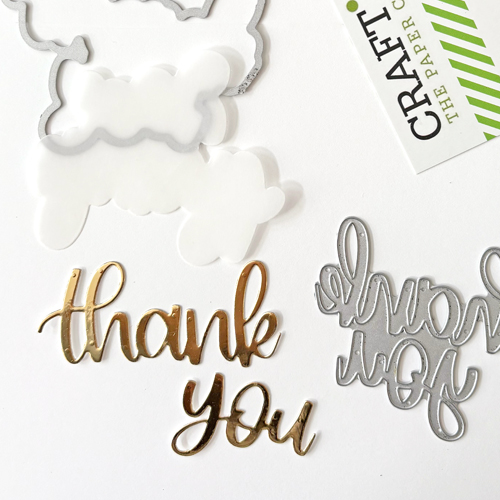
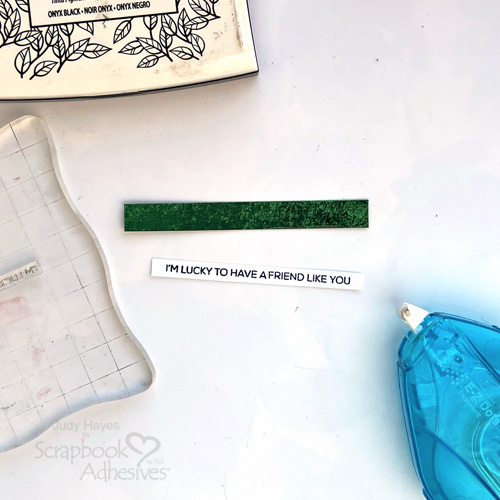
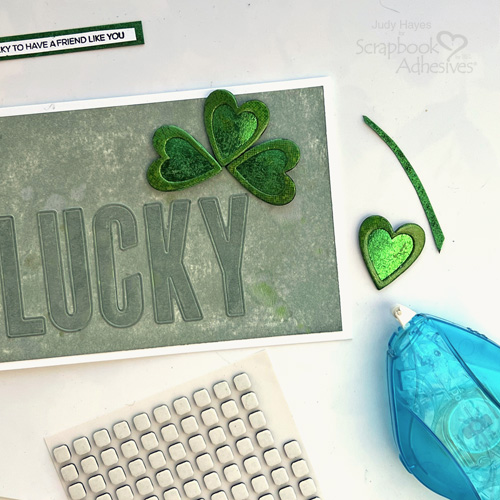
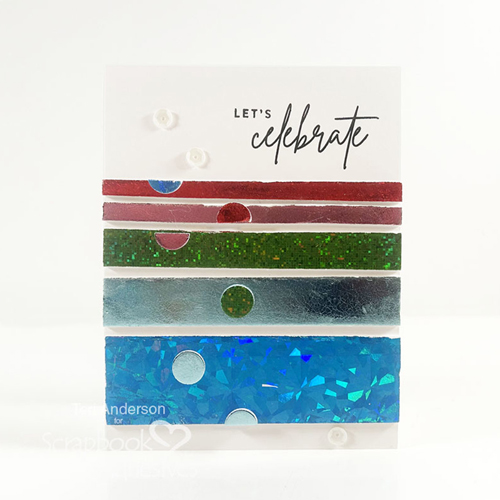
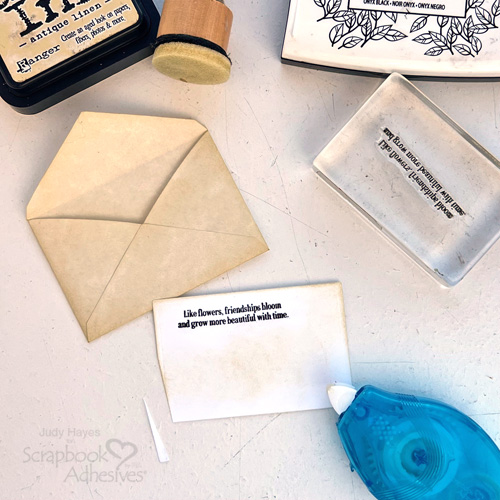
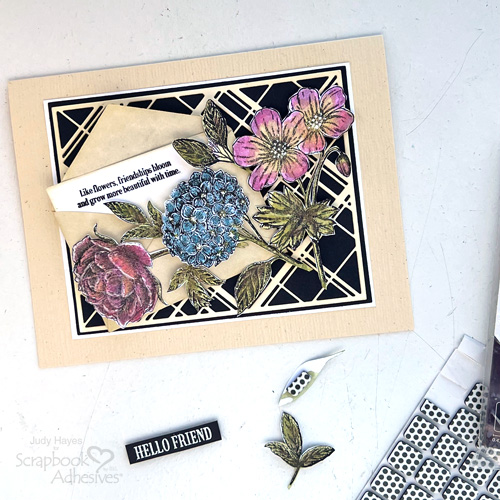
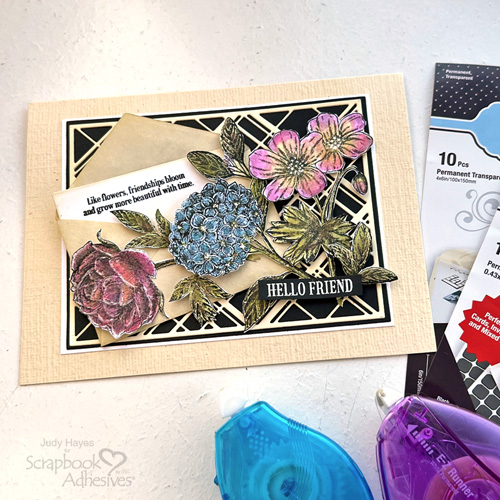
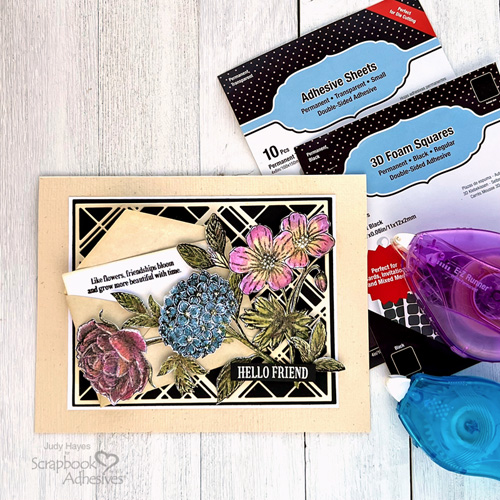
For my Cute little Tiger Card, I stamped a little tiger, a palm tree, and a leaf on a piece of white cardstock. Next, I colored the images with color pencils, and fussy cut them. Adhere the palm tree and the leaves to the card using Thin 3D Foam Squares White Mix. Using 3D Foam Squares White Mix, I secured the little tiger for an extra lift. Lastly, cut a sentiment banner and adhere to the card with Thin 3D Foam Squares White Mix.
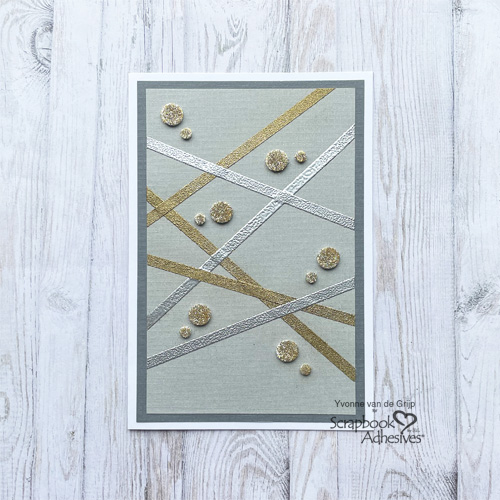
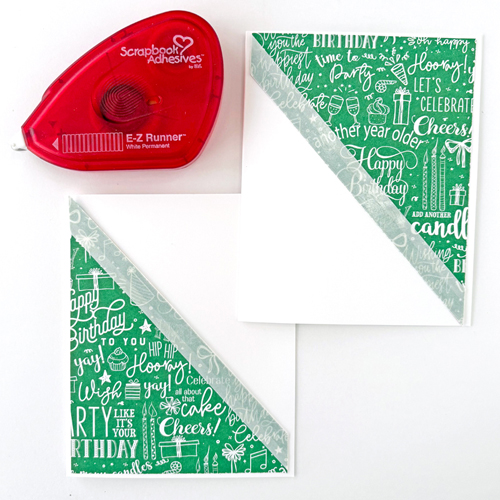
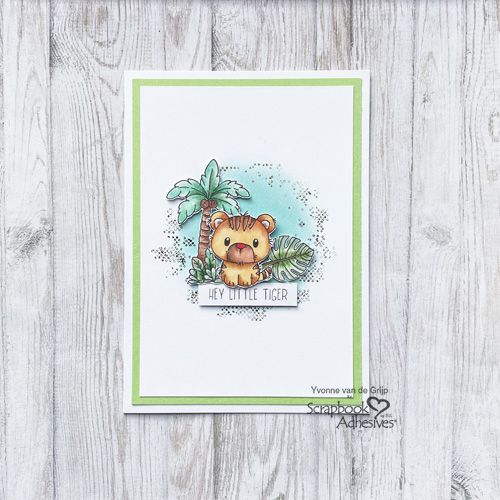
Making the Card Base
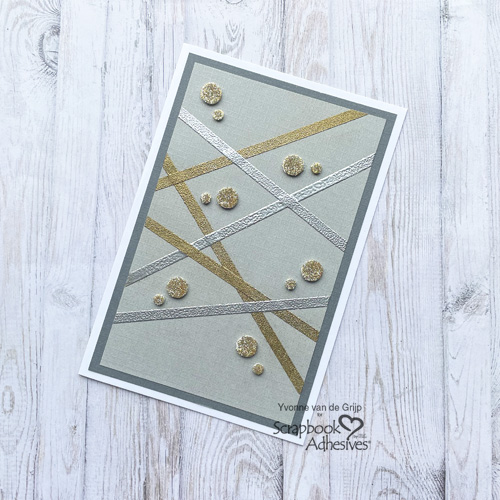
Mat the card panel with a green cardstock and then to a white card base using the E-Z Runner® Permanent Strips Refillable Dispenser to adhere all the layers.
And…voilá, your Cute Little Tiger Card is ready. I hope you enjoyed this tutorial and wish you happy crafting.
Creative Time: 60 minutes
Skill Level: Intermediate
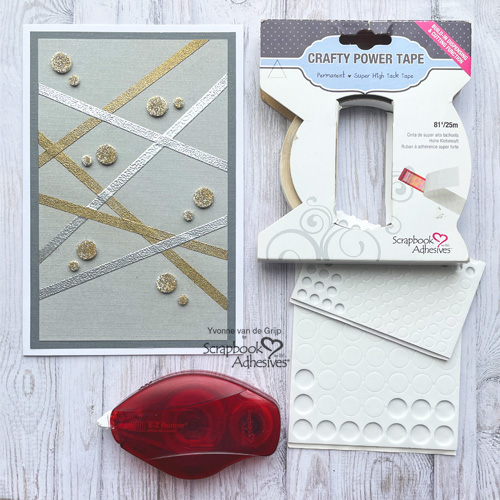
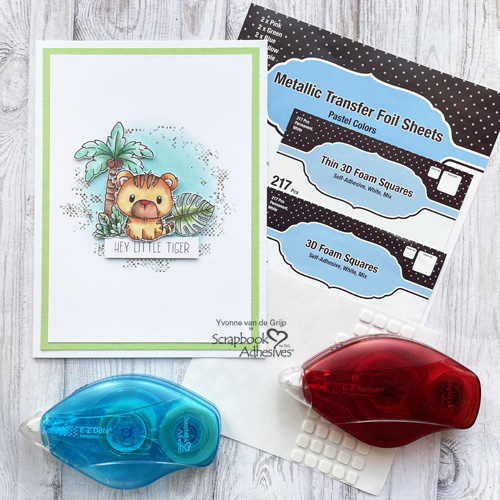
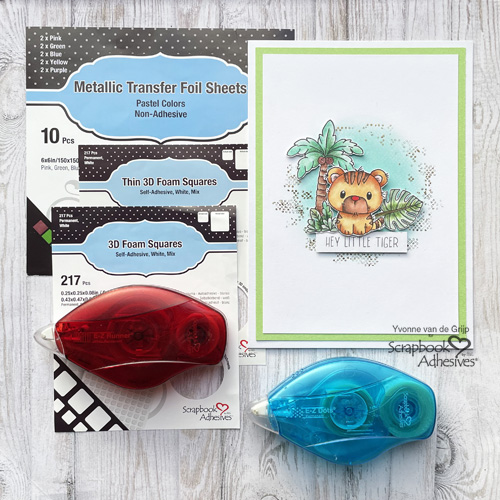
Materials needed:
Scrapbook Adhesives by 3L®:
E-Z Runner® Permanent Strips Refillable Dispenser
E-Z Dots® Refillable Dispenser
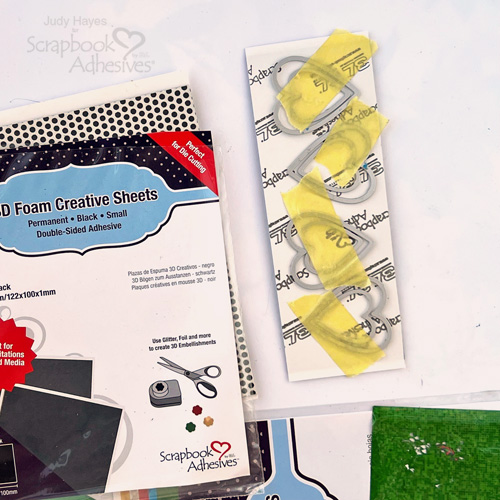
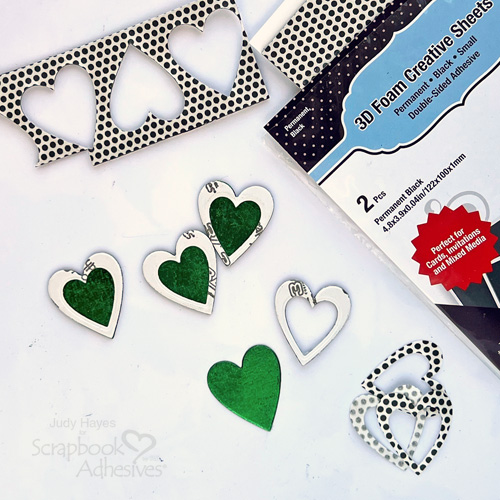
Thin 3D Foam Squares White Mix
Metallic Transfer Foil Sheets Pastel Colors
Other: Stamps: Lili of the Valley™ ( Safari A5 Stamp Set); Coloring Pencils: Caran d’Ache (Luminance Coloring Pencils); Ink: Ranger Ink (Distress Oxide Ink by Tim Holtz in Salvaged Patina); Ink Blending Tool; Paper Trimmer; Scissors; Craft Knife; White and Green Cardstock
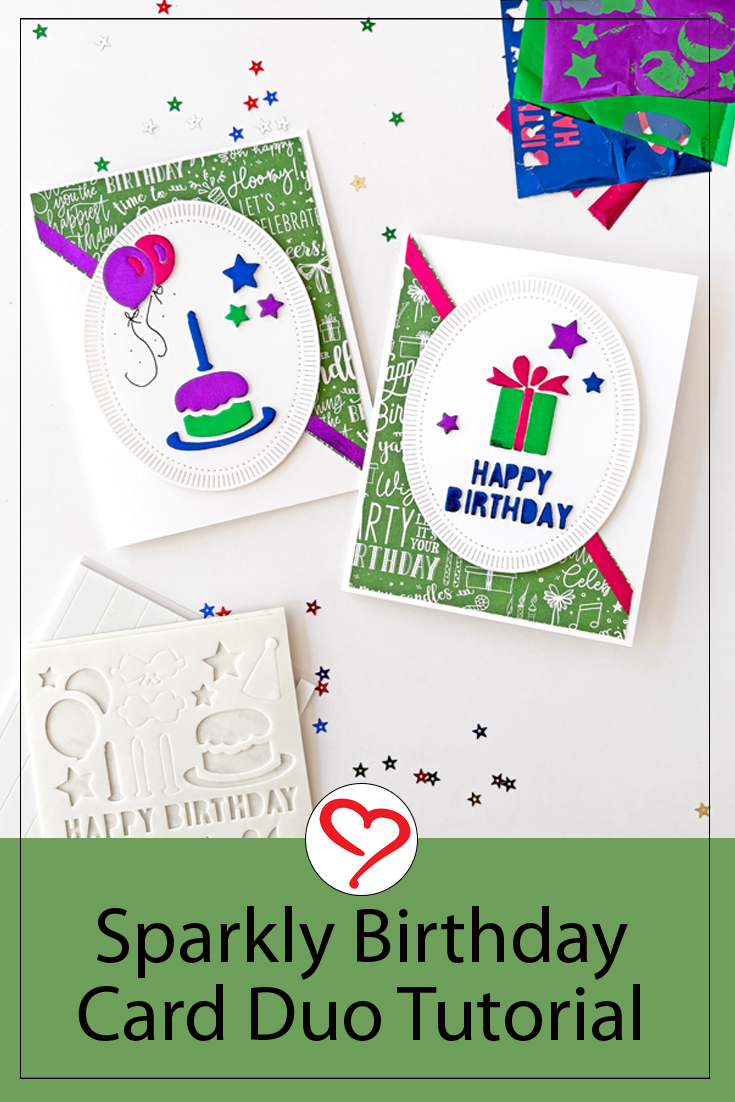
Save to Pinterest!

Visit our Website and Blog!
Sign up for our Newsletter so you never miss a contest or giveaway!