Welcome to Day 2 of our blog hop with Bo Bunny design team! So excited to share wonderful inspiration created with both companies’ products. Check out what each talented design teams have done. If you missed Day 1, click: 2016 Blog Hop with Bo Bunny – Day 1! Don’t miss the opportunity to win a giveaway…stay tuned for details at the end of the post.
Margie Higuchi
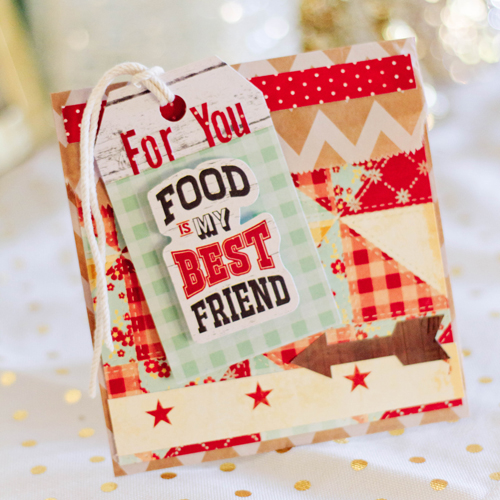
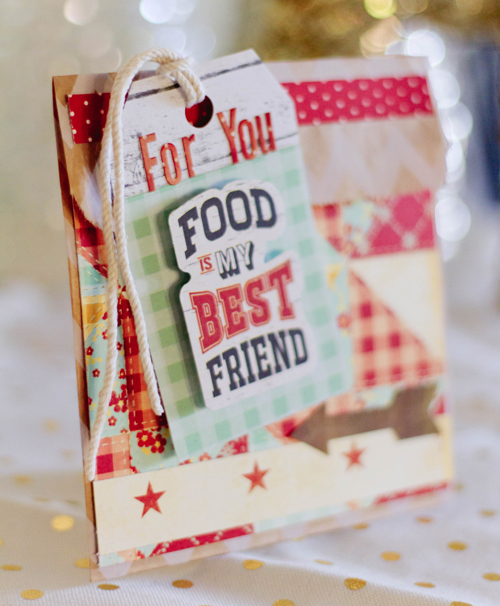
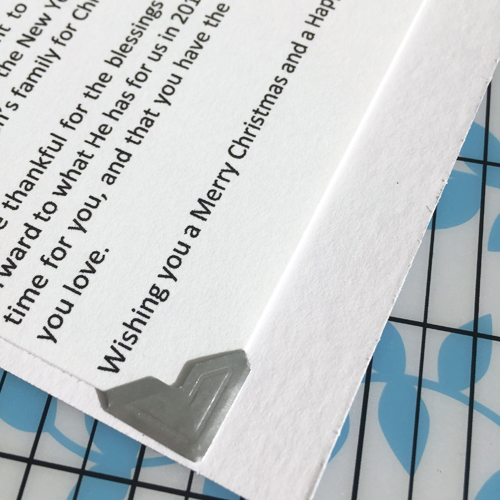
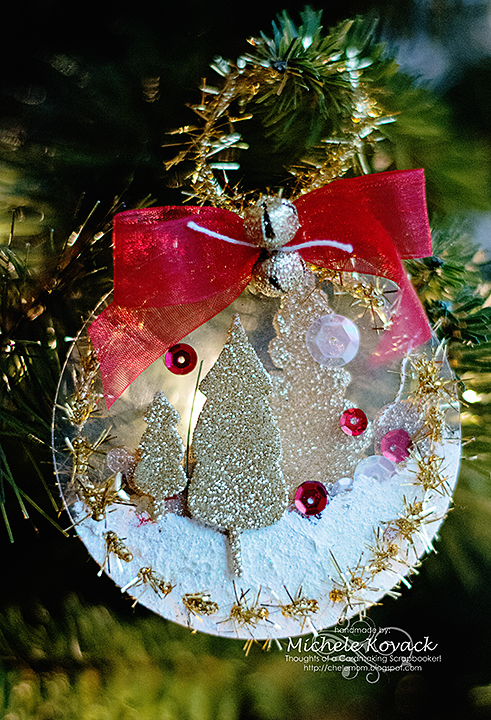
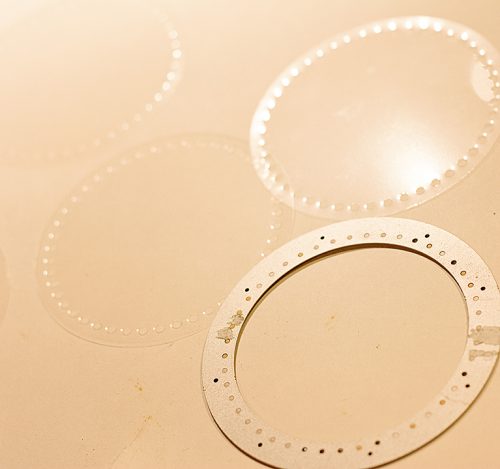
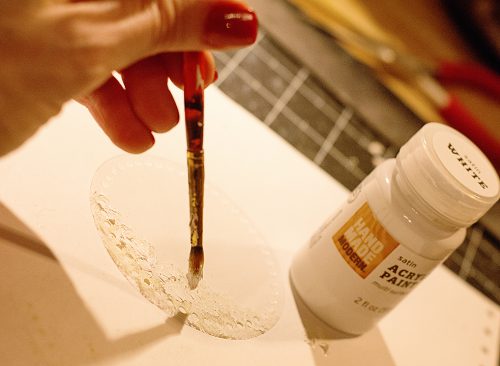
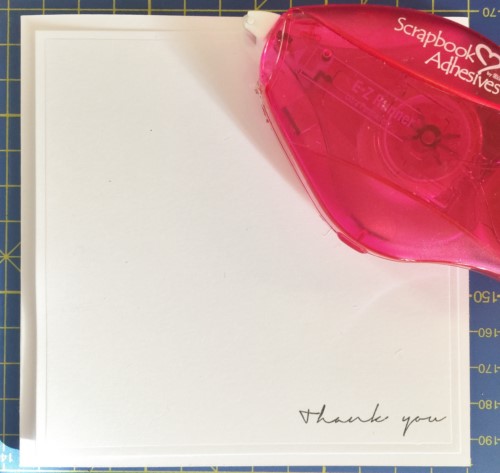
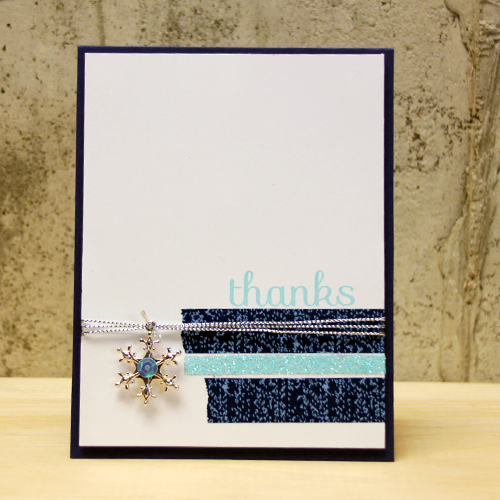
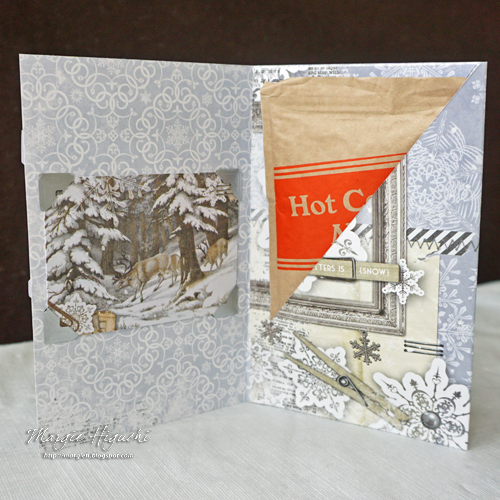
Today is National Hot Cocoa Day! Just for the occasion, I made a “Let It Snow” pocket card with hot cocoa mix, using 3D Foam products and Bo Bunny’s Winter Wishes Collection.
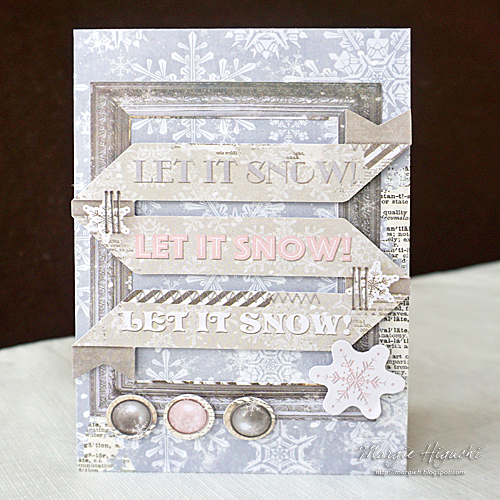
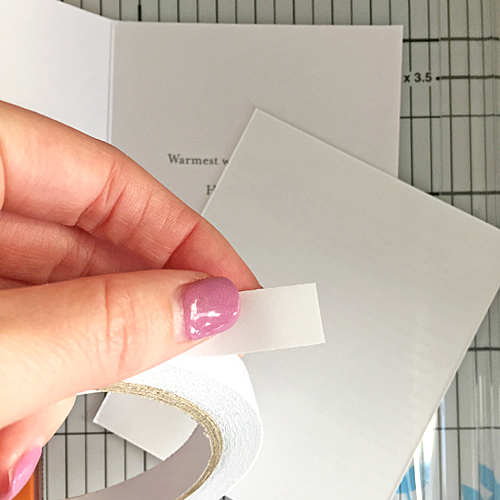
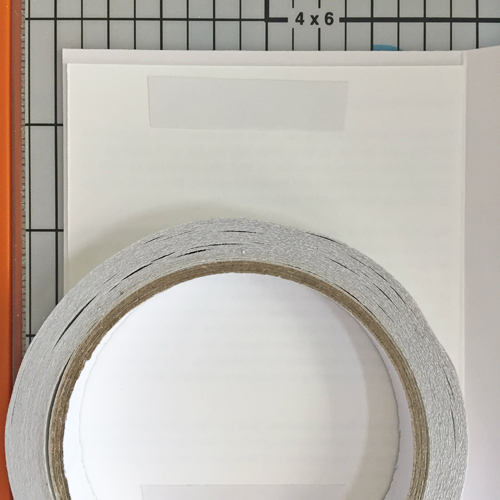
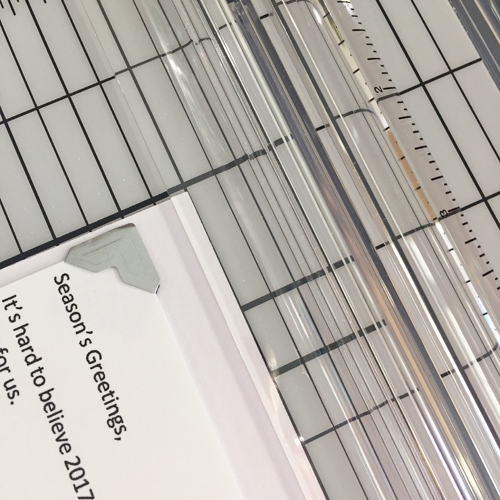
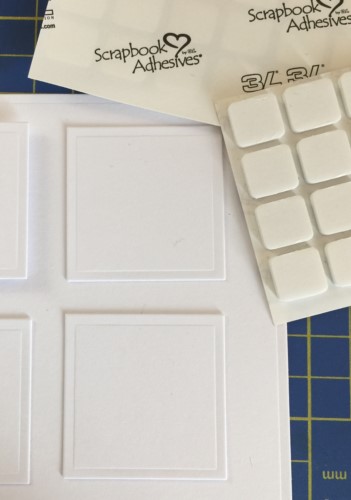
My “go to” for paper construction such as this pocket, I use E-Z Runner® Ultra Refillable Dispenser. It is perfect for its strong hold. To accent the inside the beautiful winter scene is the Creative Photo Corners Silver. Just add hot cocoa and it’s ready to go! For more details and step-by-step tutorial, visit my blog by clicking: Let It Snow Hot Cocoa Pocket Card Tutorial.
Supplies List
Scrapbook Adhesives by 3L®:
E-Z Runner® Ultra Refillable Dispenser
3D Foam Squares White Regular
3D Foam Squares Black Small
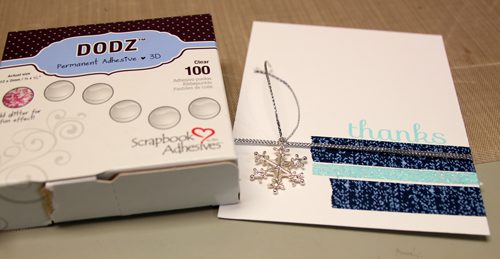
Creative Photo Corners Silver
Bo Bunny Designs:
Winter Wishes Collection
Winter Wishes Noteworthy Pack
Other:
Hot Cocoa Mix
Amy Tsuruta
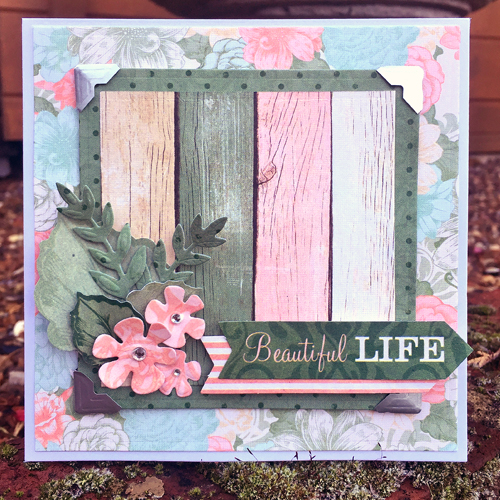
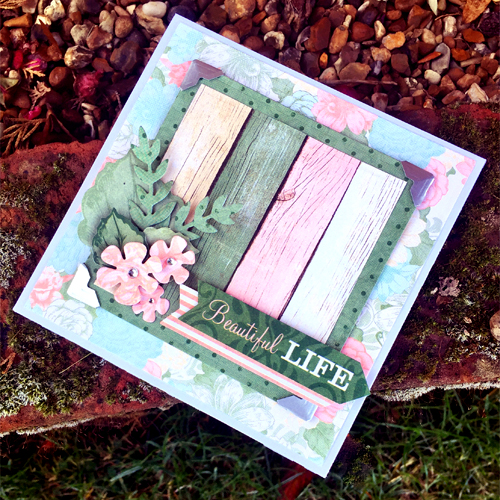
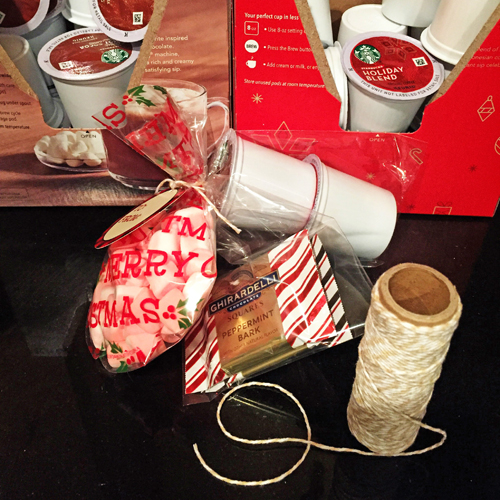
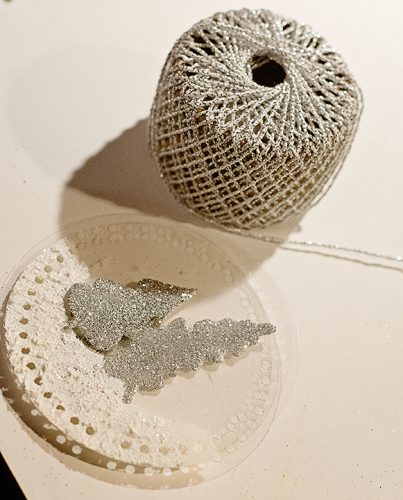
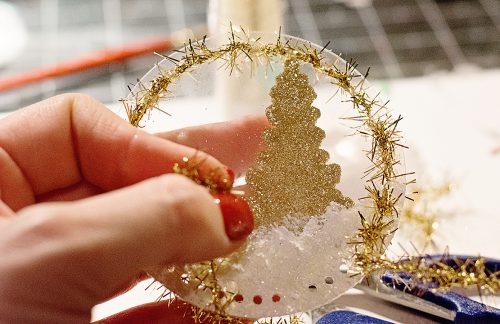
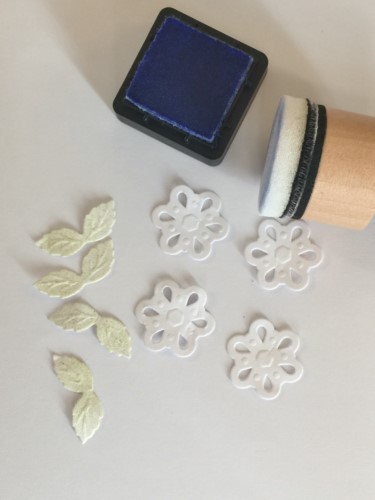
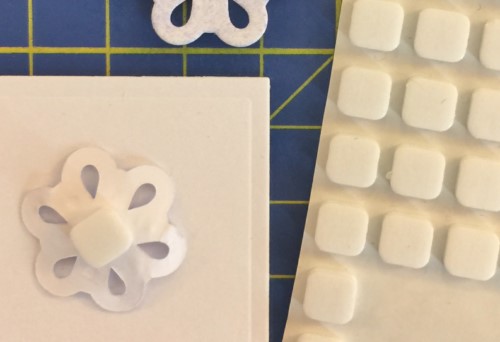
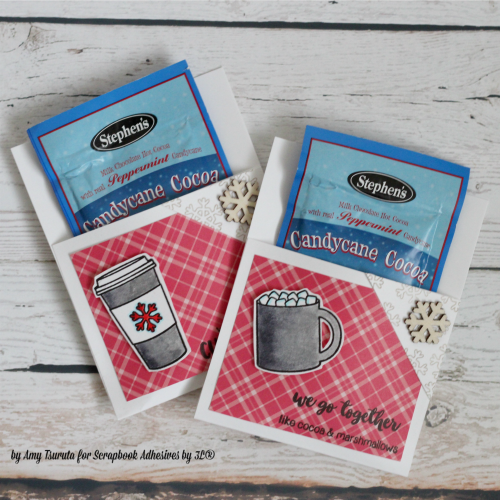
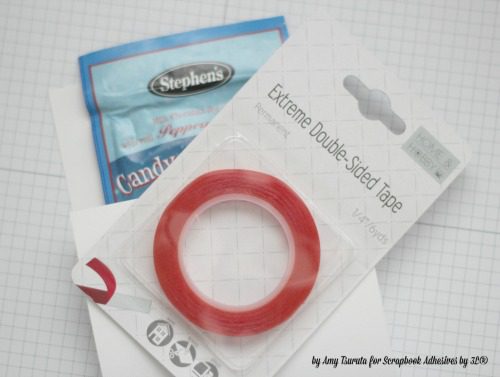
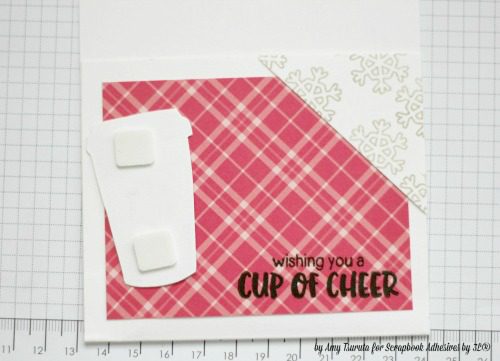
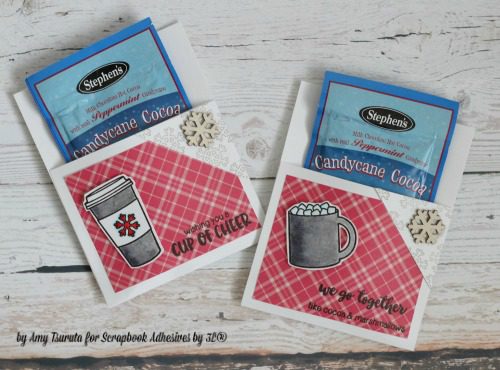
Hello, Amy here! I’m so excited to be part of this blog hop with Bo Bunny. My project features paper from the Felicity collection, Cherished and Dreamer. The Coffee to go cup has sleeve and poinsettia that is designed with paper from the Natural Necessities paper pad.
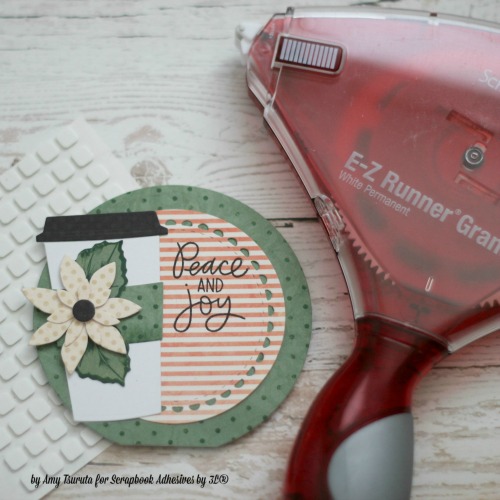
All the panels of paper have been adhered using the E-Z Runner® Grand Dispenser. The poinsettia bloom has been put together with Thin 3D Foam Squares Mix White. This gives the shaped card more visual interest. The leaves are from the Felicity Noteworthy package. They are perfect for my card design and holiday card for any coffee loving friend!

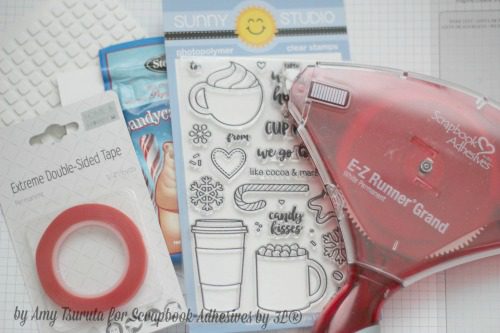
SUPPLIES
Scrapbook Adhesives by 3L®:
E-Z Runner® Grand Dispenser
Thin 3D Foam Squares Mix White
Bo Bunny:
Felicity Cherished
Felicity Dreamer
Felicity Noteworthy
Natural Necessities Paper Pad
Other::
Memory Box Large Coffee on the Go
Paper Smooches Poinsettia Die
Pretty Pink Posh Holiday Greetings
Reverse Confetti Lacy Scallop Circles confetti cuts
Spellbinders Large Circle Dies
Don’t forget to hop over to our friends at Bo Bunny by clicking:
Blog Hop with Bo Bunny – Day 2
Blog Hop Prize Details

Enter to win by leaving a comment through the Rafflecopter App. A winner will be randomly picked. International entries are welcome.
If you cannot see the comment section (at the bottom of this post), please click: 2016 Blog Hop with Bo Bunny – Day 2 and scroll down to the bottom of the post.
Connect with Scrapbook Adhesives by 3L®:
Facebook – https://www.facebook.com/ScrapbookAdhesives
Website – https://www.scrapbook-adhesives.com/
Blog – https://www.scrapbook-adhesives.com/blog/
Instagram – https://www.instagram.com/scrapbookadhesivesby3l/
Pinterest – https://www.pinterest.com/SBAdhesivesby3L/
Twitter – https://twitter.com/SBADHESIVESBY3L
YouTube – https://www.youtube.com/user/ScrapbookAdhesives
Newsletter – http://eepurl.com/I6dPj
Connect with Bo Bunny Press:
Facebook – www.facebook.com/BoBunny
Website – www.bobunny.com
Blog – www.bobunny.blogspot.com
Instagram – https://www.instagram.com/mybobunny/
Pinterest – www.pinterest.com/bobunny
Twitter – https://twitter.com/BoBunnyPress
YouTube – http://www.youtube.com/BoBunnyFun
Email – bopress@bobunny.com