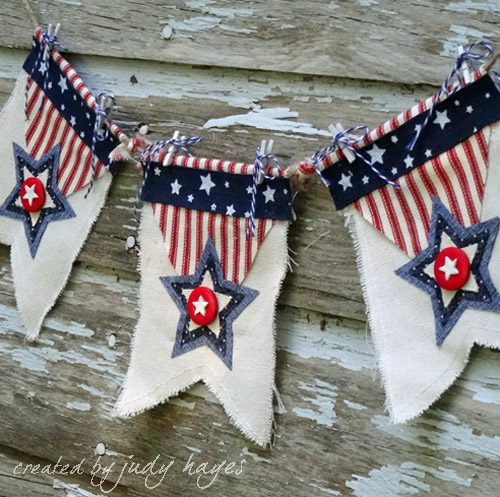
Hello! Judy here with you today! Are you ready to for the 4th of July? Why not put together an easy Americana Star Banner to add a touch of red, white and blue to your home décor to help celebrate?
Making the Americana Star Banner
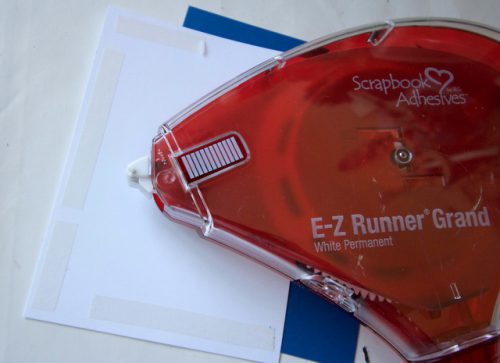
I’ve used a canvas pennants as the base with blue star ribbon and red, white and blue fabrics.
I cut a 2½ x 5ʺ rectangle from stripe fabric (about same width as pennant) and a triangle that is 4¾ʺ across top and 4¼ʺ along sides towards the point. Next die cut 3 sizes of stars from worn denim, dot/navy fabric and canvas. I’m using the back side of the denim and dot fabric as I liked the color better!
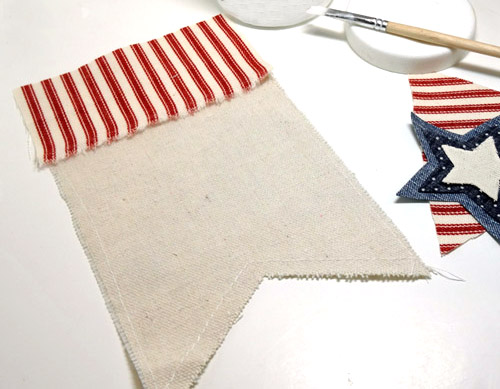
The rectangle of stripe fabric forms a casing at the top. I’ve fastened it to the canvas pennant with decoupage glue by lapping and gluing it to the stitching line. Then I folded it to the back and glued it there. The trick is to use enough yet not saturate the fabrics! I used a thick line for the casing. On the rest of the pennant I used a light application and left edges loose.
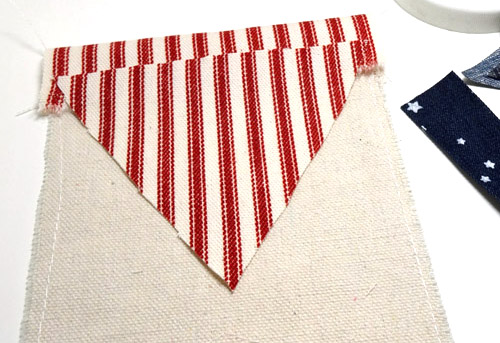
Next I adhered the triangle piece to the pennant.
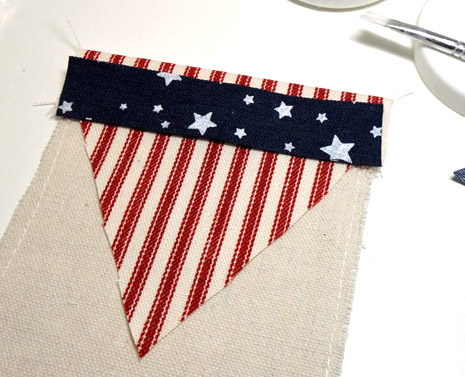
I cut a piece of ribbon and fastened it in place with decoupage medium. The ends are trimmed even with the pennant.
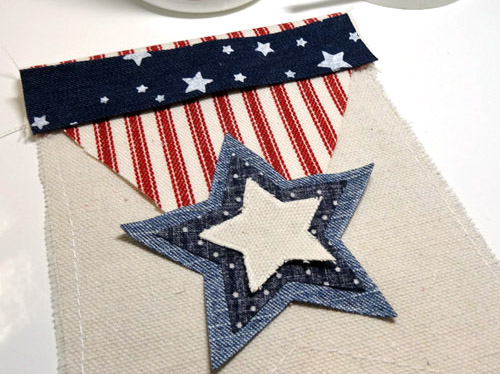
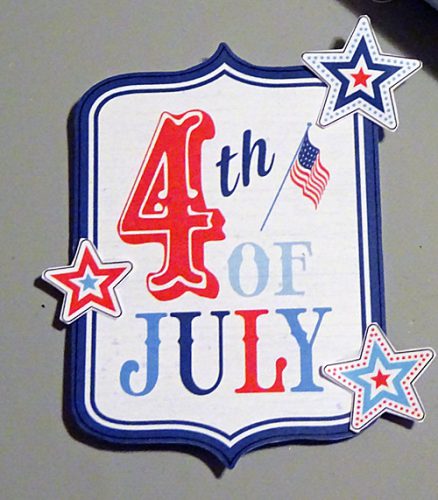
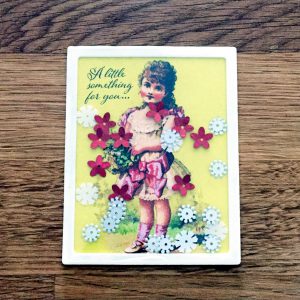
Layer the stars, fasten together and glue them to pennant.
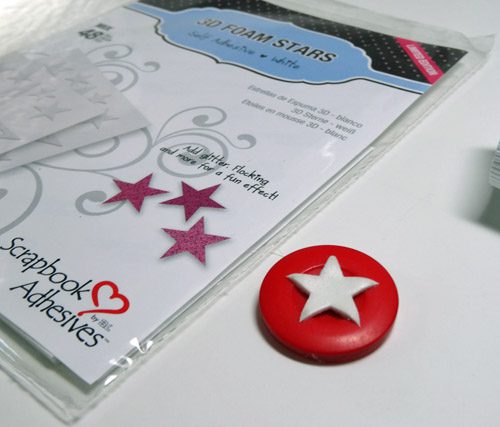
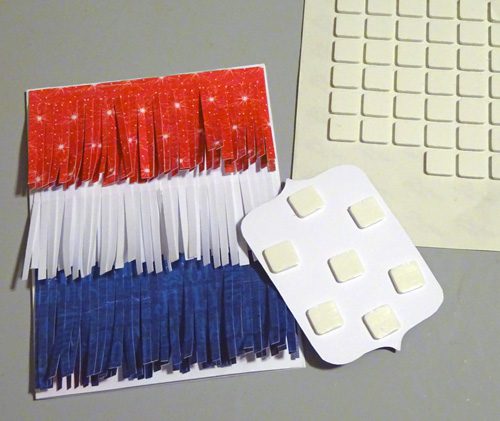
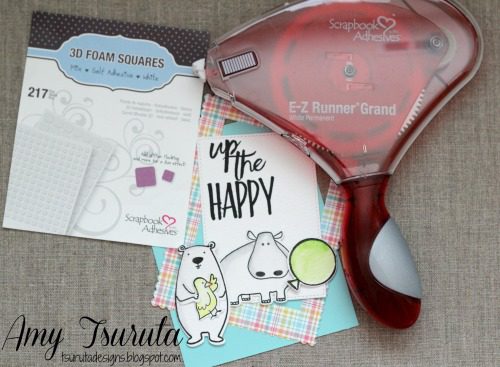
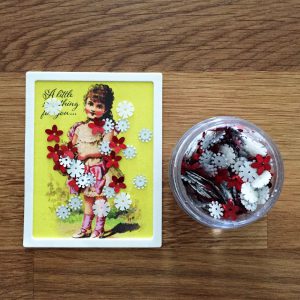
Then I placed a 3D Foam Star to the center of red button, careful placement hides the holes! Use a second star on top to build it up a bit if the button had a concave center like mine. After removing the paper liner I dusted the star with powder so it wasn’t sticky- you could use glitter too!
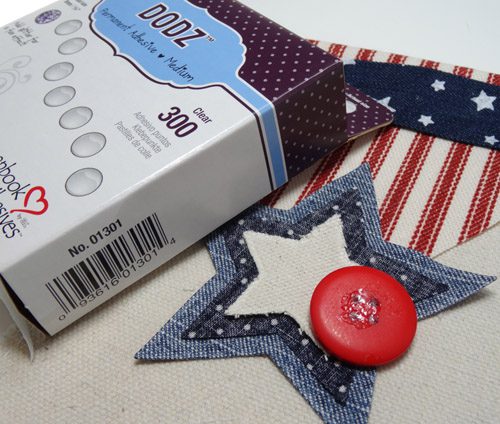
I used a Dodz Adhesive Dot Medium on back of button and fastened it to the pennant.

Now repeat these steps to make 2 more pennants. With a very large eye needle, I threaded heavy twine through the casings to create the banner. I tied a loop at each end of the twine, and pieces of torn striped fabric around twine between the pennants. Add bows of dark blue and white twine around tiny clothespins. Clip these to top of each pennant.
Another Twist on the Americana Home Decor
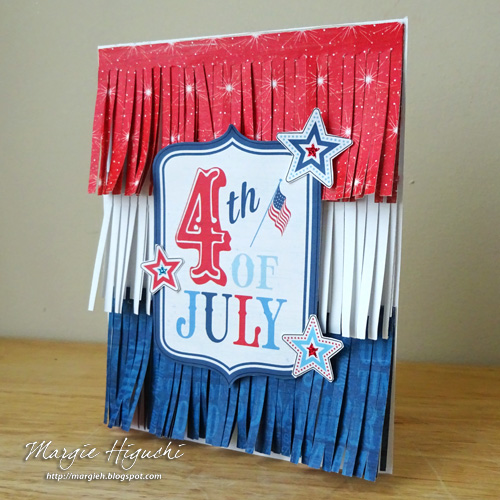
I had so much fun putting this banner together that I decided to make a 4th pennant.
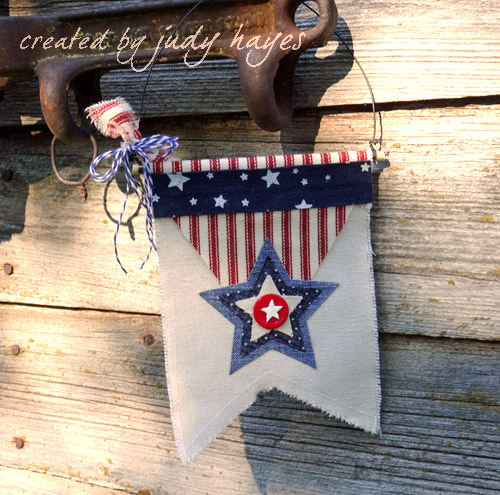
I followed the same steps above to make it. Start with a small wood dowel in the casing. W wrap wire around one end, form a hanging loop and wrap the wire around the other end of the dowel. Tie a bow of several strands of twine around the wire and tied a piece of torn fabric, too. This is even quicker than the banner and so cute!
Love Stars and Red, White and Blue!
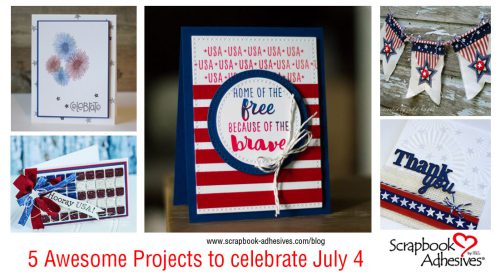
See more patriotic themed cards and projects here!
Happy 4th of July!!!
Judy
Save
Save
Save
Save


 That’s it! Not only is it simple it’s cute too!