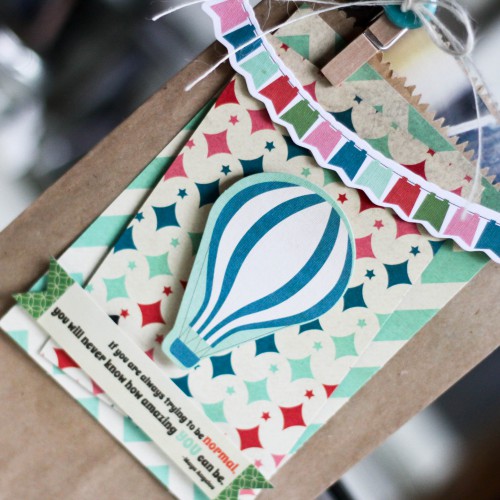
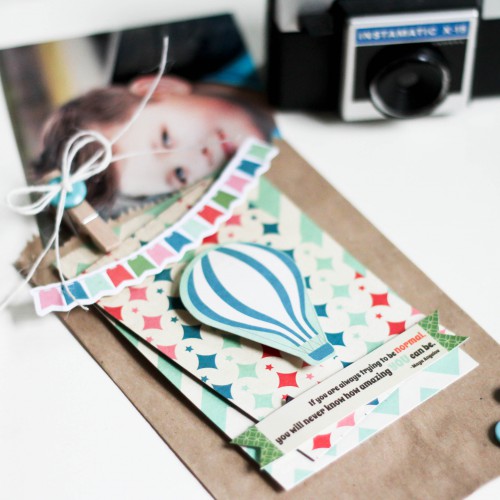
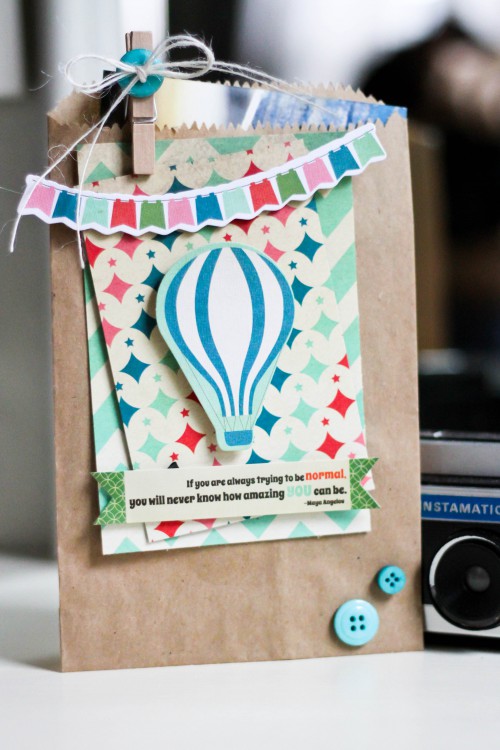
Latisha with you today, sharing a fun and different way to package photos when giving them away. I am usually the “designated-mom-picture-taker-photographer” for events like Prom or other special occasions. I will get the photos printed, and then I like to package them in glassine bags or kraft bags. They lay flat, perfect for photos and they are easy to decorate.
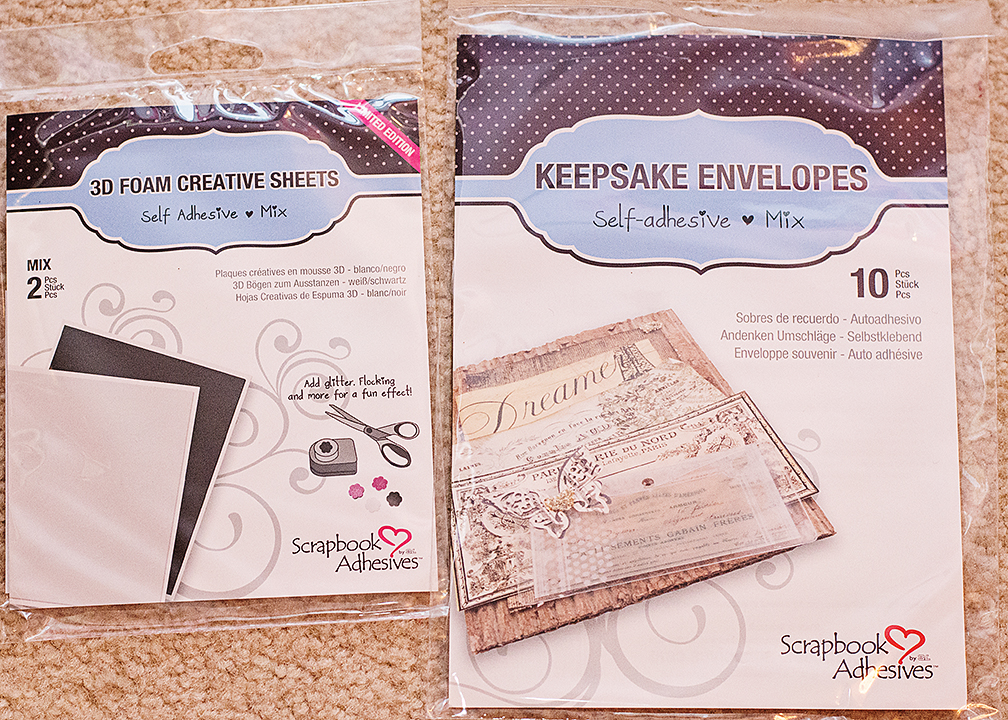
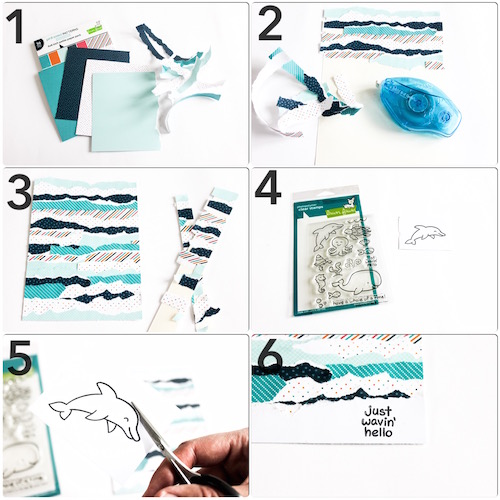
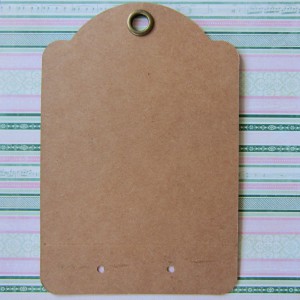
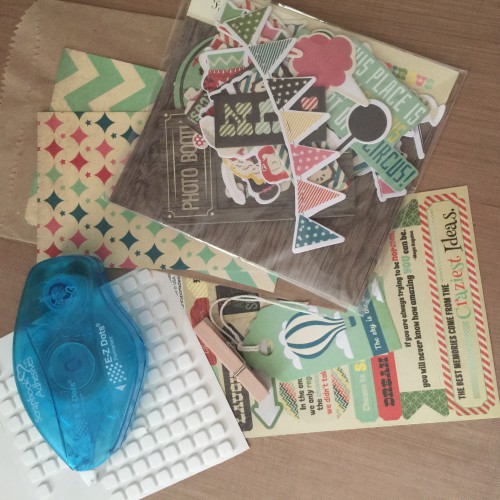
First gather the supplies you will need.
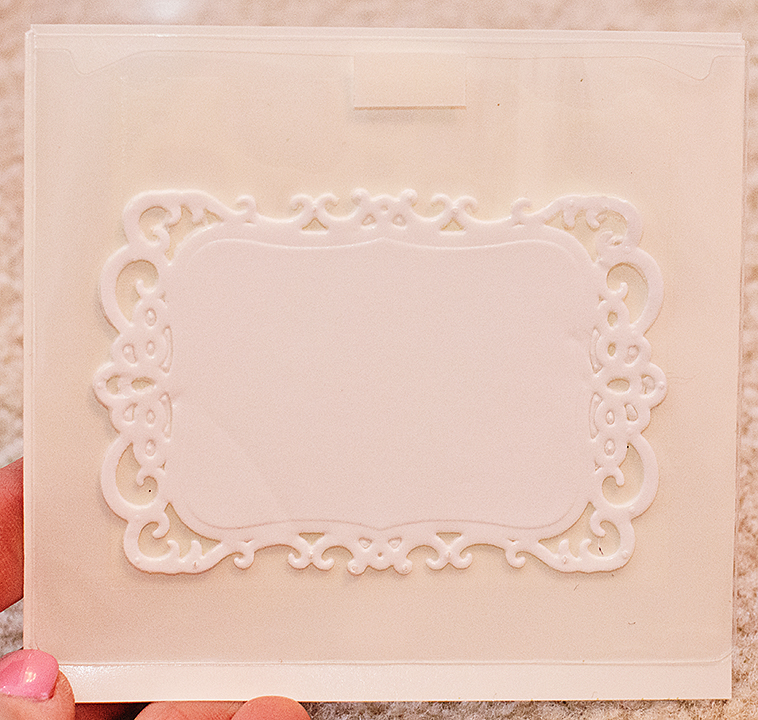
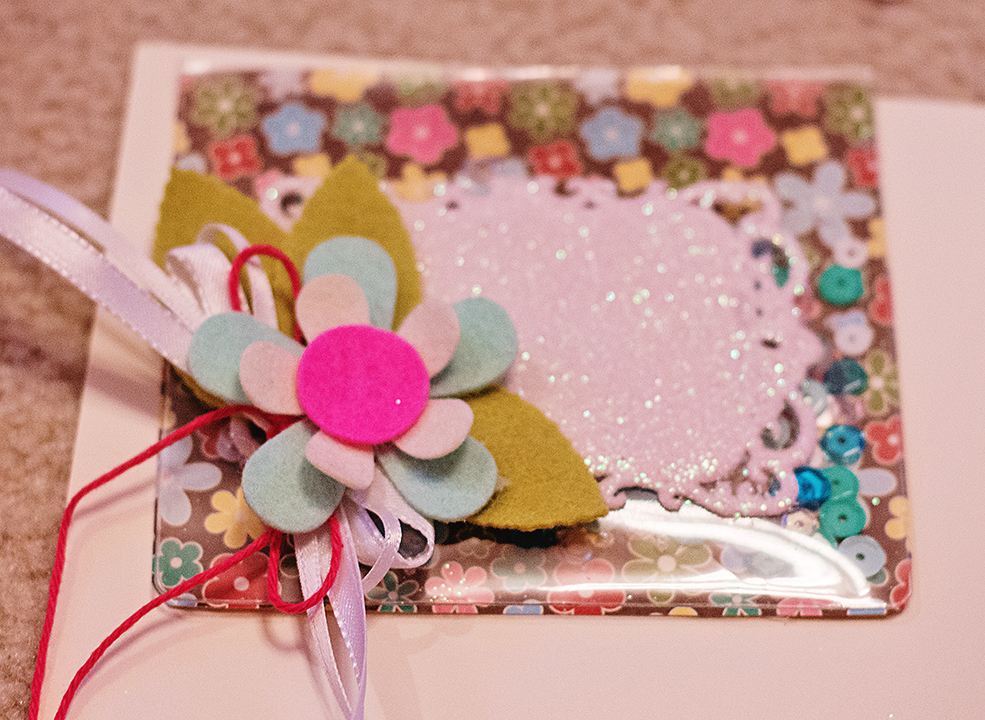
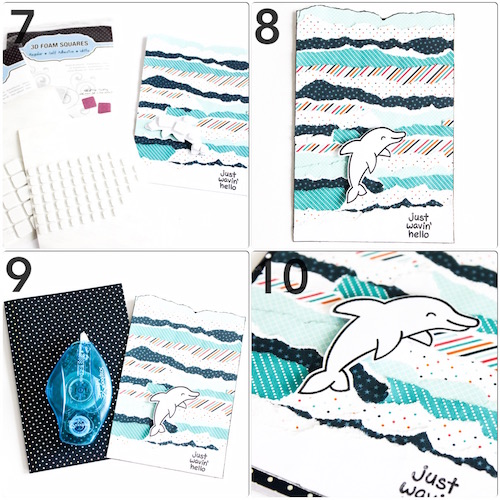
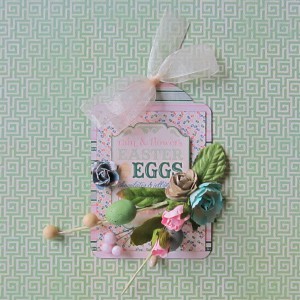
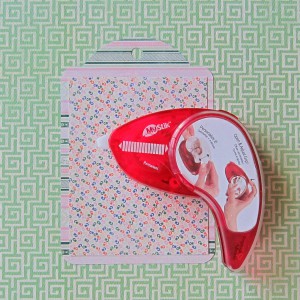
1. Adhere the trimmed down pieces of pattern paper together.
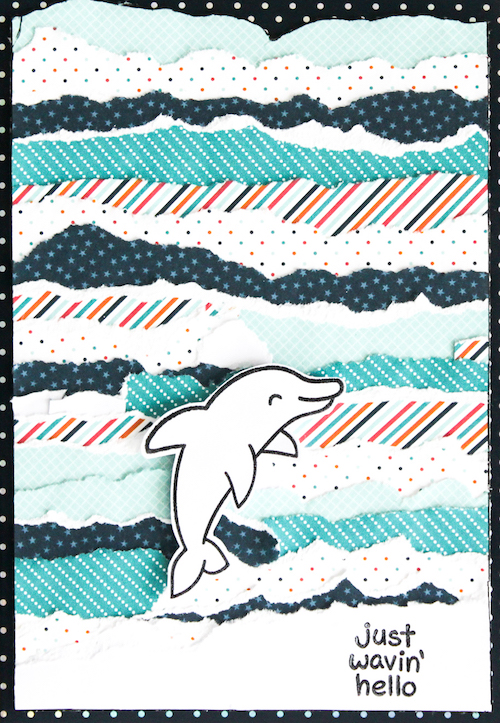
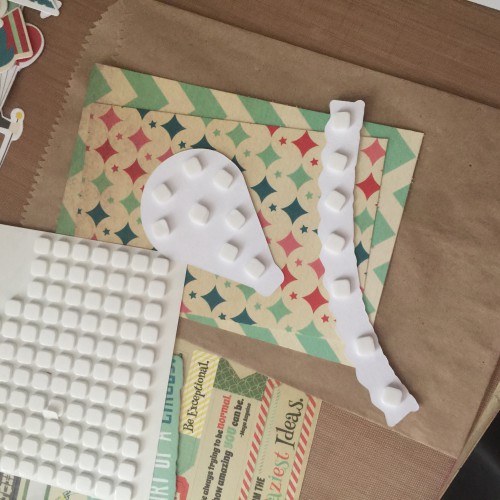
2. Start adhering the diecuts to the panel by using Scrapbook Adhesives by 3L 3D Foam Squares (white, small)
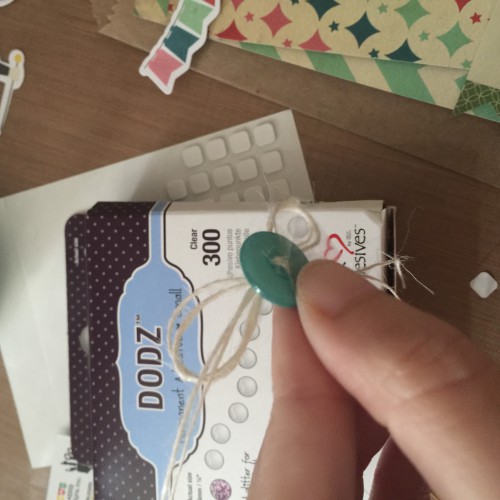
3. Tie twine through the button then attach buttons to the clothespin and the bag by using Scrapbook Adhesives by 3L Dodz small.
Materials Used:
Scrapbook Adhesives by 3L 3D Foam Squares (white, small)
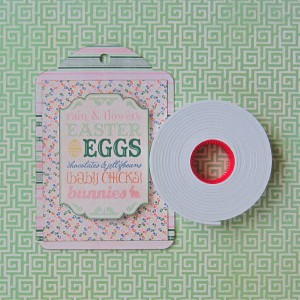
Scrapbook Adhesives by 3L Dodz small
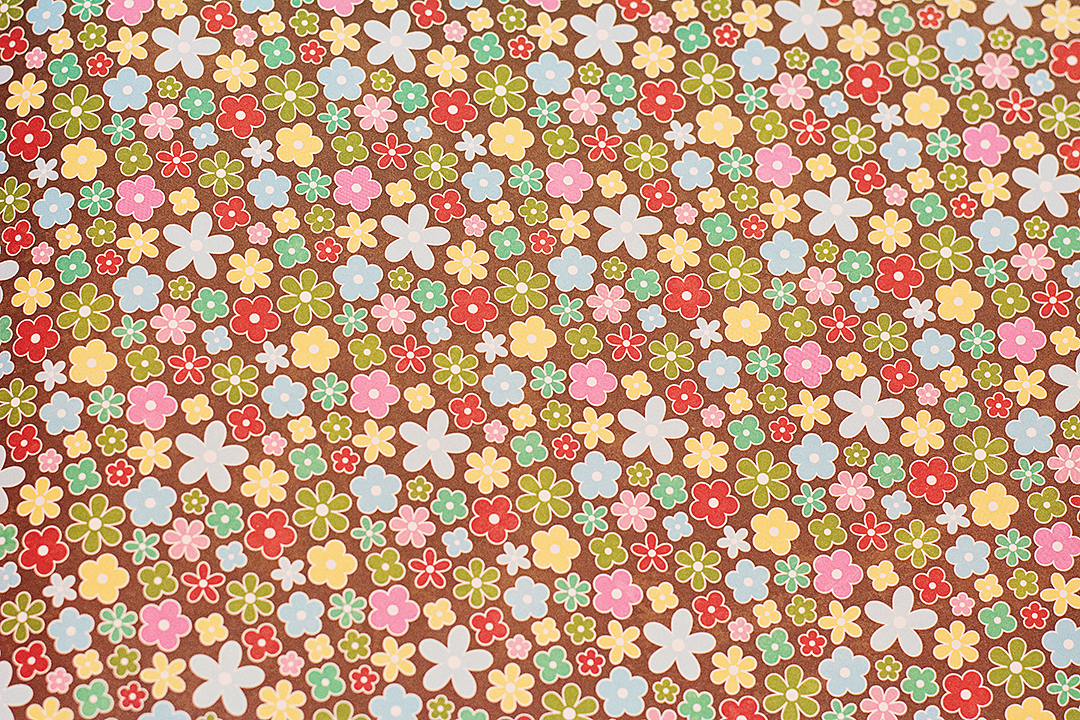
Fancy Pants Designs Everyday Circus pattern paper and ephemera
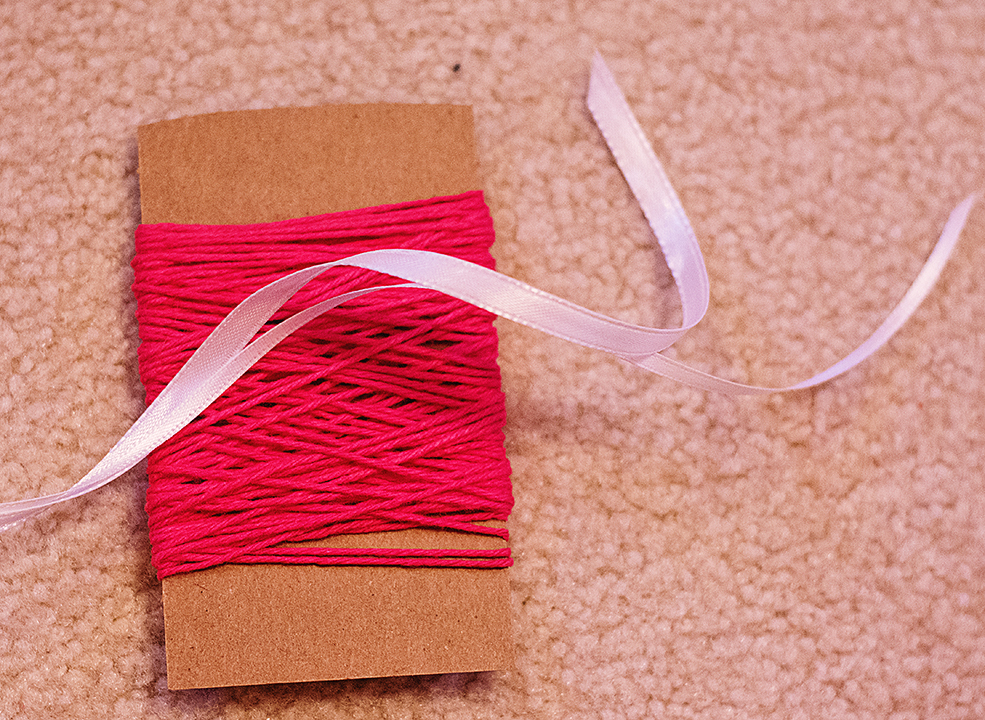
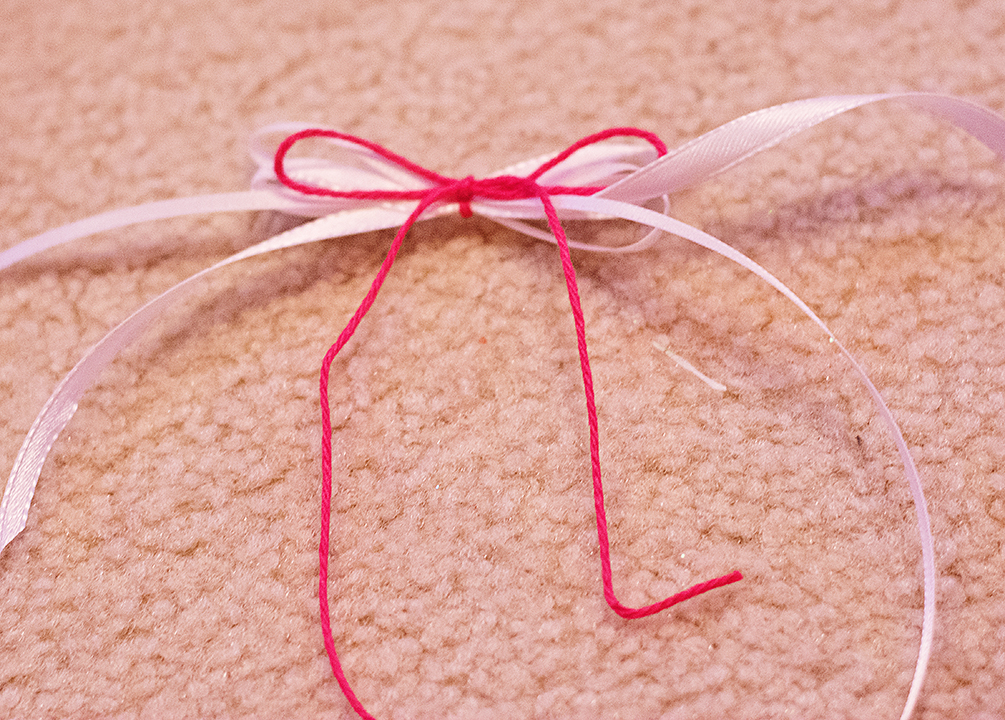
May Arts Twine
kraft bag