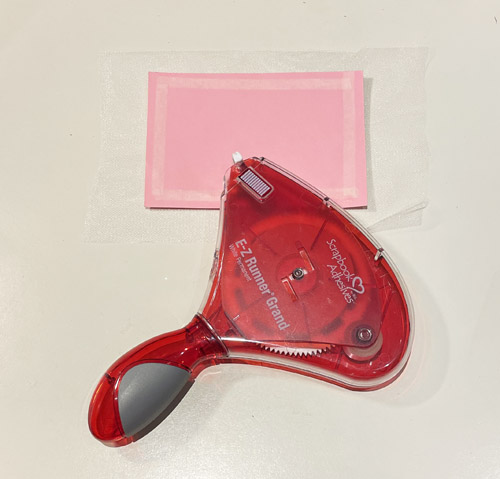
Hi, Connie here with a fun and messy Art Journal page. I’m using the Adhesive Sheets 4×6, Metallic Transfer Foil Sheets in Nature Colors, and the E-Z Runner® Grand Repositional Dots Refillable Dispenser. This is a great start in creating a background with texture for your Art Journal page.
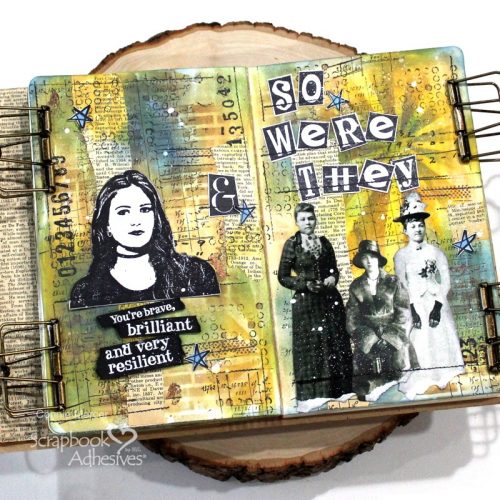
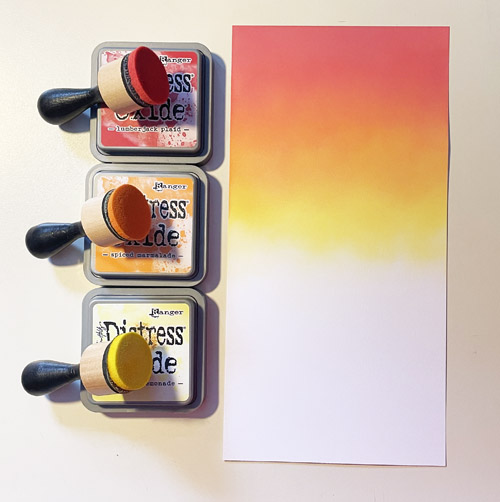
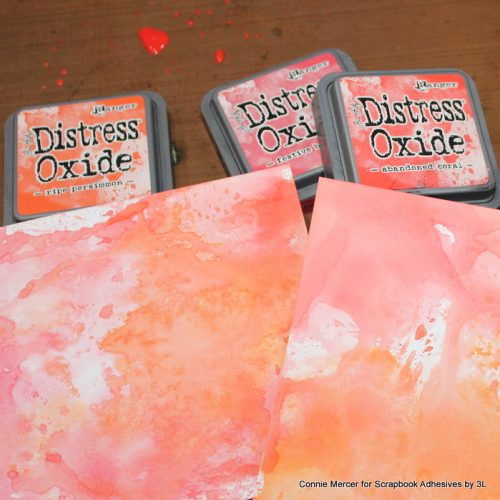
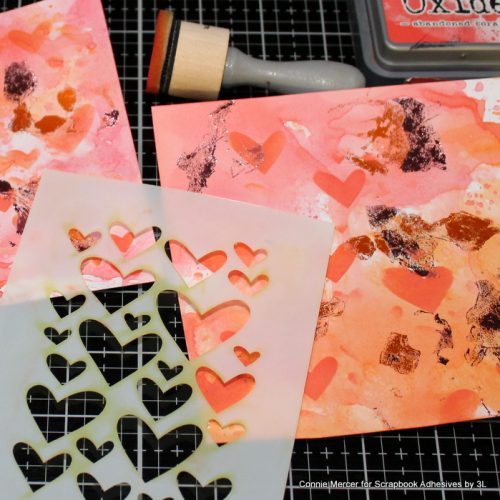
As always there is some prep work before the texture can be added. I used Distress Oxide inks and stencils first then added the texture. I use lots of stamps and stencils to get the look I like. That is the fun part 🙂
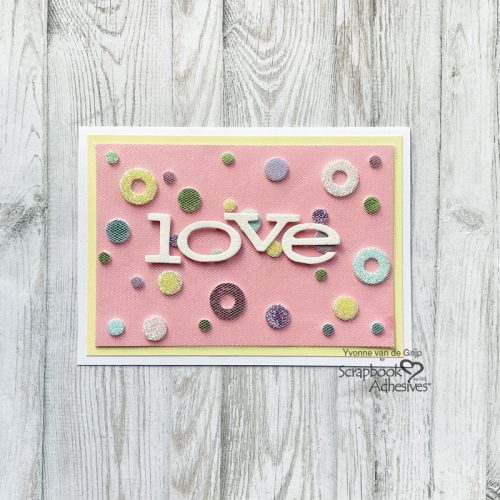
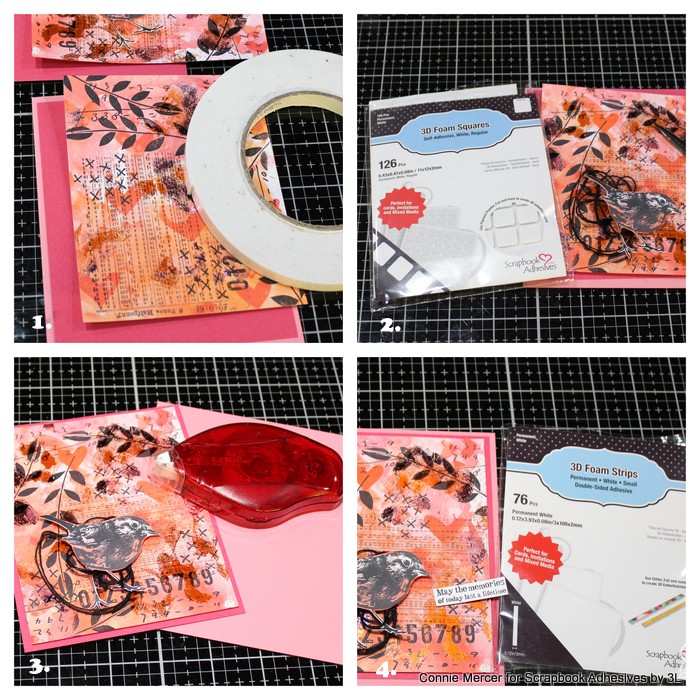
Art Journal Page Texture
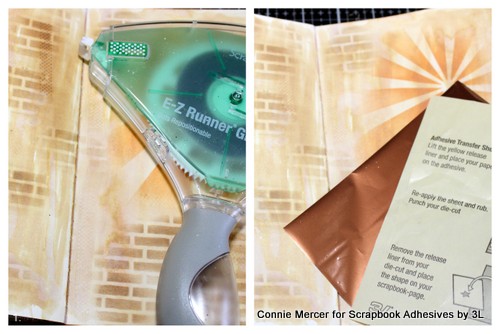
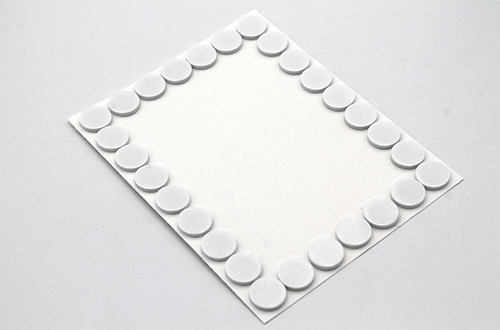
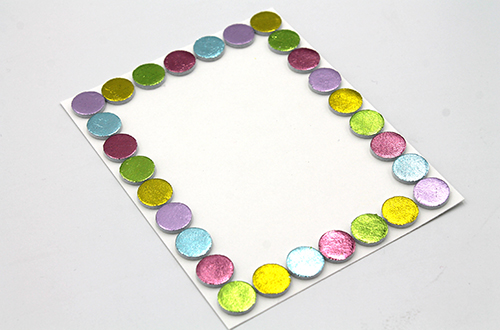
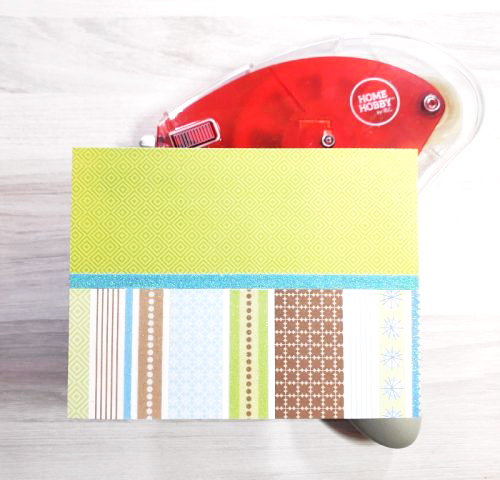
- 1. Roll the E-Z Runner® Grand Repositional Dots Refillable Dispenser in random places on your pages. Take a paper towel and rub some of them off. You’ll have some cool little dots left. Repeat.
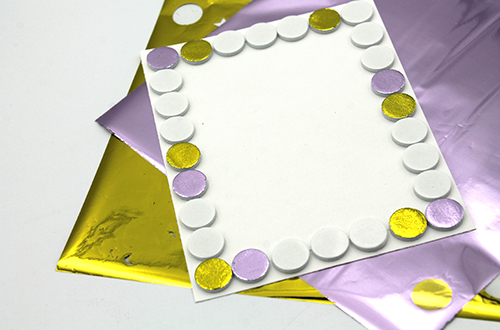
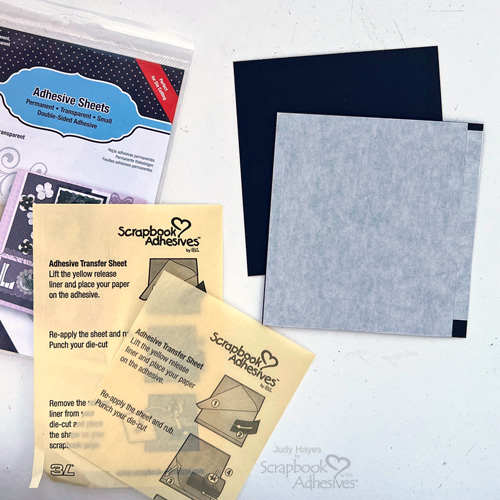
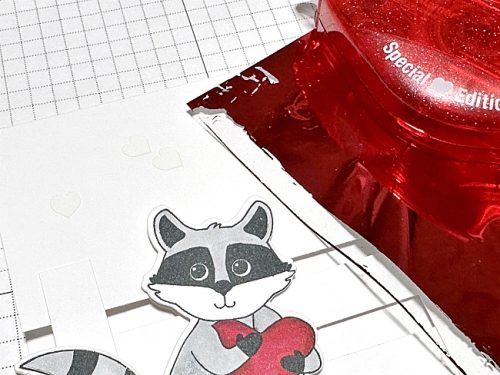
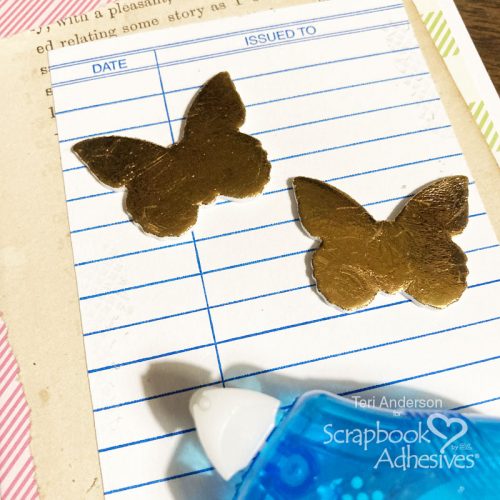
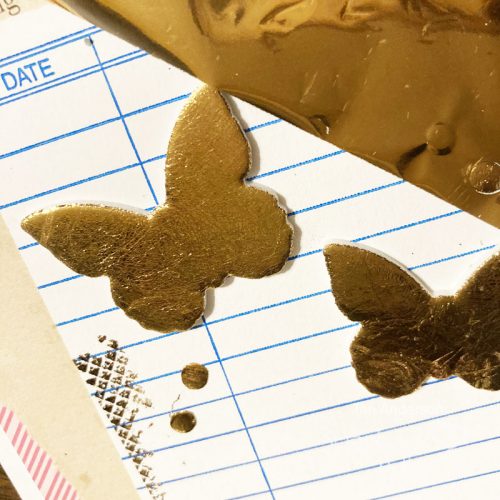
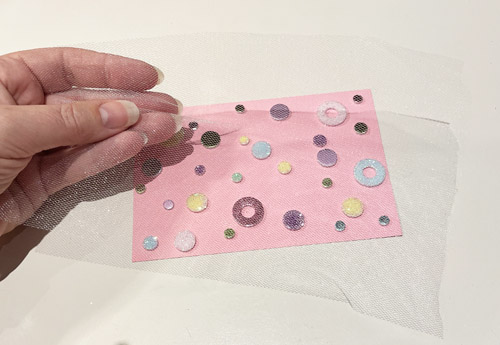
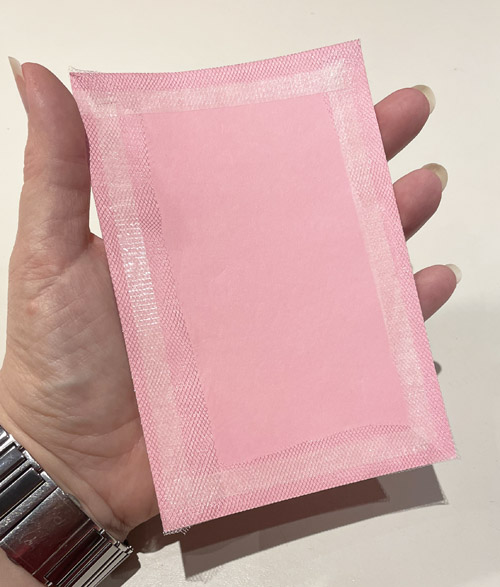
2. Take a sheet of Adhesive Sheets 4×6, crumple it up, and then smooth it back out flat. Apply to pages randomly and then lay a piece of bronze foil from the Metallic Transfer Foil Sheets over the sticky adhesive and pull up. Repeat.
Adding elements to the page
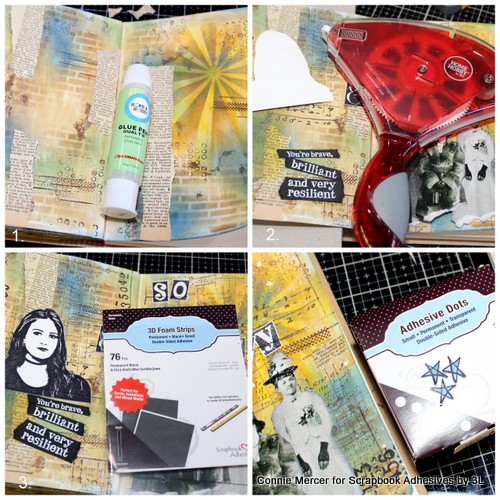
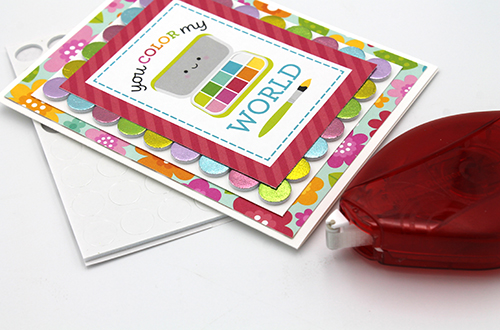
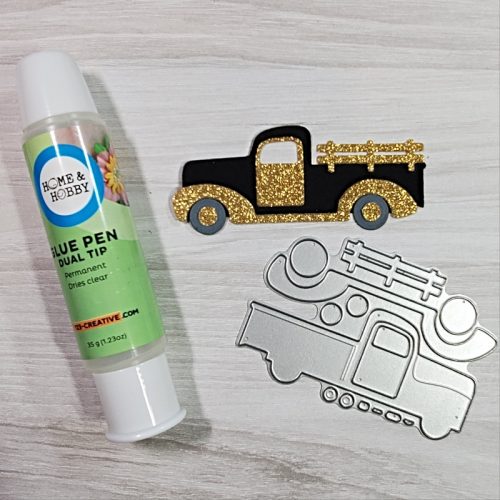
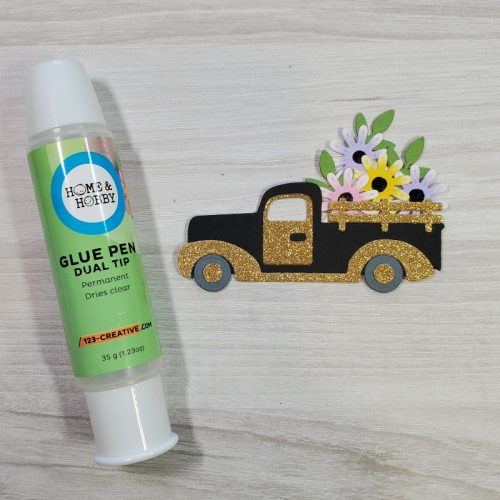
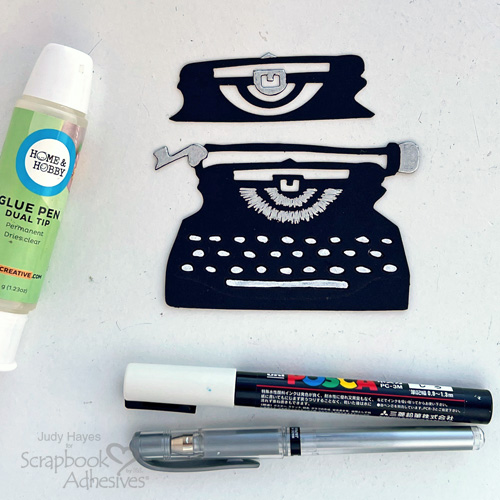
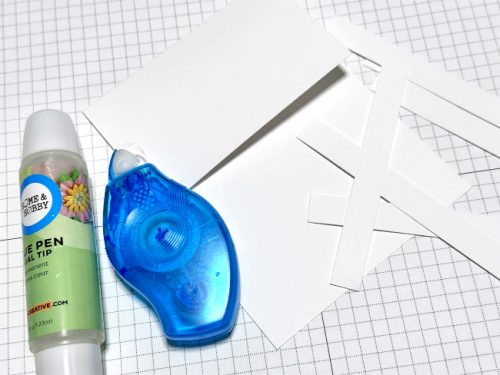
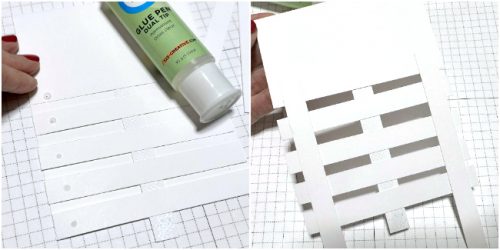
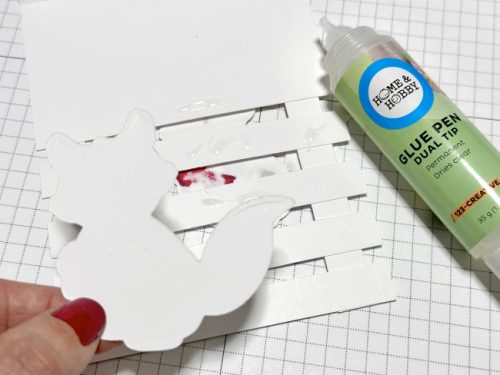
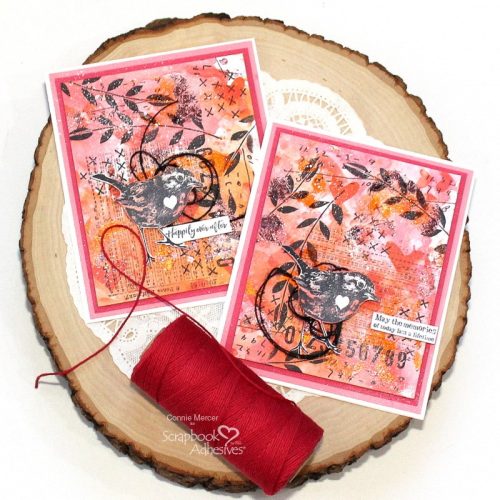
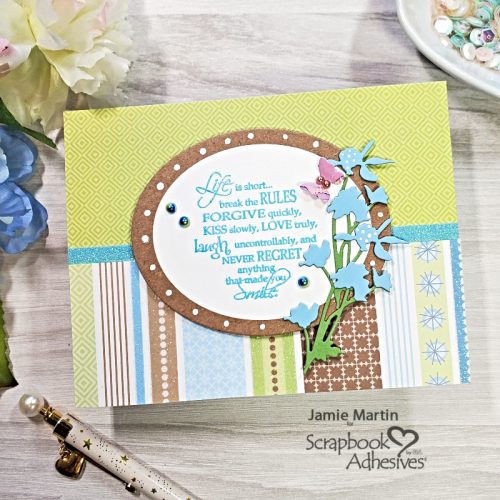
- 1. Keep adding color to get the look you are happy with. I ended up adding in more blue and yellow ink. To adhere collage papers or ephemera, I used the Dual Tip Glue Pen. Works well as a collage medium.
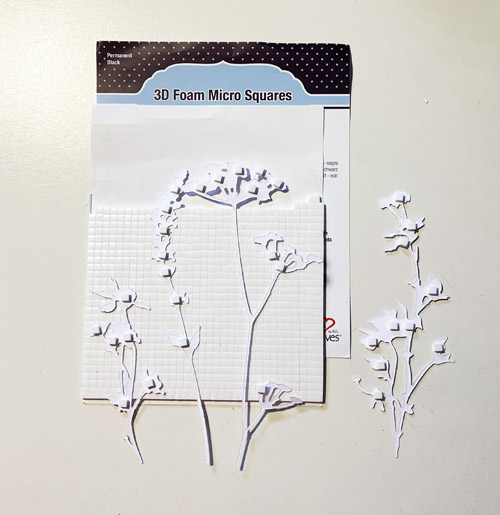
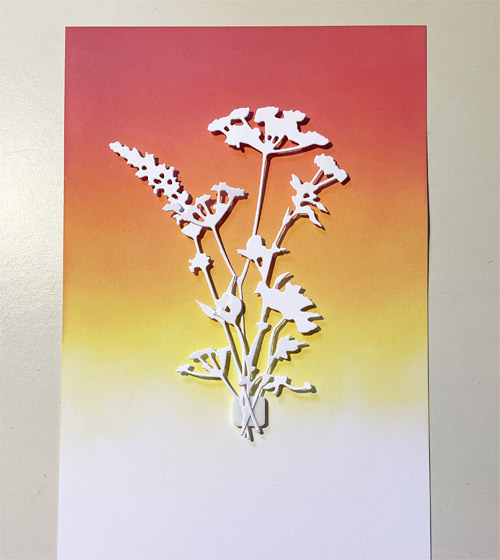
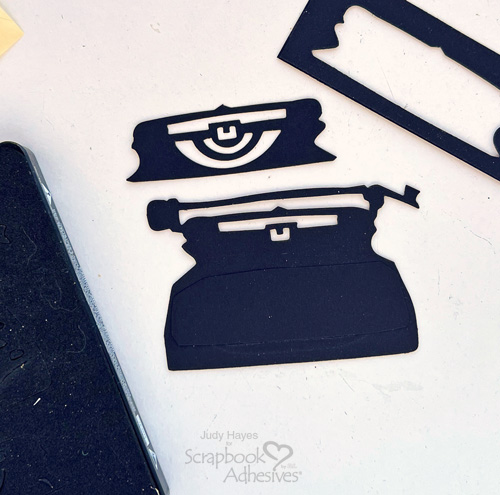
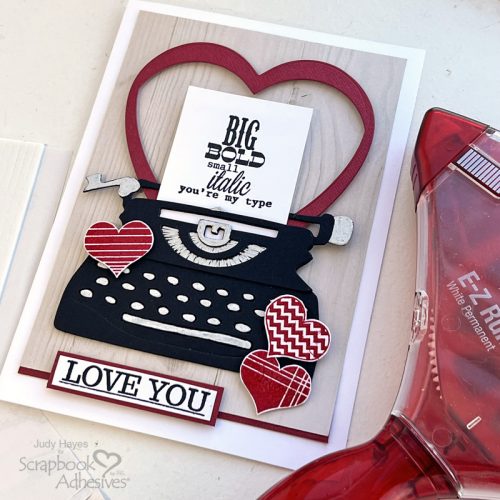
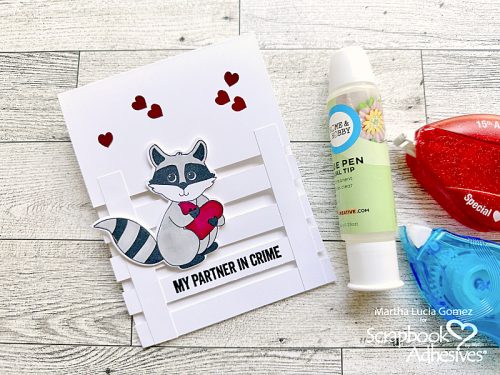
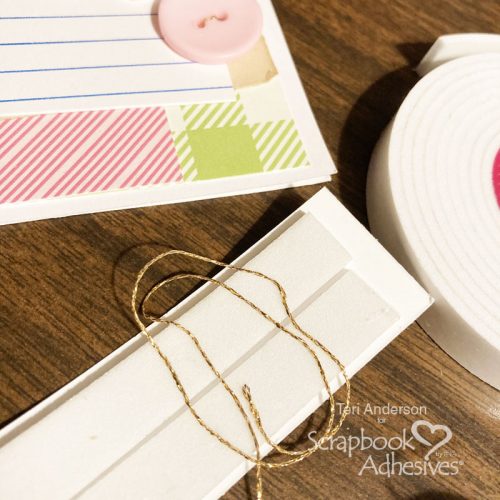
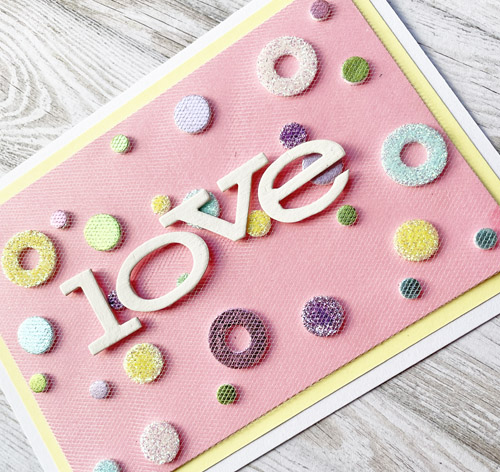
2. Die cuts or stamped images were adhered with E-Z Runner® Grand Refillable Dispenser.
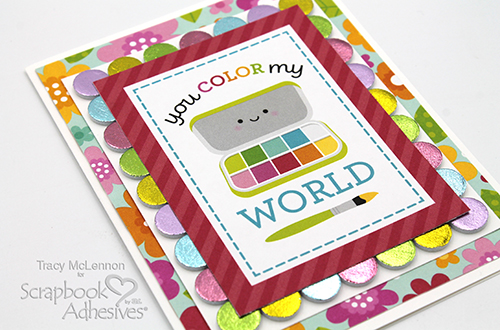
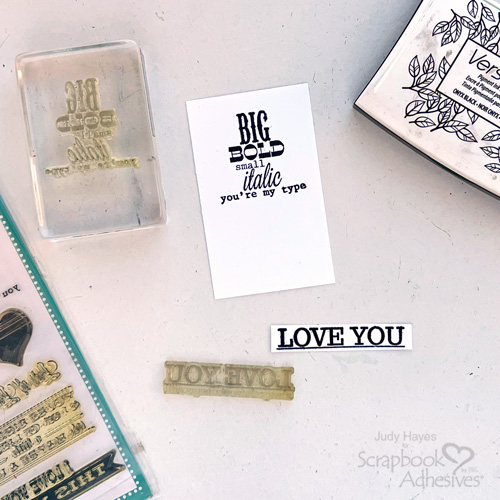
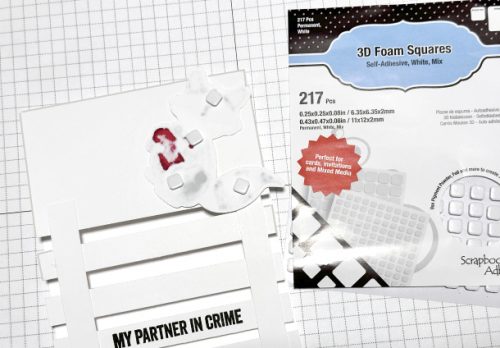
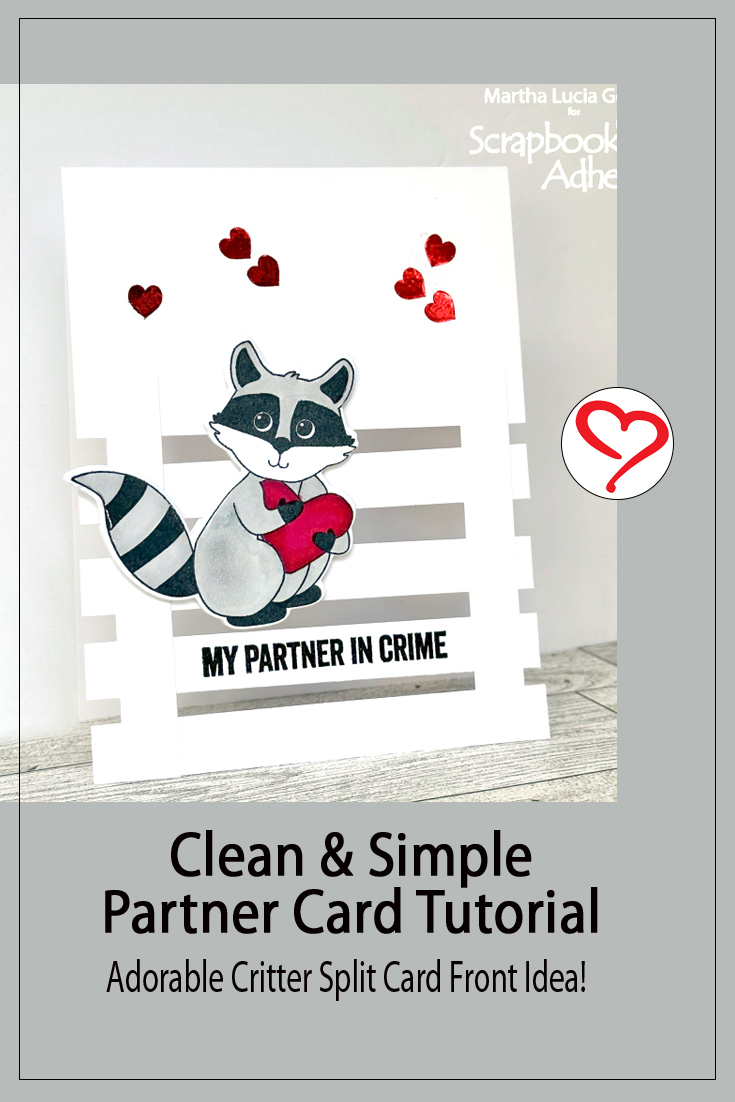
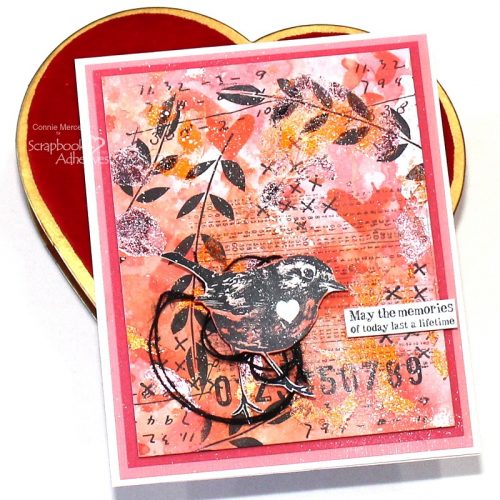
3. Words are stamped and embossed on black cardstock. Then adhered to the page using my favorite 3D Foam Strips.
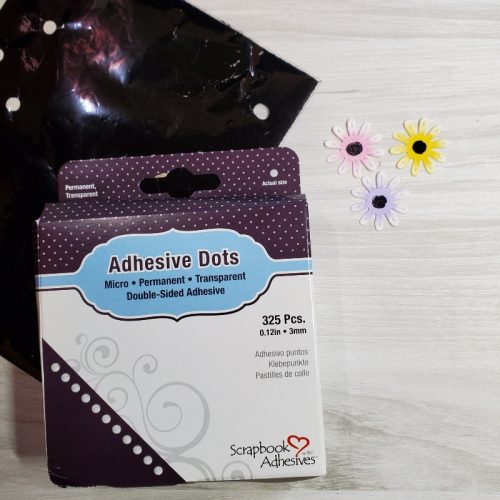
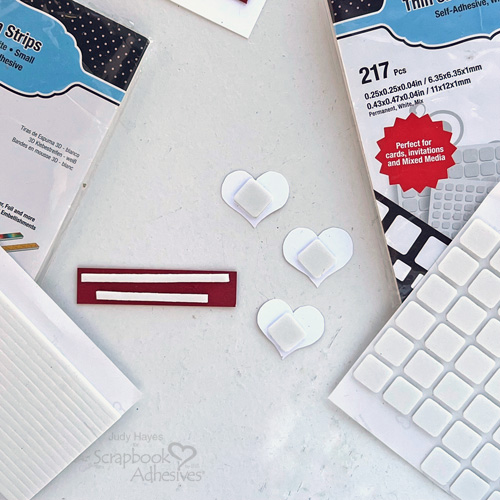
4. Small stars are stamped, cut out, and adhered to the page using the Adhesive Dots Small.

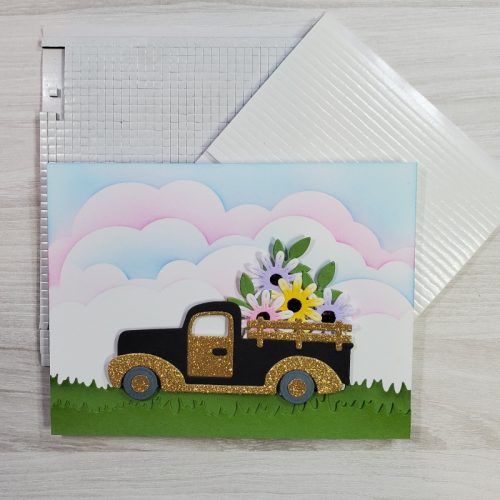
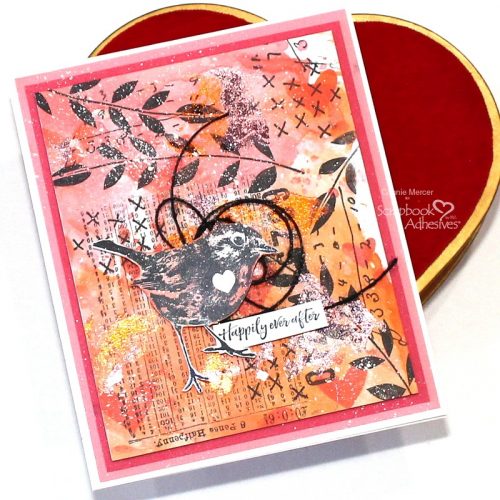
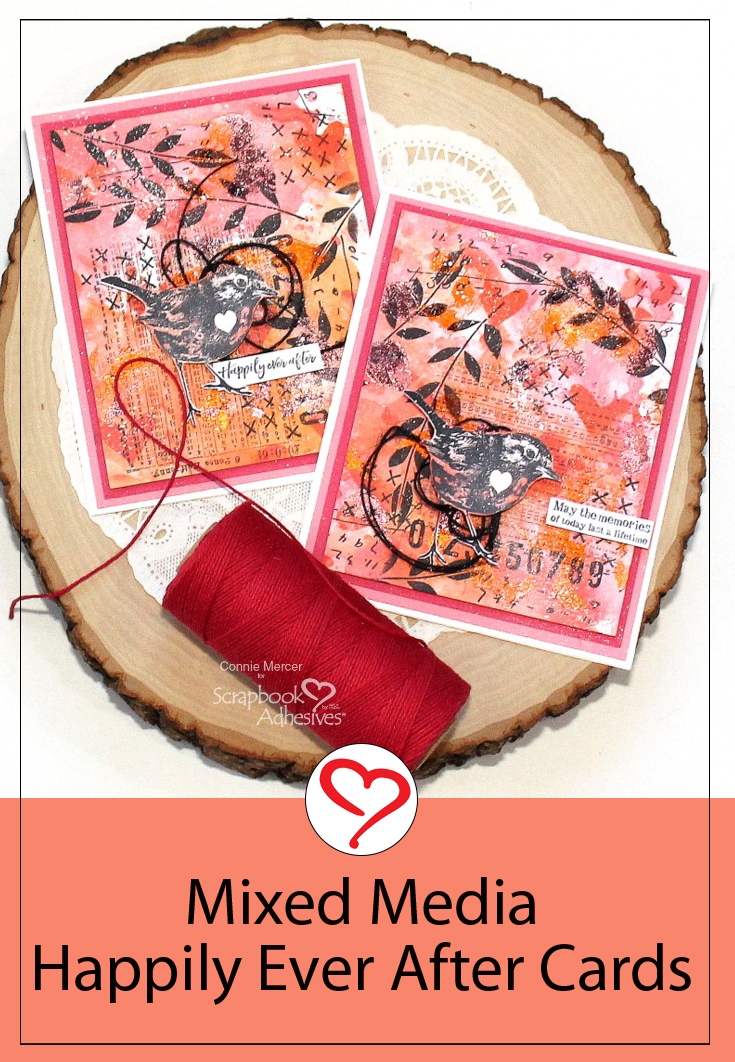
Some other cool effects, that add texture to a page, are stamping over the die cut/ephemera. Another one is tearing edges or legs, as in my case :):). Also, speckle acrylic paint over the project. Most of the time I go with white acrylic paint, something about white just makes it all better.
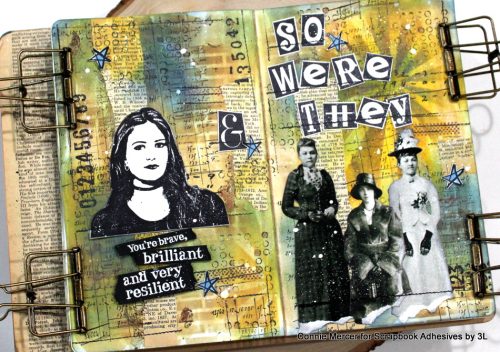
Don’t you know the ladies on the right thought they were Brave, Brillant, and Resilient, they had to be and so do our young girls!!
Thanks for stopping by!
Connie
Creative Time: 90 minutes
Skill Level: Advanced
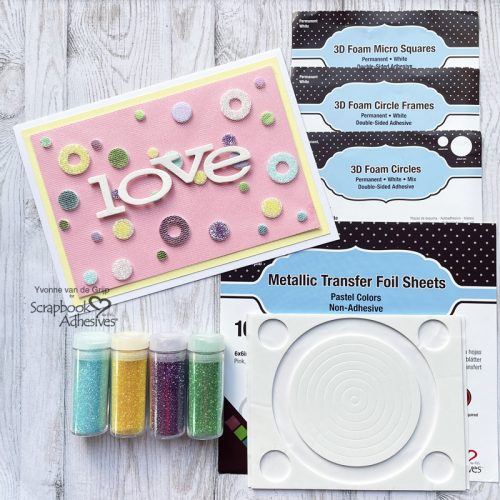
Materials Needed:
Scrapbook Adhesives by 3L®
Metallic Transfer Foil Sheets in Nature Colors
3D Foam Strips
Adhesive Sheets 4×6
Adhesive Dots Small
E-Z Runner® Grand Permanent Strips
E-Z Runner® Grand Repositionable Dots Refillable Dispenser
HomeHobby™ by 3L
Dual Tip Glue Pen
Other: Inks: Ranger Ink (Distress Oxide and Archival Ink); Stamps and Stencils: Darkroom Door; Embossing Powder: Wow! Embossing Powder; Ephemera: Tim Holtz; Vintage Dictionary Paper
Save to Pinterest!

Visit our Website and Blog!
Sign up for our Newsletter so you never miss a contest or giveaway!