
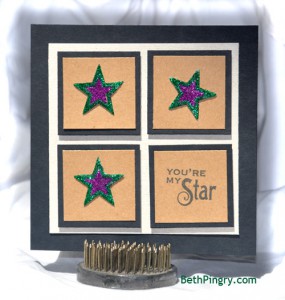
Hi, it’s Beth today, with a card featuring our new 3D Foam Stars. Let me show you how easy this is to make.
First, I peeled three 3D Foam Stars from the full sheet, and placed them on a separate piece of backing paper (when I finish a sheet of 3D Foam, I keep the empty sheets for just this purpose!), and peeled off the top layer of the outer star, then added glitter.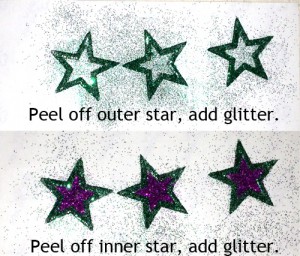
Next, I used the tip of my craft knife to carefully lift the liner off the center star, and added a different color of glitter. Be sure to tap off the excess between colors!
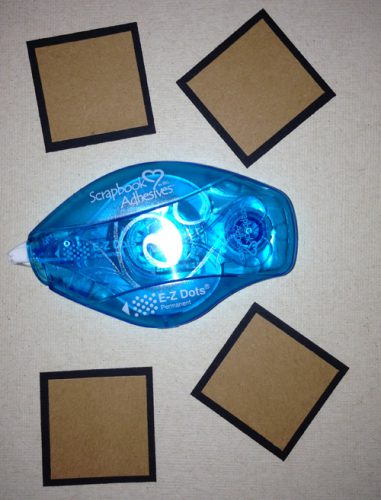
I cut four squares of kraft paper, 1.5 x 1.5″, then matted them with 1.75 x 1.75″ black cardstock, adhered with E-Z Dots® Permanent Refillable adhesive.
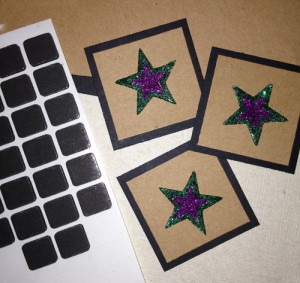
I transferred the stars to the matted squares with a craft knife. Then I stamped the sentiment on the last square, and added them all to the card front with 3D Foam Squares Black Regular size.
We call this Wear Your Adhesive on the Outside, where you utilize the adhesive as an embellishment instead hiding it between the layers of your projects. Its fun, easy and you can do it with all of our products!
Thanks for coming by today! Look for the all the new 3D Foam Designer Shapes starting in October!
Beth Pingry
Supplies:
- Scrapbook Adhesives by 3L: 3D Foam Stars, 3D Foam Squares Black Regular, E-Z Dots Permanent Refillable
- Waltzingmouse Stamps- Seasons of Love Tags
- Tsukineko Imagine Crafts – Memento Tuxedo Black ink
- Clearsnap Glitter – Emerald City, Sparkling Amethyst
- WorldWin Papers – Treasures, Oatmeal
- Black and Kraft cardstock