
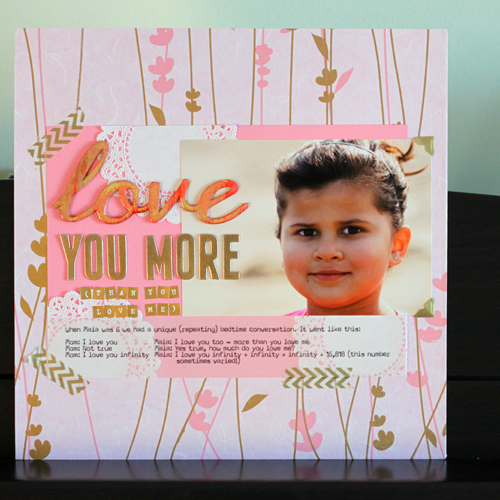
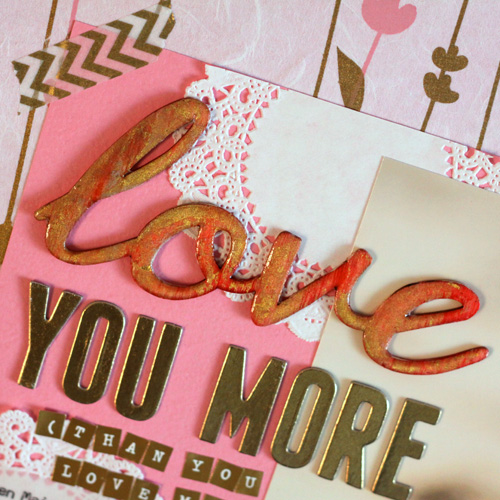
Hello crafty blogreaders! It’s Angela here today, sharing a technique tutorial that I discovered by happy accident! The ‘love’ wood veneer in the title on this layout was embossed WITHOUT embossing ink-quick, easy and mess-free!
I worked on this layout at an all-day crop and didn’t have access to all of my supplies. Most importantly, I had forgotten my (clear) embossing ink at home….luckily I had ALL of my Scrapbook Adhesives by 3L products with me and was able to improvise with GREAT results!
Tutorial:
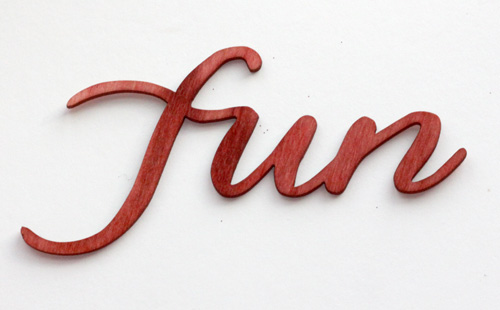
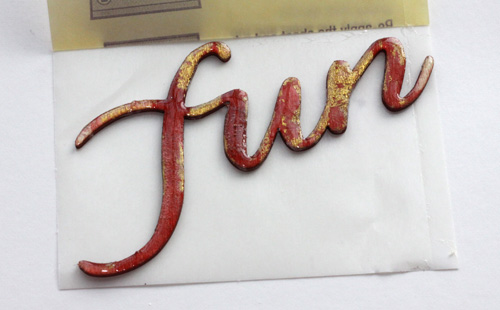
1. Gather your supplies….you’ll need Adhesive Sheets 4×6″, a wood veneer piece (I’m using the word ‘fun’ in the tutorial pictures as there was only one ‘love’ in the package I purchased), any coloring media if you want to color the wood veneer (I used a Distress Ink reinker), ultra thick embossing powder, gold foil and a heat gun.
2. Color the wood veneer piece with your selected coloring medium. If you are using a wet ink of some sorts, make sure the veneer is completely dry before proceeding to the next step.
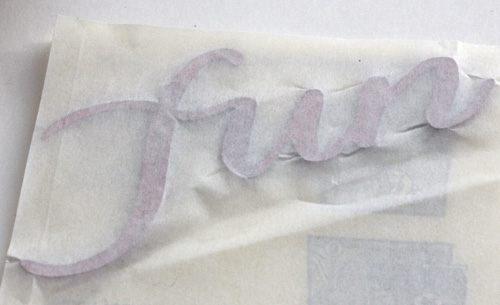
3. Peel back the yellow protective layer on the Adhesive Sheet. Place the wood veneer piece face down on the white sticky side.

4. Replace the yellow protective layer, flip the ‘sandwich’ over and burnish on the white sheet to transfer the adhesive to the wood veneer.
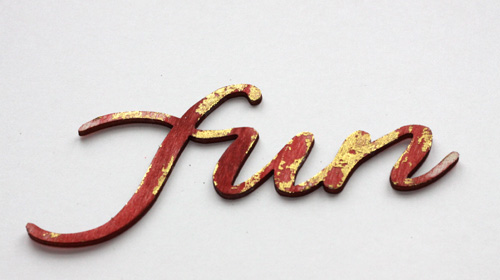
5. Remove the wood veneer piece from the adhesive sheet. Place on a flat surface, sticky side up. Place the good foil on the adhesive and burnish the top of the foil sheet. Burnish unevenly, heavy in some areas, light in others and not at all in some spots to intentionally create an uneven transfer.
6. Return the wood veneer sheet face down on the adhesive sheet and coat with another layer of adhesive. Remove from sheet and cover with ultra-thick clear embossing powder.
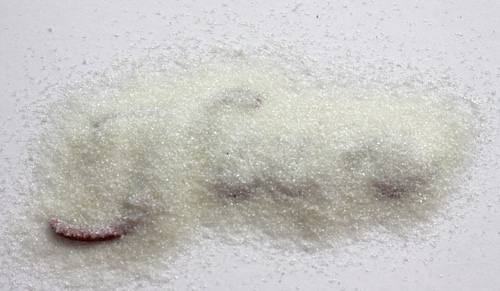
7. Heat until the embossing powder melts. While still warm, recover with embossing powder and press into the warm surface. Reheat until glossy and smooth. Let cool.
8. Return the wood veneer piece to the adhesive sheet, this time face up, to apply adhesive to the back of the wood veneer and it’s ready to add to your project!
Quick, easy and CLEAN! I love it when improvising creates an easier way to do things! Here’s a close up of the embossed piece on the layout…it looks like an epoxy accent with the two layers of thick embossing powder!
Thanks for stopping by today!
Angela
Scrapbook Adhesives by 3L Supply List: Adhesive Sheets 4×6″, Creative Photo Corners Gold, MyStik Permanent Strips, Gold Foil
Other supplies used: Bazzill Basics Paper card stock, WorldWin Papers vellum, American Crafts wood veneer word, chipboard alphabet letters and small alphabet letters, Ranger Distress Ink and ultra thick embossing powder, miscellaneous art paper, washi tape and doilies
By Deborah S January 21, 2014 - 3:15 pm
This layout is just so lovely I like the collage look thanks for the step by step tutorial have a great day!
By Amante del Papel January 21, 2014 - 8:50 pm
thanks for sharing this fantastic tutorial!
By Michelle marks January 21, 2014 - 9:47 pm
Awesome tutorial . thanks for sharing this technique!