
Hello! AJ here sharing a hello card for your stash to have on hand!
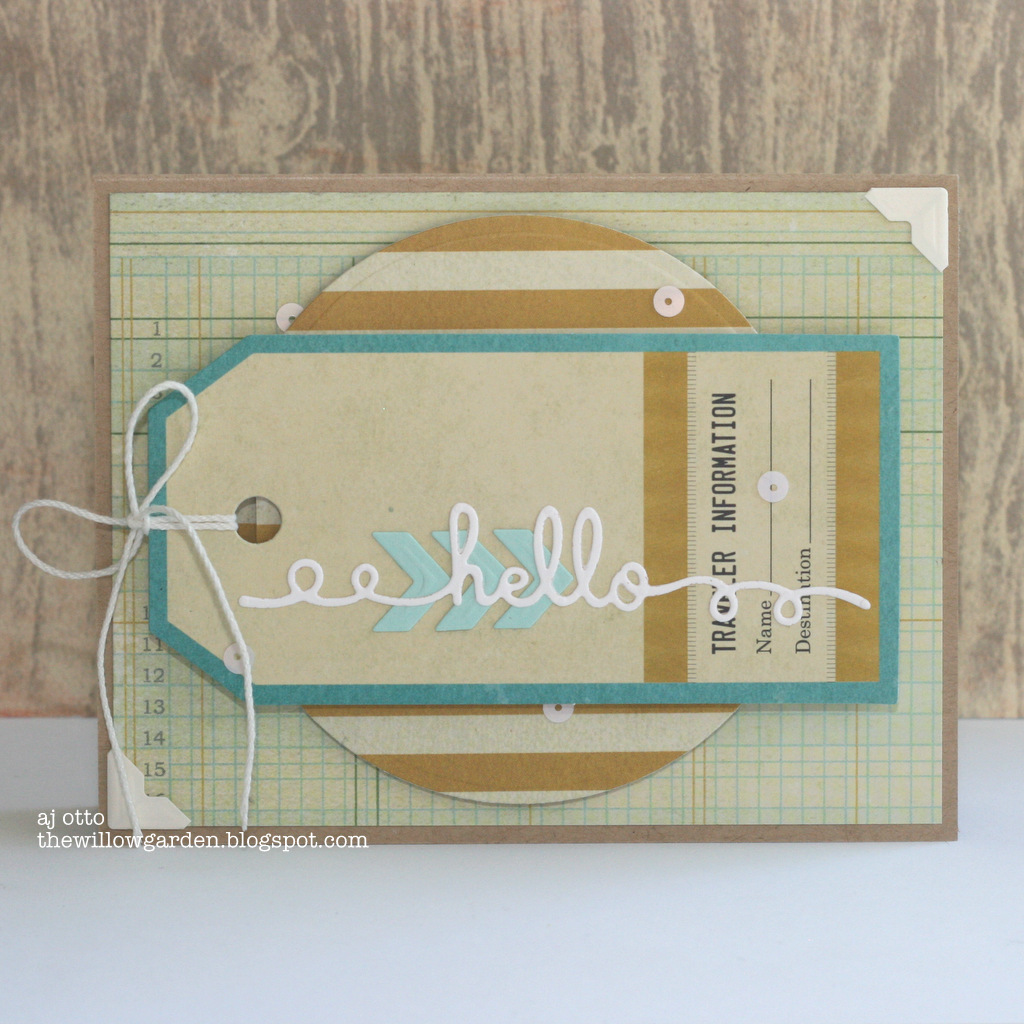 I needed a general theme card to send off and decided to use my new Spellbinders dies along with some fab supplies from Fancy Pants Designs.
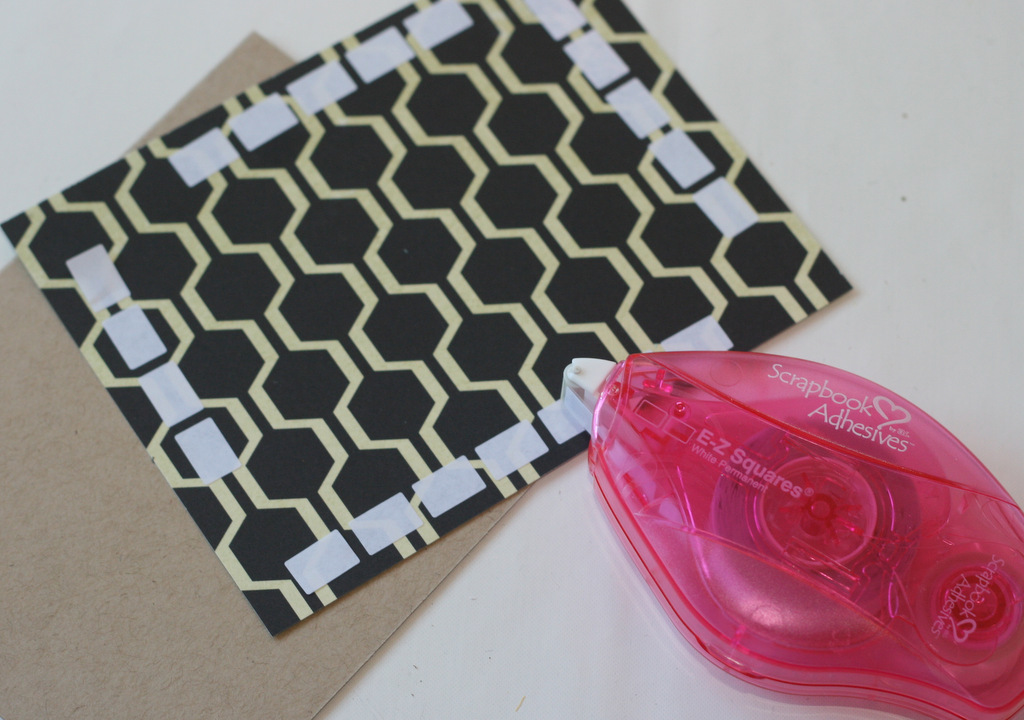
First, to adhere your patterned paper layer down using E-Z Squares® Refillable. Leave opposing corners open, and don’t place down just yet…
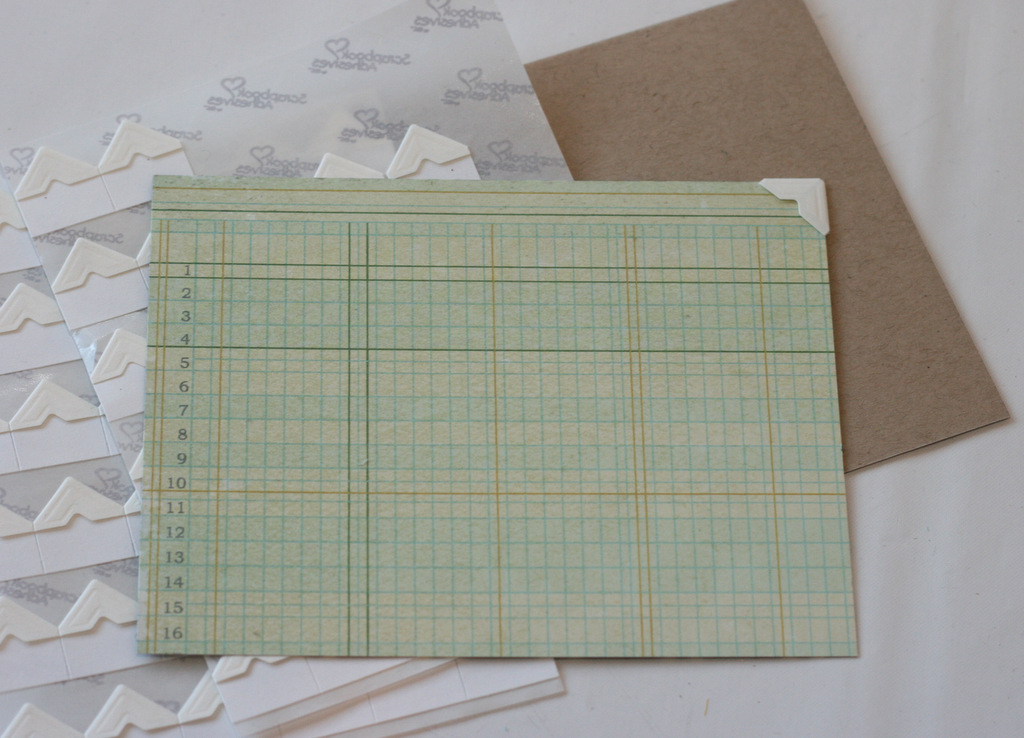
And add a white Creative Photo Corners in the upper right, and lower left corners, secure to card front.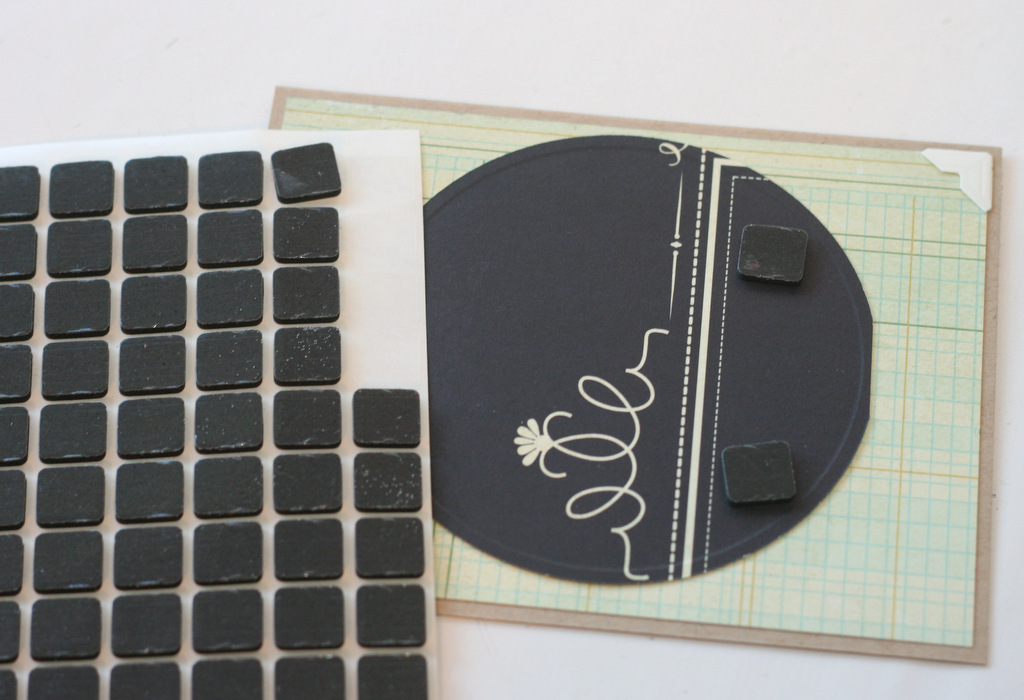
To adhere the circle die cut, use a few 3D Foam Squares in Black.
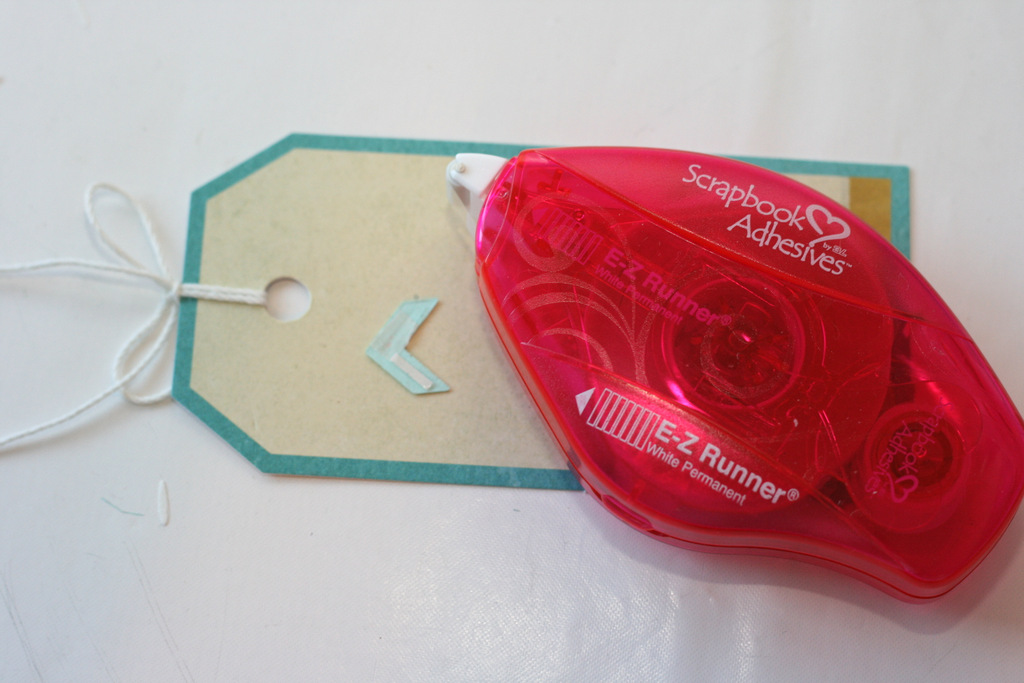

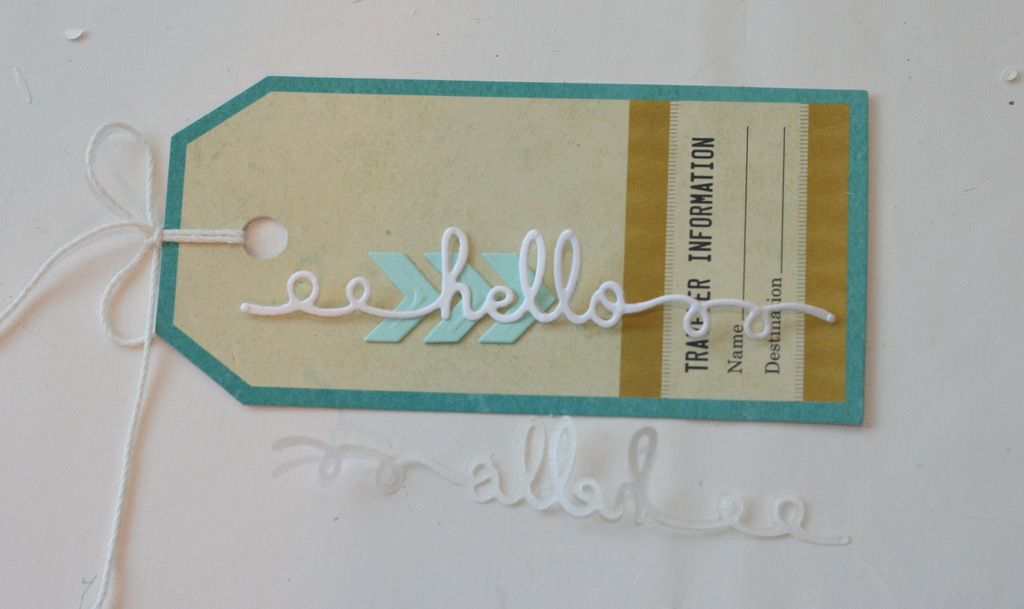
I wanted to add a little something to the tag, so I added a few chevrons pieces using my E-Z Runner® Permanent Refillable.
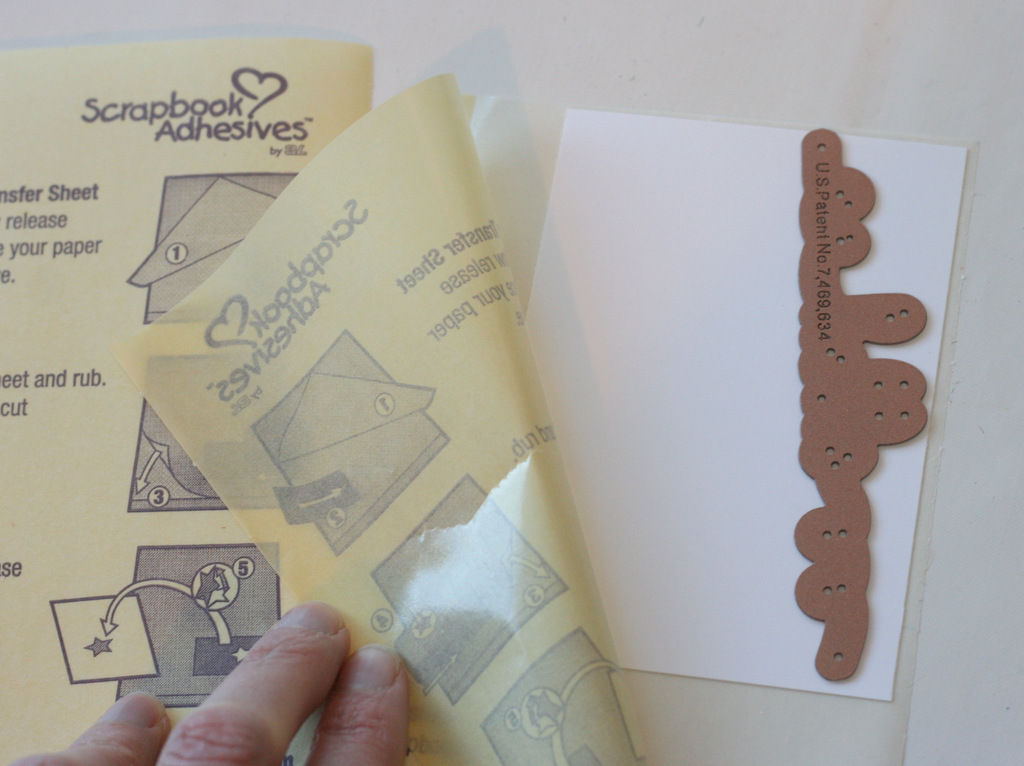 To adhere those SUPER SKINNY sentiment die cuts…Use your Adhesive Sheets. Pull back the yellow line, place your card stock down on to the sticky side, and lay your die down onto the card stock. Run through your machine as usual.
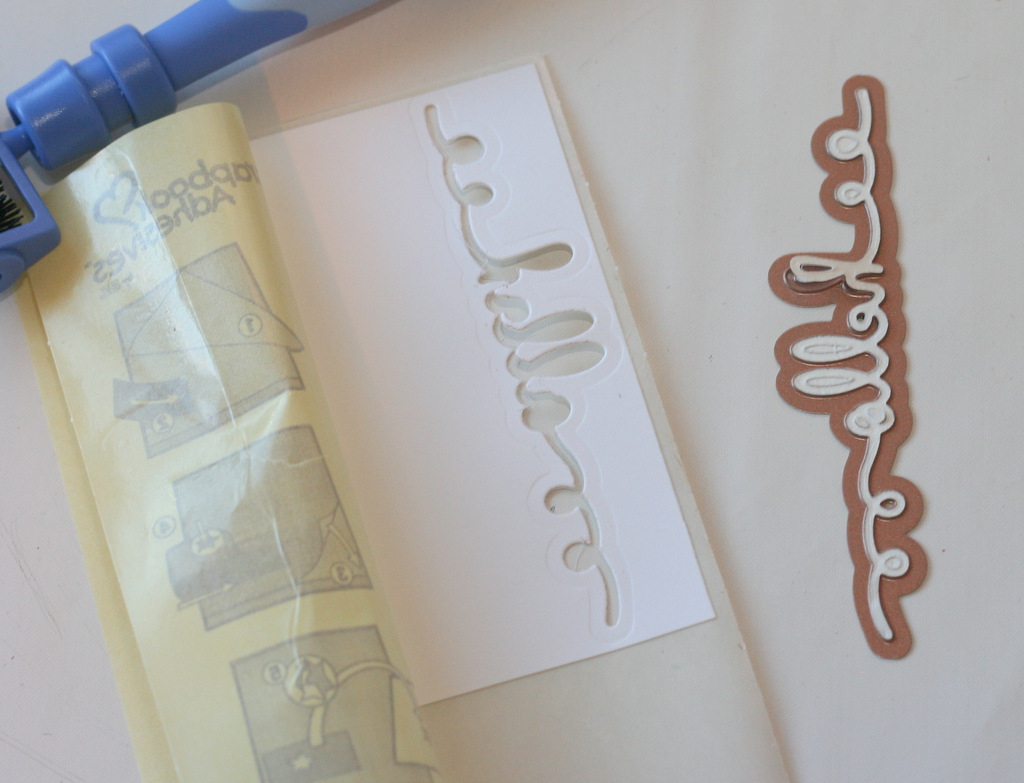 It should look like this- remove the die cut from the die template. remove the backing, and adhere onto the tag.
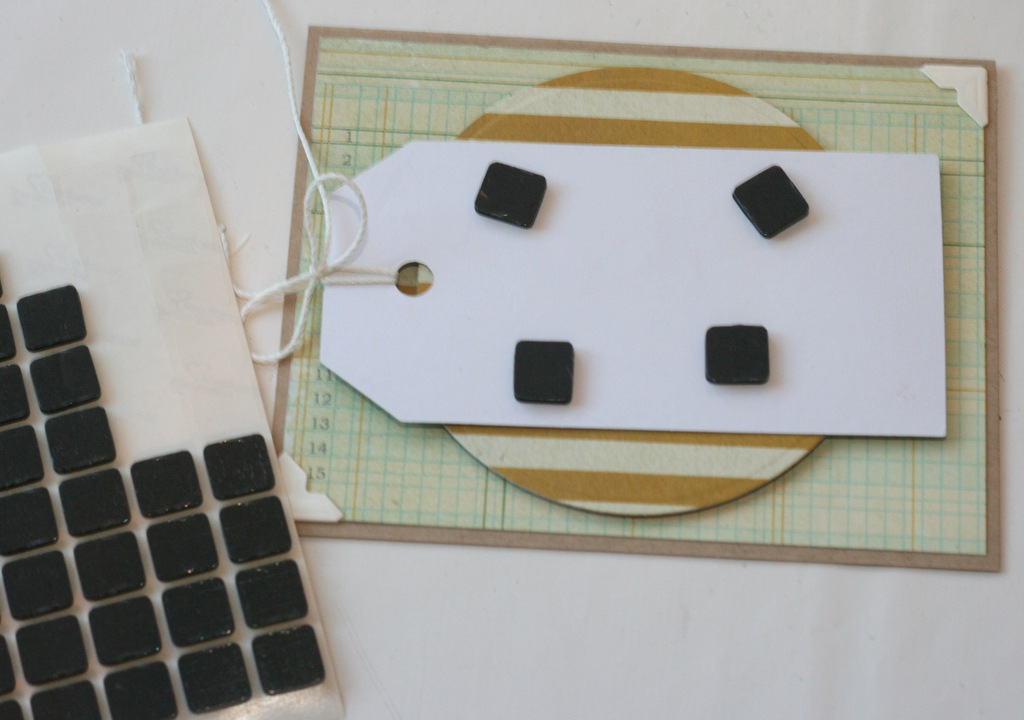 To adhere the tag to the card, lay your tag onto the circle and place your 3D Foam Squares– I like to see where they will go so they aren’t hanging off of the circle die!
enjoy!!
Fancy Pants Designs paper and tag- As you Wish line; Dies-Spellbinders
By Deborah S September 15, 2014 - 12:44 pm
What a great go to card love the papers you chose and all the little details and layering you did, your deets were very easy to follow thanks love this card!
By Seth September 16, 2014 - 10:08 pm
I love this card. Great layering and perfect choice of paper design and color palette!