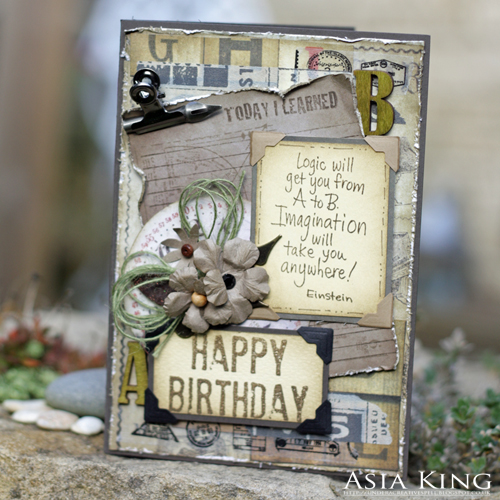
Hello everyone and I hope you’re having a lovely Sunday! Asia here and today I am sharing a tutorial for this grunge birthday card I made for my hubby :). Masculine cards are always tricky, especially if you like adding flowers to your projects (which I so do!). I hope this project will show that you don’t have to give up floral accents in masculine projects – as long as you keep your overall design quite ‘manly’. So let’s get started!
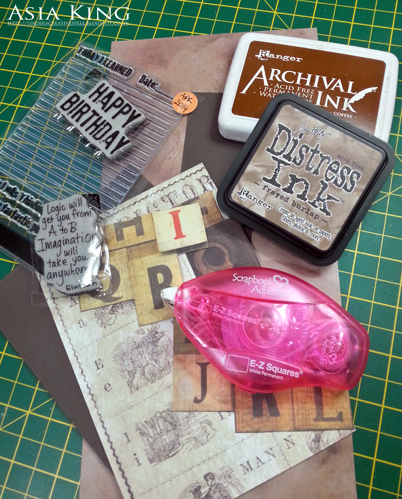
1. Prepare your 5″x7″ card blank, patterned papers, stamps, inks and your favourite adhesives. I will be using E-Z Squares® Refillable.
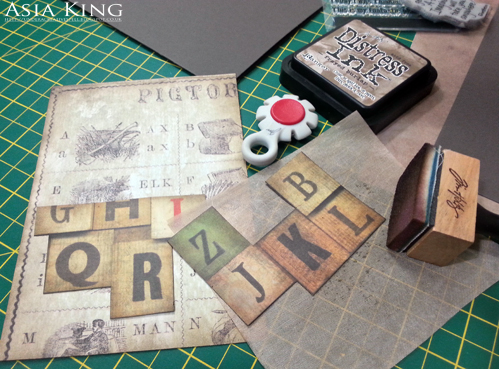
2. Trim your background paper slightly smaller than the card blank. Next cut out some alpha elements in a form of irregular blocks. Ink them up and distress the edges.
3. Adhere the background panel and the alpha blocks using E-Z Squares® Refillable. Add some more interest to the background with washi tapes.
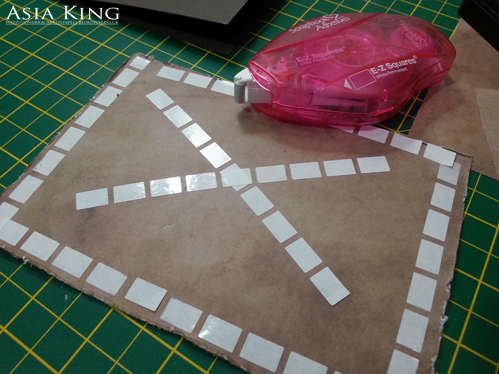
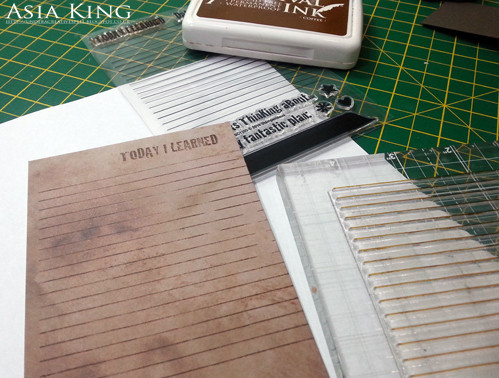
4. Cut another smaller DP panel and add some stamping. Then ink and distress the edges.
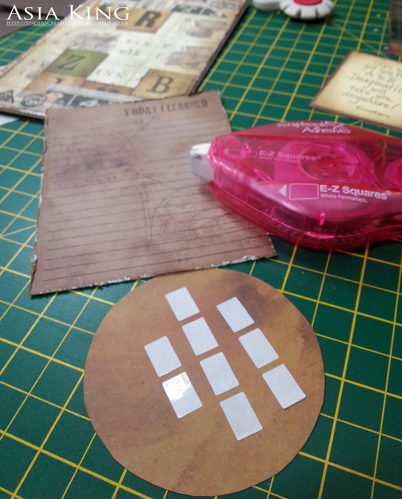
5. Fussy cut a clock face and adhere to the panel.
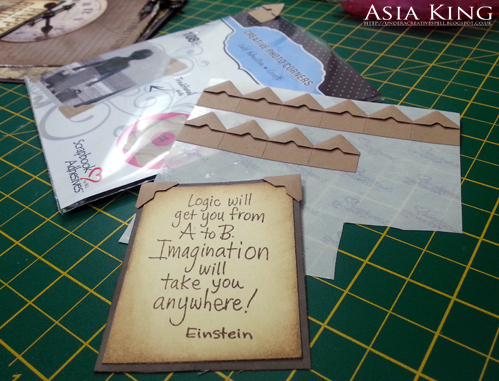
6. Stamp the quote and the birthday sentiment onto cream card, ink the edges and mat onto chocolate cardstock using E-Z Squares® Refillable. Embellish the sentiment panels with kraft and black Creative Photo Corners – Mix Pack.
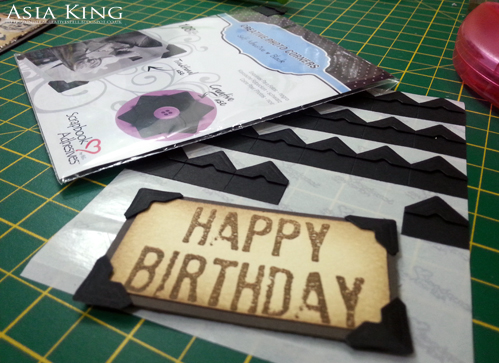
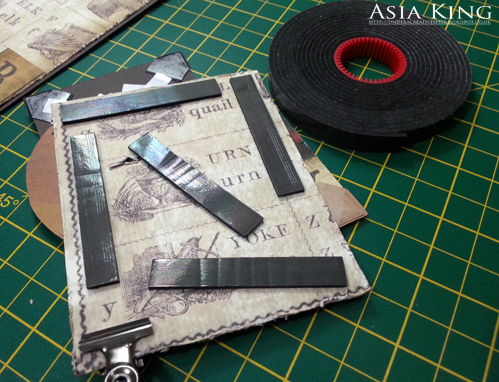
7. Adhere the sentiments to the big panel with E-Z Squares® Refillable. Add the assembled panel to the card with Crafty Foam Tape – Black. Add a metal clip and a pen nib to the top left of the panel.
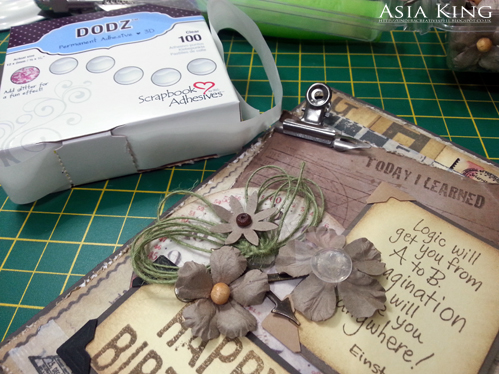
8. Add a jute string bow and some kraft flowers, adhere them with DODZ™ – 3D and DODZ™ – Small.
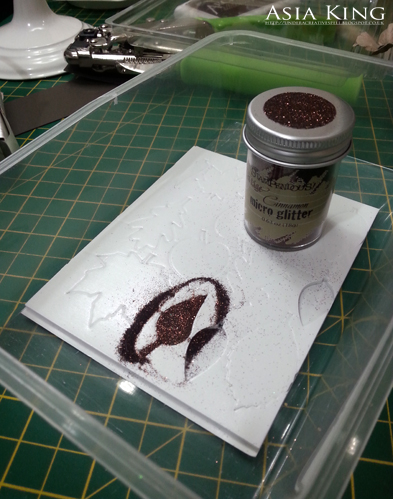
9. Cover a small leaf from 3D Foam Leaves with Cinnamon glitter and adhere to the card.
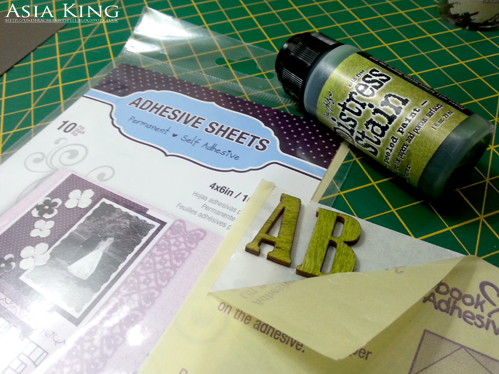
10. Finally, colour A & B wooden alphas with a distress stain and add to the card with a help of Adhesive Sheets 4″x6″.
Supplies:
E-Z Squares® Refillable, Creative Photo Corners – Mix Pack, Crafty Foam Tape – Black, DODZ™ – 3D, DODZ™ – Small, 3D Foam Leaves, Adhesive Sheets 4″x6″.
Other supplies:
Stampendous stamps – Grunge Birthday, Imagination, Journal Lines, Charmed Art; Cinnamon Micro Glitter
Tim Holtz Lost and Found paper pack, Bazzill Basics cardstock
Inks: Coffee Archival, Frayed Burlap Distress Ink, Peeled Paint Distress Stain
Metal embellishments, paper flowers, jute string (May Arts), tissue/washi tapes, paper distresser
I hope you enjoyed today’s tutorial and as always, your comments and thoughts are greatly appreciated! If you’d like to see some close up pictures of my card, you can check them out on my blog here.
Thanks for stopping by and see you next time!
Big crafty hugs

