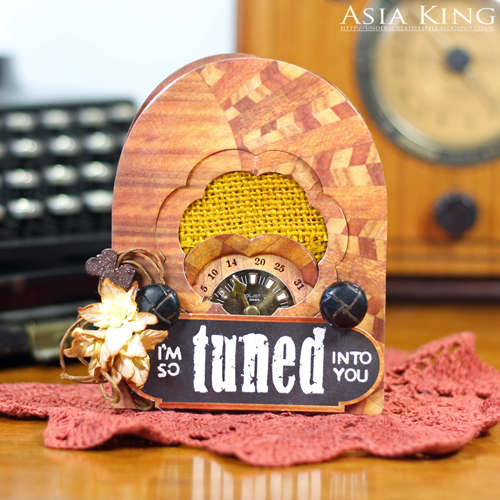
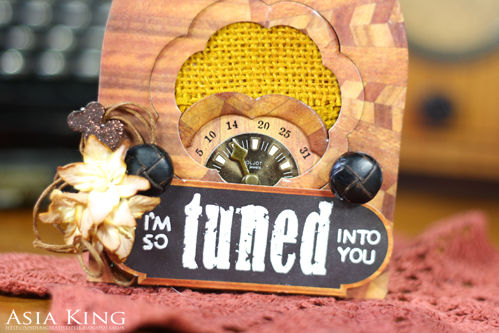
Happy Valentine’s Day everyone! Asia King here and today I would like to share a tutorial for this cute Valentine’s Day card I made for my husband.
My husband loves collecting vintage radios and I have been on a lookout for some related crafty items to make a card for him. I couldn’t find anything suitable so I decided to make my own ‘vintage radio’. I hope this tutorial will inspire you to try it out, too! So let’s begin!
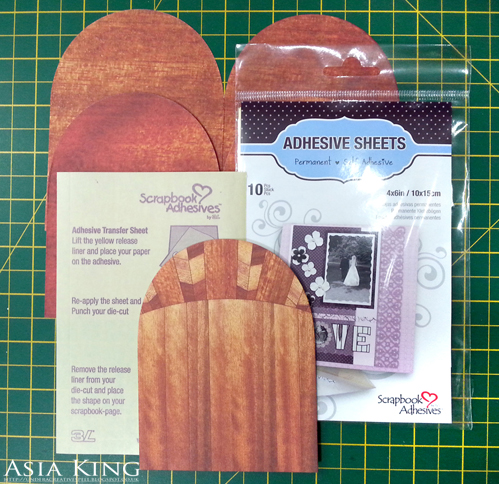
1. Trim in half a 12×12″ scrapbook paper with a wood design. Trim each piece to 6″ tall and 8″ wide. Score each piece at 4″ length and fold in half. Align each piece with the folded edge closely within the aperture of the largest Round Tag die and die cut. This way each die-cut shape will form two folding ‘pages’.
Apply Adhesive Sheets 4×6″ to the pages and bind them together – this will form a sturdier base for the card. If required, embellish the folds with some washi tape.
Cut an additional single shape for the card front.
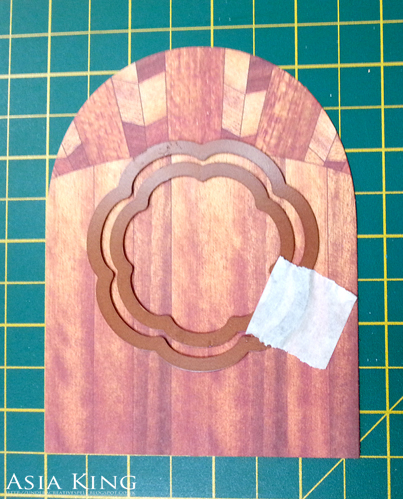
2. Layer Blossom Dies (as shown) and die cut a small aperture in the middle of the front panel. Keep all the cut outs.
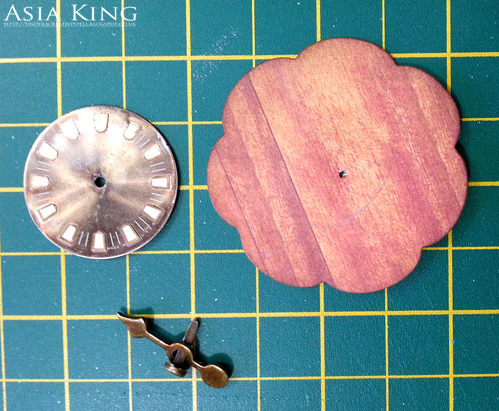
3. Pierce a small hole in the die cut blossom shape, align with a metal clock face and a small clock hand and secure all with a brad.
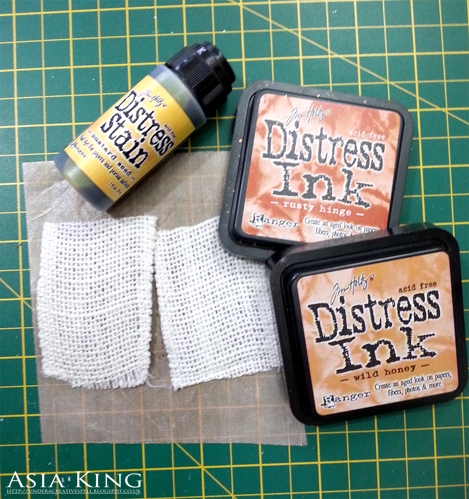
4. Cut two pieces of the burlap ribbon, big enough to fit the aperture of the front panel. Dye with Distress Inks and Stains. Allow to dry.
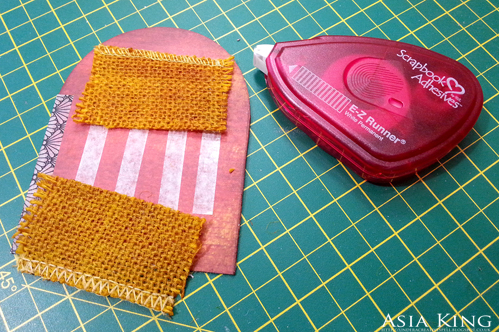
5. Add some adhesive to the front of the card base with E-Z Runner® Permanent Strips and cover with the dyed ribbon.
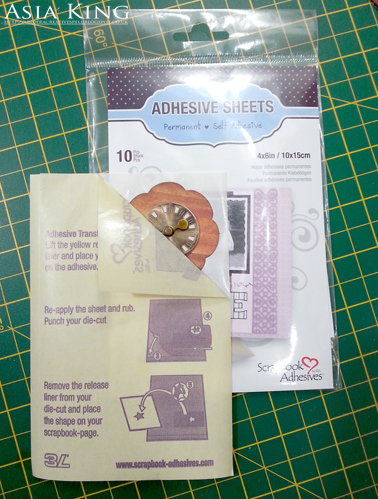
6. Cover the element created in step 3 with Adhesive Sheets 4×6″ and layer over the ribbons. Use the die cut front panel from step 2 as a guide for your positioning.
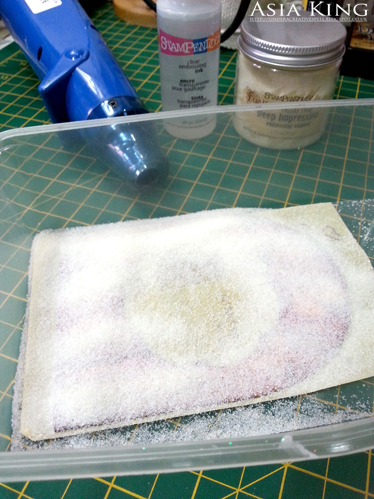
7. Cover the front panel generously with Boss Gloss and sprinkle with Clear Deep Impressions enamel. Heat with a heat gun. Repeat two more times.
Follow the same steps for the die cut blossom outline created in step 2.
8. Cover the back of the panel with 3D Foam Squares Black Regular and 3D Foam Squares Black Small and adhere to the base of the card.
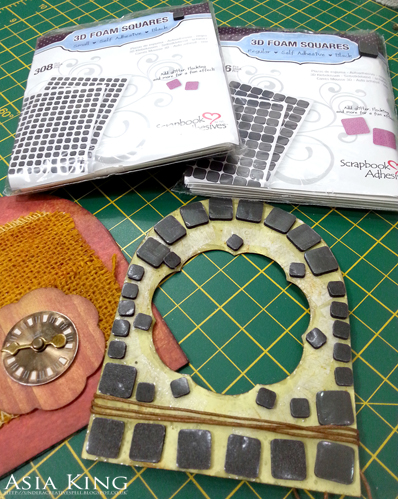
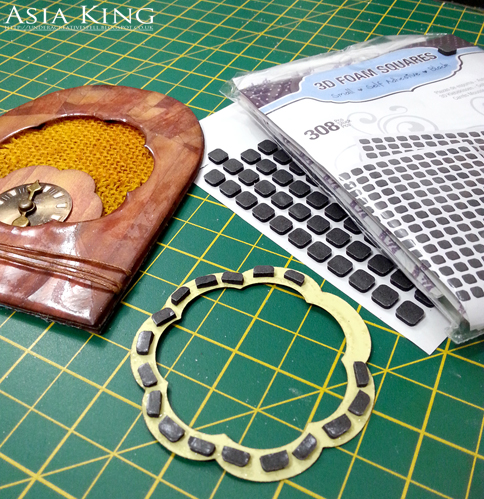
9. Cover the back of the blossom outline with 3D Foam Squares Black Small and fit within the aperture of the front panel.
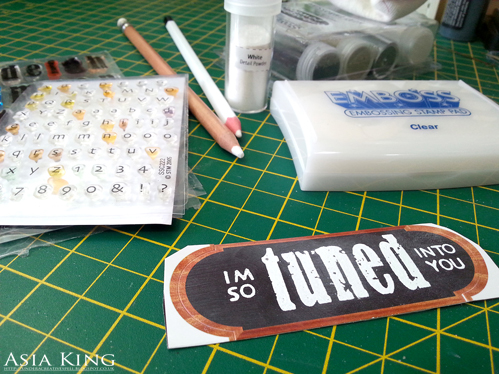
10. Stamp the sentiment onto a chalkboard sticker with clear embossing ink and heat emboss in white. Add some chalky finish with chalk pencils.
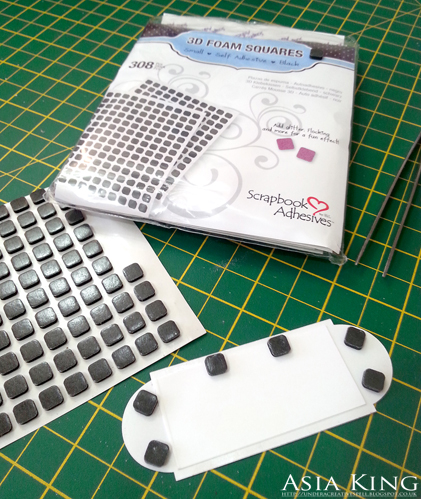
11. Attach the sentiment panel to the card with 3D Foam Squares Black Small. Just before you layer it onto the card, gently heat up the clear-embossed area of the front panel where the sentiment will be added. This will help the foam squares adhere to the embossed area.
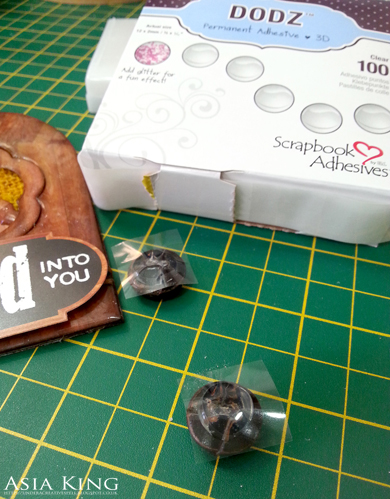
12. Adhere a couple of large leather buttons as radio dials with Adhesive Dots 3D. Again, gently heat the enamel before positioning to help ’embed’ the elements.
13. Cover the tops of 4 small 3D Foam Hearts with Maroon glitter. Create two decorative pins by ‘sandwiching’ dressmaking pins between two hearts stuck together.
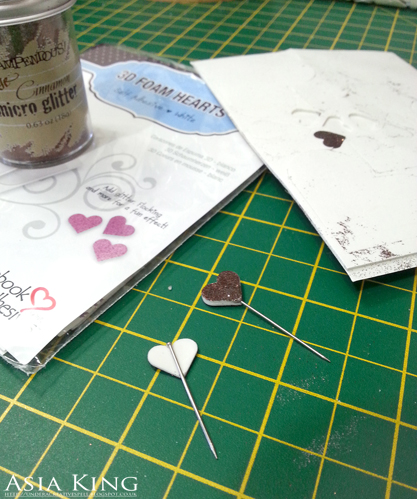
14. Add the pins to the card.
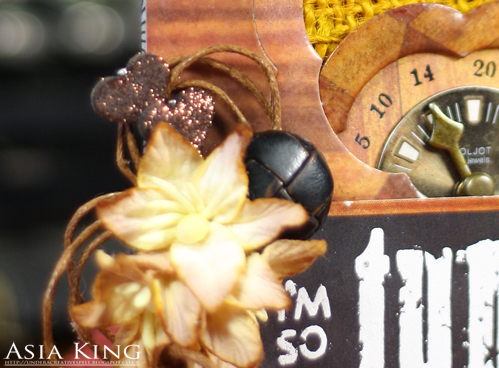
15. Embellish the card further with a suede twine bow, paper flowers and rub-on numbers for the tuning dial.
Supplies used:
Adhesive Sheets 4×6″, E-Z Runner® Permanent Strips, 3D Foam Squares Black, Regular, 3D Foam Squares Black, Small, Adhesive Dots 3D, 3D Foam Hearts
Other supplies:
Stampendous Tiny Alphabet and Vintage Lowercase Perfectly Clear stamps, White Detail Embossing Powder, Deep Impressions Chunky Embossing Enamel (clear), Boss Gloss, Maroon Micro Glitter
Sizzix Tags Round dies and Spellbinders Blossom Die; Monte Paper Mill Take2 papers, Maya Road Calendar rub-ons, clear embossing ink, Tim Holtz Ideaology Game Spinners and fasteners, small metal clock face from a hand watch, Tim Holtz Distress Inks/Stains (Mustard Seed, Rusty Hinge, Wild Honey), suede twine (May Arts)
I hope you enjoyed today’s tutorial – and if you did, please leave some love for us in the comments below :). Thank you for sharing your Valentine’s Day with us!
Big crafty hugs


By Deborah S February 15, 2015 - 11:09 am
Oh my goodness this card is beautiful so realistic down to the last detail. I feel like I could turn the on button and the dial would light up and once the tubes were warmed up I could find my favorite station and Ella Fitzgerald’s smooth voice would come through the speakers. I hope your husband loved this card and really loves you for putting so much time and detail ino this card!
By Kimberly February 15, 2015 - 5:08 pm
What a cool and clever idea! love IT!