
I am SO excited to share with you one of my CHA Mega Show projects!
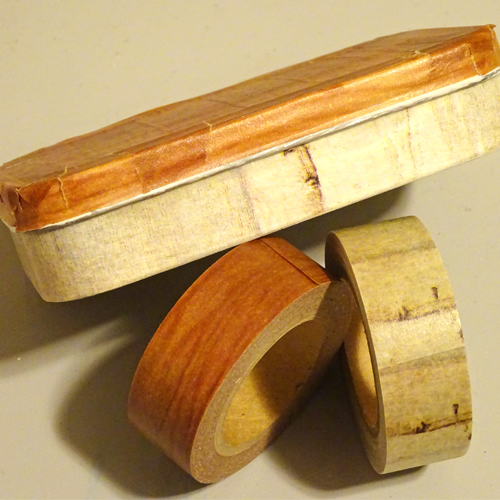
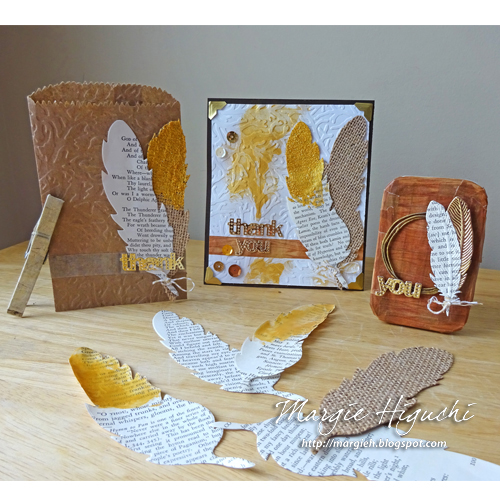
To give the surface “tooth” to grab on to, I sanded the entire tin with fine grade sand paper which you can get at your local hardware store.
Next I painted two coats of Gesso (dry time between coats) and then painted white acrylic paint. When the paint dried, I went to town! First I covered the base with washi tape in wood colors. Using strips of the tape, I covered about two layers for a wonderful natural color. Repeat the same process with the lid, using washi tape in oak.
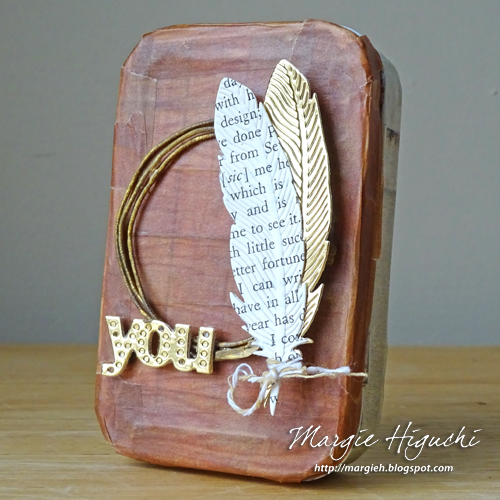
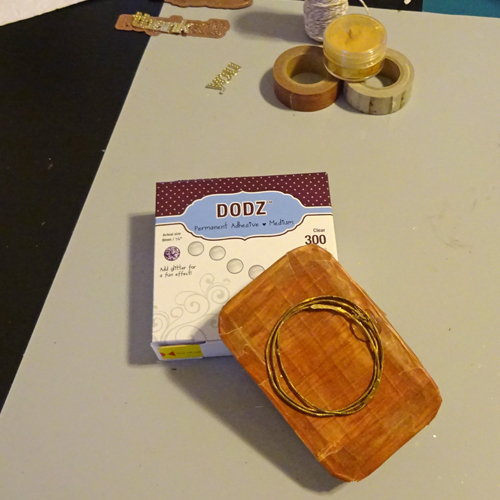
For the embellishment, I looped white fabric covered wire twice and colored with brown Pigment Powder Brown and water as the base. Then added gold Pigment Powder and water into a mister to spray the ring as an accent. Place on the lid with Dodz Adhesive Dots Medium. With two feather and “YOU” die cuts, I used different sizes of 3D Foam Squares White, Mix pack for dimension.
As the finishing touch, I tied natural colored Twine to the feather’s stem and it’s ready to be given away…
This tin is part of a three-piece ensemble…
I hope this inspired you to get your tissue tape ON!
Thanks for stopping by!
Margie Higuchi
Supplies:
• Scrapbook Adhesives by 3L®: Dodz Adhesive Dots Medium and 3D Foam Squares White, Mix
• Dies: Spellbinders® Creative Arts
• Gold Metallic Foil Cardstock: WorldWin Papers®
• Gesso: Faber-Castell® Design Memory Craft®
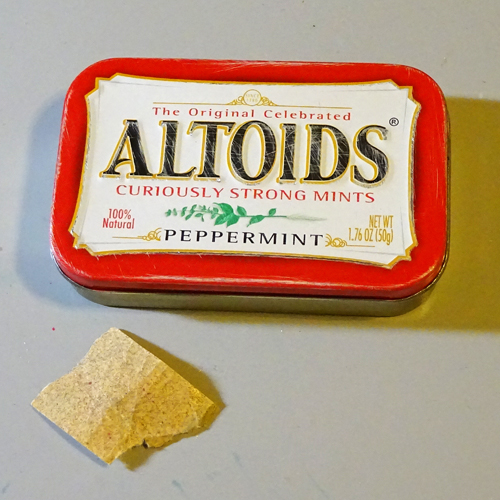
• Altoids Tin
• White Fabric Wire
• Fine Grade Sand Paper
• Mister
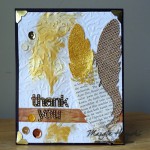
See my Gold Feathered Thank You card here:
By Linda January 17, 2016 - 4:07 pm
You never cease to amaze me, Margie! Great job, as usual.
By Margie Higuchi January 30, 2016 - 9:18 am
Thanks Linda for stopping by to comment – you know how to make a girl feel GREAT <3 Hope you are doing well!
By Seth January 20, 2016 - 10:55 pm
This is great Margie. Thanks for sharing the step outs!
By Margie Higuchi January 30, 2016 - 9:19 am
Thanks Seth for coming by and commenting! I think this is my new favorite altered tin 🙂