
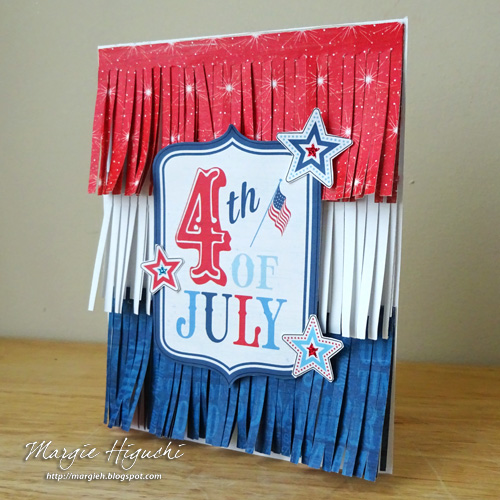
Happy Birthday, America! For today’s fringed card, I wanted to create something that had movement so I took out my fringe scissors and went to town with my strips of red, white and blue patterned papers. Of course, using my Scrapbook Adhesives by 3L® products, I adhered everything all together. What do you think?

Making the Fringed Card
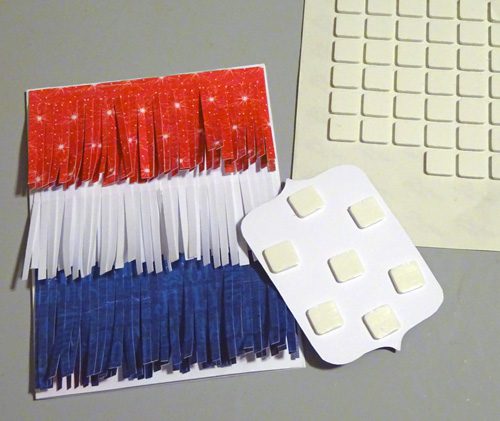
After I cut my fringes (two layers for each color), I placed Extreme Double-Sided Tape 1/8″ on the back edge of each fringe and adhered onto my white A2-sized (4.25 x 5.5 inches) card base.

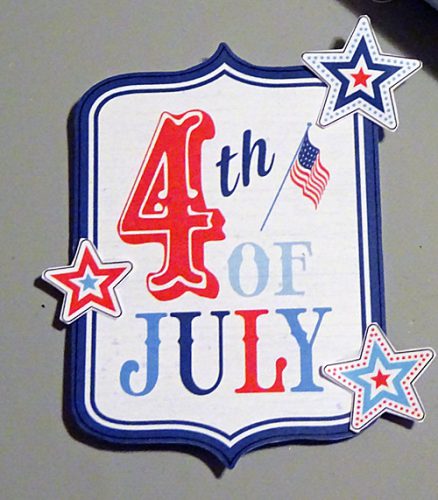
I fussy cut the sentiment and stars from patterned papers. With the Dual Tip Glue Pen, I placed the stars onto the sentiment and let dry.
For more dimension and not to flatten the fringes, I used 3D Foam Squares White, Regular on the back of the sentiment. Took off the liner and center on the card front.
The finishing touch of glitter in the centers of the stars and it’s ready to go! Another look…
If you want to see more 4th of July and other summer inspired projects, click: Summer Projects from Scrapbook Adhesives by 3L.
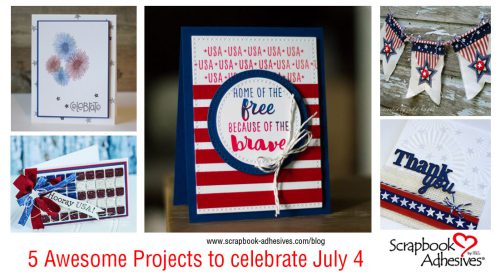
Click to see more patriotic projects!
Thanks for stopping by!
Margie Higuchi
Supplies List:
Scrapbook Adhesives by 3L®:
3D Foam Squares White, Regular
Dual Tip Glue Pen
Extreme Double-Sided Tape 1/8″ Permanent
Patterned Papers: Photo Play Paper Co. (Main Street Parade Collection)
Cardstock: Darice/Core’dinations
Glitter: Ranger Ink (Stickles)
Fringe Scissors: Martha Stewart Crafts
By ~amy~ July 3, 2016 - 10:07 am
Such a fun + festive card Margie! I love the fringe!
By Margie Higuchi July 3, 2016 - 10:39 am
Thanks Amy! I think it is one of my newest favorite card! LOL!! Happy 4th of you & the fam xo
By Deborah S July 3, 2016 - 11:26 am
What an awesome card! I just love the fringe bg it is so fun and different. Great card tfs!