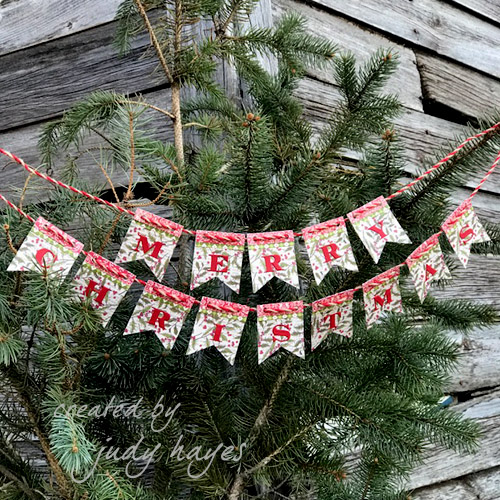
I’m making a Merry Christmas Banner today! With December just TWO DAYS AWAY, many of you are decorating for Christmas. I try to make a few new things each year to add to my decorations.
It’s Judy here to show you this Merry Christmas Banner which I hope to hang it on a wreath or tree once I actually get those out of storage! HA! Using a combination of Adhesive Sheets 4 x 6ʺ and E-Z Runner® Ultra Refillable Dispenser, it will make this really easy to put together.

Start with the Banner Basics
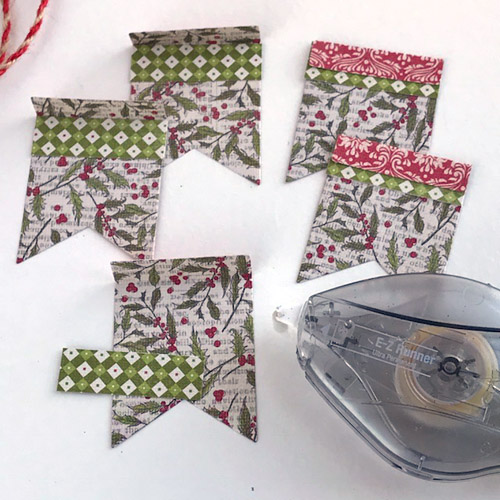
To make the banner, I cut 14 small pennants from patterned paper. The pennant top folds to the front to show the red pattern from the back side. I’ve added a strip of green patterned paper under the fold for a contrast border. Applied them with the E-Z Runner® Ultra Refillable Dispenser to hold in place.

Adding the Letters
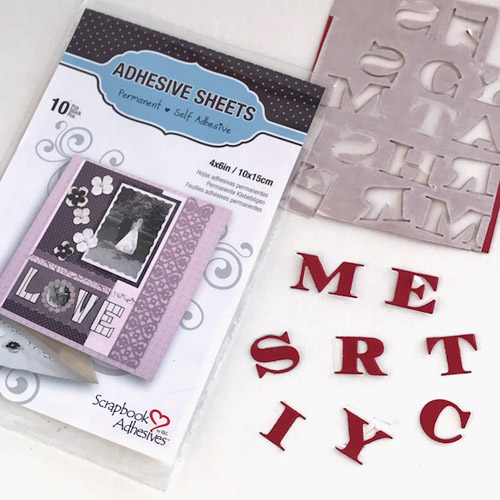
Next, I applied Adhesive Sheets 4 x 6ʺ to the back of red cardstock. Then I die cut the letters from the red cardstock and you end up with each letter having edge-to-edge adhesive on the back – so easy to fasten to the pennants.

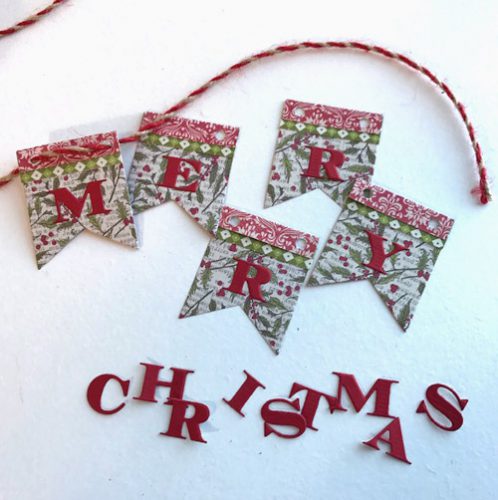
After each letter is applied to a pennant, punch holes at the top and thread the twine through to connect my banner.

Happy decorating!
Judy
Scrapbook Adhesives by 3L®:
Adhesive Sheets 4 x 6ʺ
E-Z Runner® Ultra Refillable Dispenser
Other Supplies:
Patterned Papers: Authentique Paper (Vintage Christmas and Vintage Christmas Two); Red Cardstock; Twine; Tags Etched Dies: Little B; Alpha Etched Dies: Spellbinders® Paper Arts (Simply Said Alphabet Etched Dies)
Visit our Website and Blog!
Sign up for our Newsletter so you never miss a contest or giveaway!


