
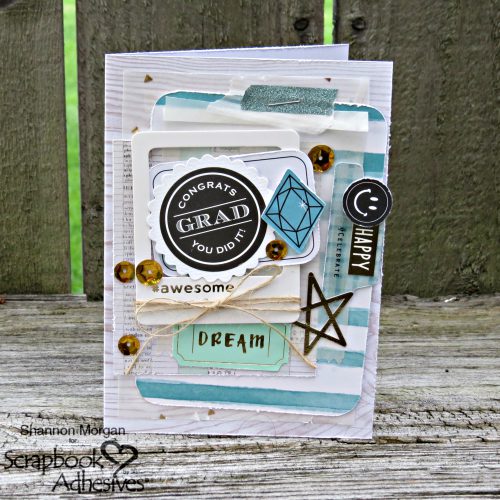
Graduation season is upon us, friends! Today on the blog, you can find the steps on how to create this card. If it’s possible to be empty and have a full heart at the same time, this is me, every year during this season.
I put a lot of “Mama Morgan” love and details into these cards. See the tips and tricks below as to how you can create this graduation card just like this.
What you need for this card:
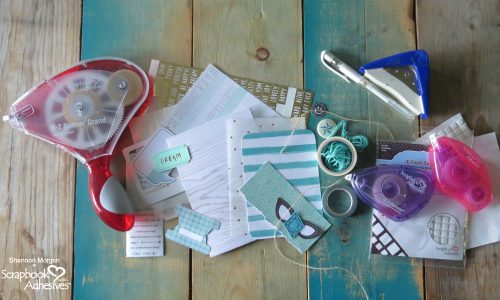
The beauty of this card, I used scraps. I hang onto (more like hoard) scraps and leftovers just for this kind of layers! Sometimes your scraps coordinate perfectly. You’ll need adhesive of course but also 3D Foam Squares and Circles 🙂
Graduation Card Step Outs
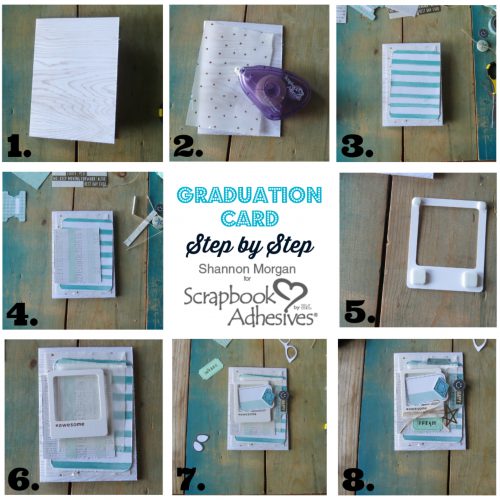
- For the card base, fold heavy cardstock and trim to measure 4.25 x 6.00″.
- Grab those scraps! I used a piece of vellum with gold accents and adhere with E-Z Runner® Permanent Fine Adhesive Dispenser as shown in figure 2.
- Look through your scraps and select the next layer. I used a corner rounder and distressed the edges before adhering this layer. Position it slightly off center and to the right of the base.
- Next, I chose a smaller piece. Again distress the edges and adhered it with my E-Z Runner® Grand Refillable Dispenser. Place a piece of a glassine bag to this layer.
- Add a frame and pop it up with 3D Foam Squares White Mix to the card front. Both sizes were needed for this part and I was able to stack two squares for extra dimension.
- It is now ready to add the sentiment and accents. Look to step 7.
- A thought bubble die cut was added to the inside of the frame, but let it overlap out of the frame. See the main picture as reference. Using 3D Foam Circles White Mix, I added the rest of the embellishments such as the gem and happy face, along with washi tape.
- The sentiment was added last – a congrats grad sticker on a punched piece of cardstock adhered to the card with 3D Foam Squares! The sequins are the final touch, this card is ready!
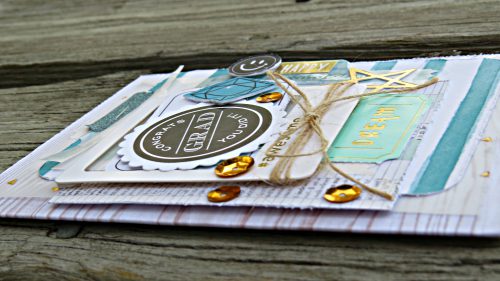
Dimension Close Up
Thanks for letting me share with you! Good luck to all the graduates and congratulations to all their families and friends!!
Creative Time: Intermediate Level (30 – 45 min)
Materials Needed:
Scrapbook Adhesives by 3L®:
E-Z Runner® Grand Refillable Dispenser
3D Foam Circles White Mix
E-Z Runner® Permanent Fine Adhesive Dispenser
3D Foam Squares White Mix
Other:
Scraps from your stash, corner rounder, washi tape, twine, tabs, stickers with simple words, die cuts