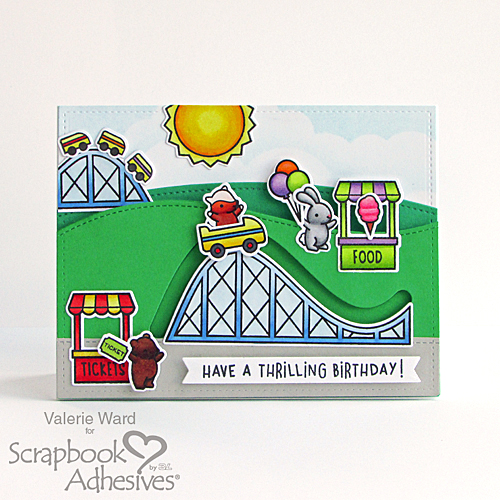
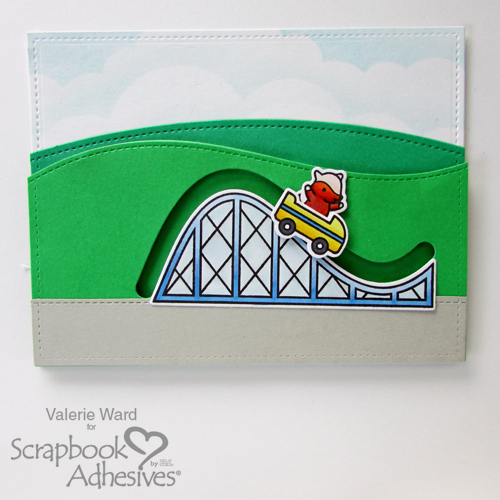
Hello crafters! Valerie here with a fun and thrilling birthday card for you today with a wonderful interactive feature – a sliding roller coaster! I’m excited to show you how to create one.
A Thrilling Top Panel
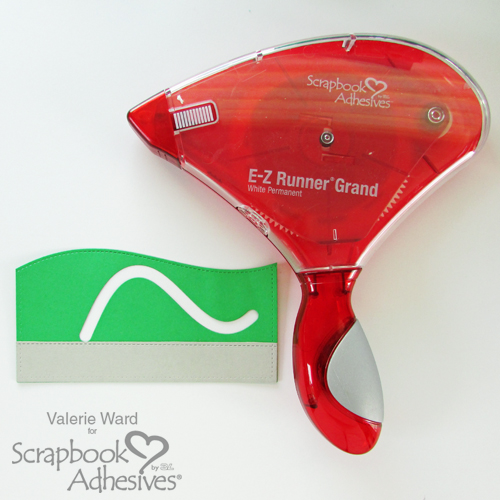
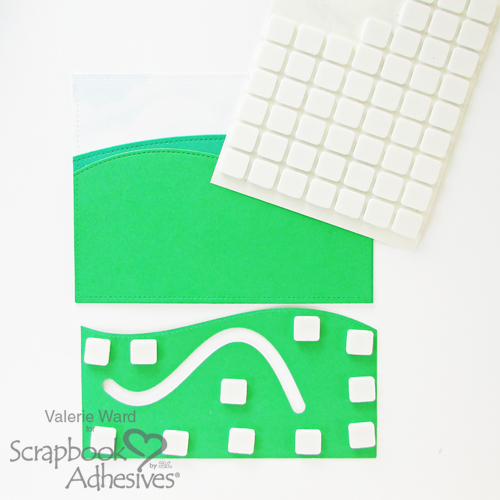
I die-cut and created the foreground of my card front by adhering the two pieces together with my E-Z Runner Grand Refillable Dispenser.
Next, I die-cut a background panel (a solid piece that is the exact same size and shape as the foreground piece) that right behind the foreground panel.
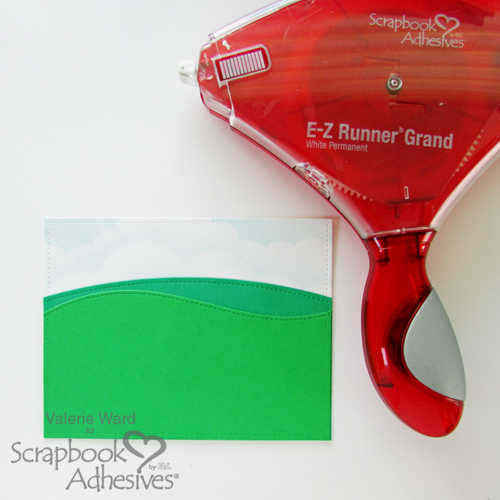
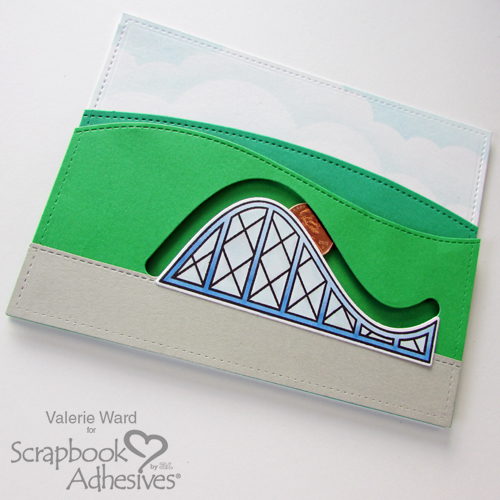
Die-cut another slope that is taller and a different shape in another tone of green cardstock. With my E-Z Runner Grand Refillable Dispenser, adhere the two layers together on a white card base.
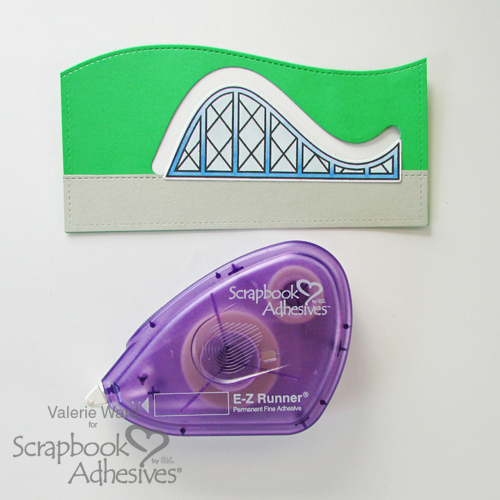
After stamping, coloring and die-cutting the cute roller coaster image, secure it with the E-Z Runner Permanent Fine right under slide opening…it should be a perfect fit.
Behind the foreground panel, place 3D Foam Squares White Mix on the back. Once finished, take off the liners and attach to the card front. This gives the panel the perfect dimension for the interactive feature!
Creating the Sliding Roller Coaster Car
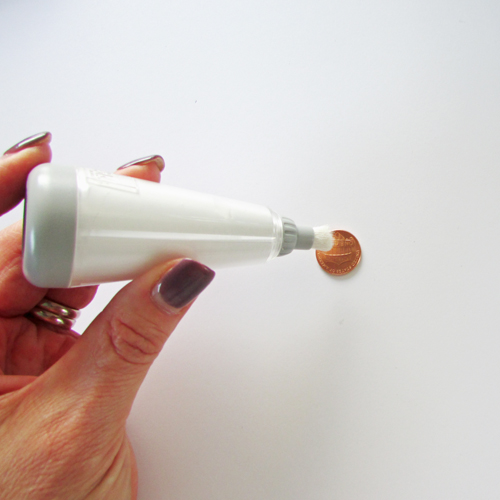
Grab a penny and dust it well with an embossing powder tool, or cornstarch (yes, cornstarch works!). By doing this step, it ensures the penny will easily slide on the slider track.
Carefully slip the penny into the track opening for the next step.
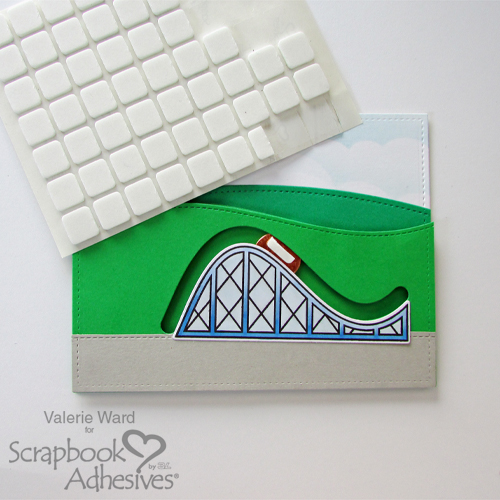
Scissor cut a narrow strip from 3D Foam Square – just enough that it will allow the penny to slide without interference. Remove the liner and attach to the penny.
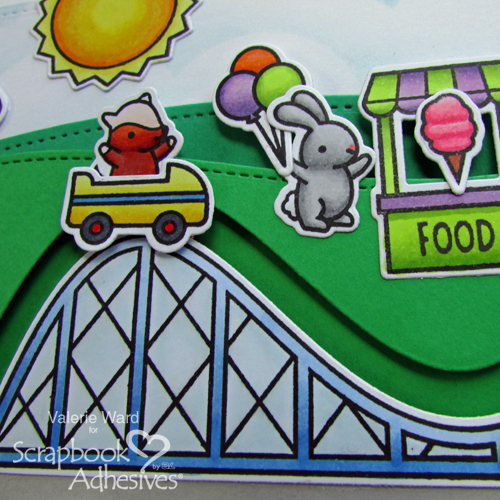
Earlier I stamped, colored and die-cut a roller coaster car with an adorable passenger. Attach it to the penny. Slide it back and forth to ensure that it slides easily.
To finish off, I added other colored die-cut images on to the card front, Aren’t the little guys just too cute?! Then lastly I placed the sentiment at the bottom.
And here’s the final interactive birthday card…
I hope you enjoyed this tutorial and the fun card that it created! Thanks for stopping by!
- Creative Time: 60 Minutes
- Skill Level: Intermediate
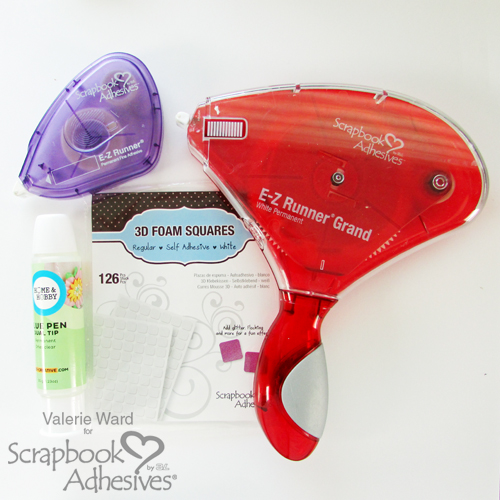
Materials Needed:
Scrapbook Adhesives by 3L®:
E-Z Runner Grand Refillable Dispenser
E-Z Runner Permanent Fine
3D Foam Squares White Mix
HomeHobby by 3L®:
Dual Tip Glue Pen
ROUND ROBIN BLOG HOP + GIVEAWAY with Hero Arts still going on!
For details, CLICK: BLOG HOP + GIVEAWAY with HERO ARTS!



By Terri Burson June 20, 2018 - 1:35 pm
A penny? So that’s how that’s done! How cool is that??!!
By Valerie J Ward June 20, 2018 - 7:17 pm
Hee hee! Brilliant, huh? Wish I had come up with the idea, but alas, I did not. Saw it on a tutorial!
By Deborah S June 21, 2018 - 3:03 am
Great card I love cards in motion and this one really fits the bill tfs.
By Deborah S June 21, 2018 - 3:08 am
This card just shows the old fashion way of motion. A penny lol no fancy little doodads required use what you have! Awsome card tfs.
By Valerie Ward June 22, 2018 - 8:55 am
Yes, Deborah, you are so right! There ARE fancy gadgets out there (and I have them myself, now), but the good ‘ole fashioned way works just fine, too! And thanks for the comment love 🙂
By Valerie Ward June 22, 2018 - 8:56 am
Yes, interactive cards might be a little more work, but it’s always worth it in the end!
By Irma Hernandez August 30, 2018 - 9:27 pm
Tried it and loved it
Cute little card, thanks for the tutorial