
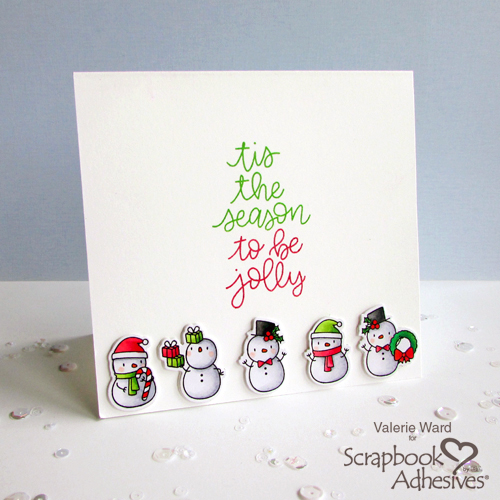
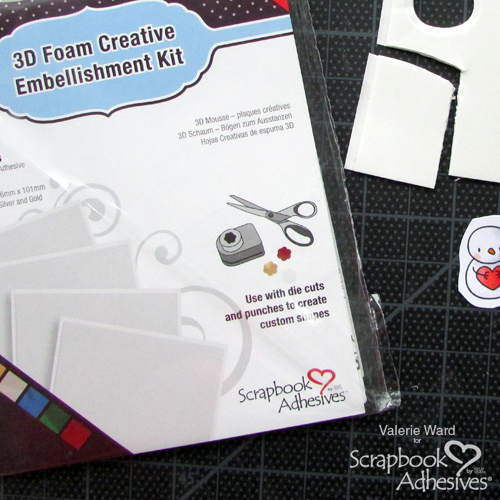
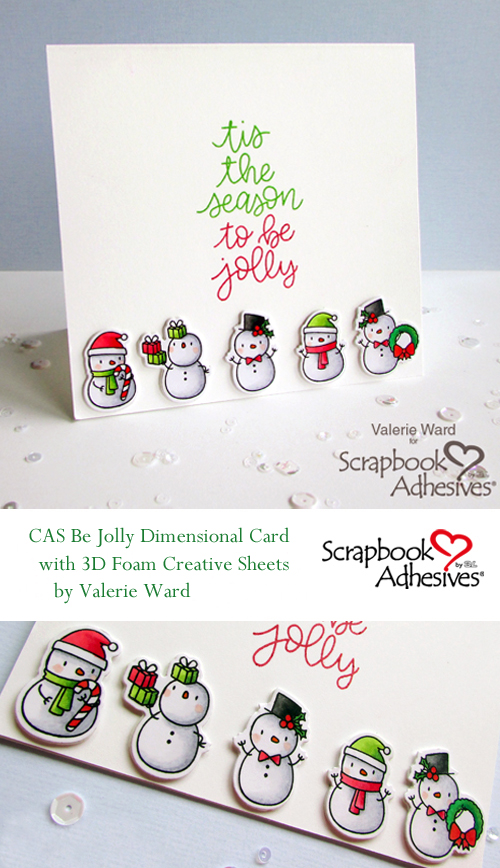
Tis the season to be jolly with this adorable Snowman card! When you want your cute snowmen to have a pop of dimension on your projects, this is the way to do it while leaving your project with a very clean look. 3D Foam Creative Sheets, or in my case today because it’s what I had in my stash, the 3D Foam Creative Embellishment Kit because both packages have the fabulous 3D Foam sheets with double-sided adhesive on both sides. That’s the magic product in this project!
Getting Your Jolly On!
First, take your 3D Foam Creative Sheet and trim it to the size of the image you want to attach it to.
Peel the liner off of the one side to expose the adhesive. Next, place your stamped and colored image onto it.
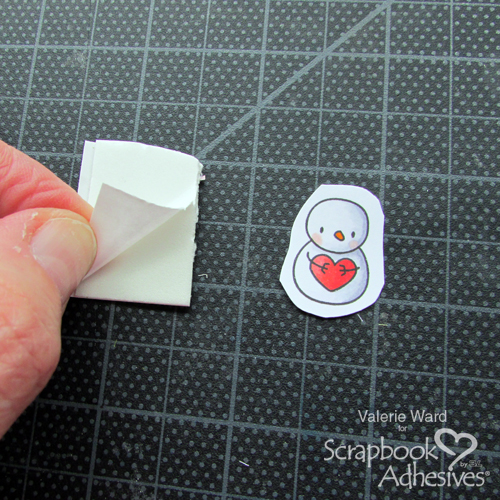
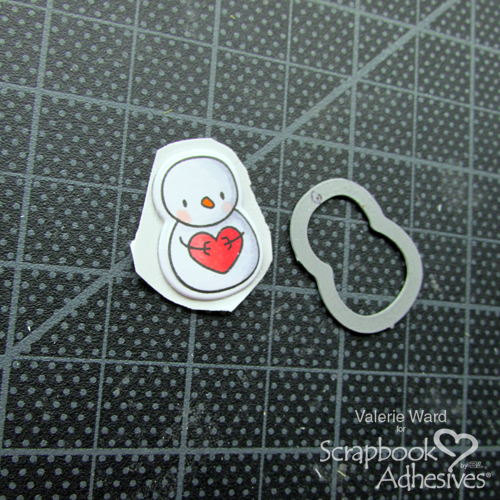
Because I cut a bigger piece than the image, trim around the piece of stamped cardstock to get rid of the excess exposed adhesive.

Place its matching die on top of the stamped image secure it down with washi tape and die-cut.
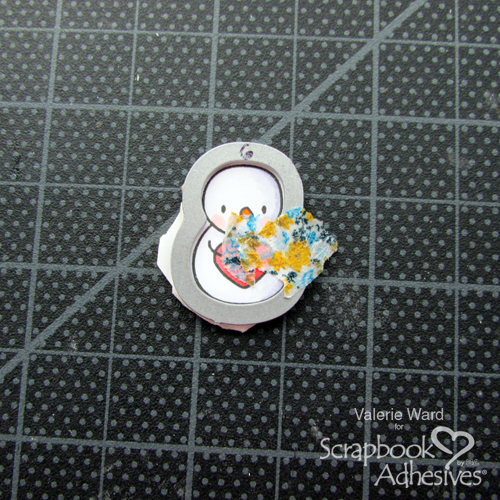
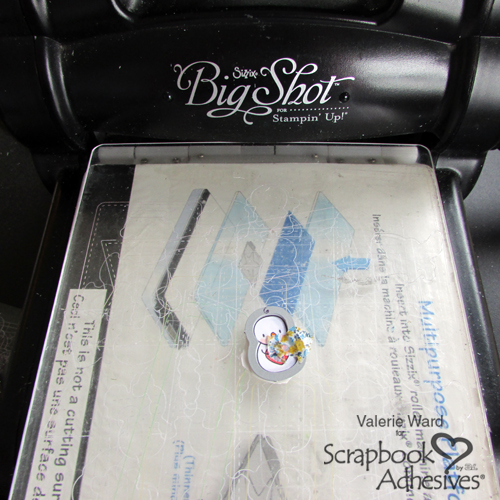
Now you have an adorable dimensional snowman die cut!
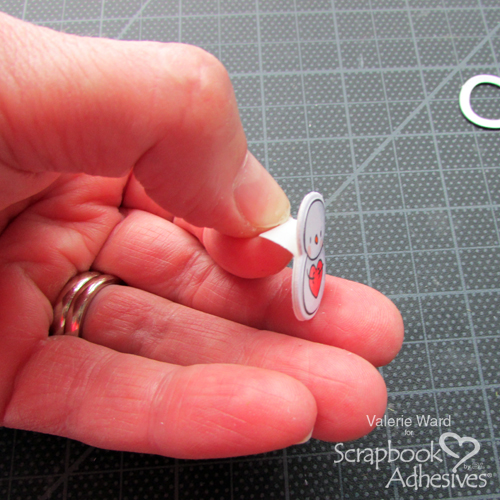
Peel off the liner to expose the adhesive side and add to the card. Repeat with additional images. To save time, die cut them all at once.
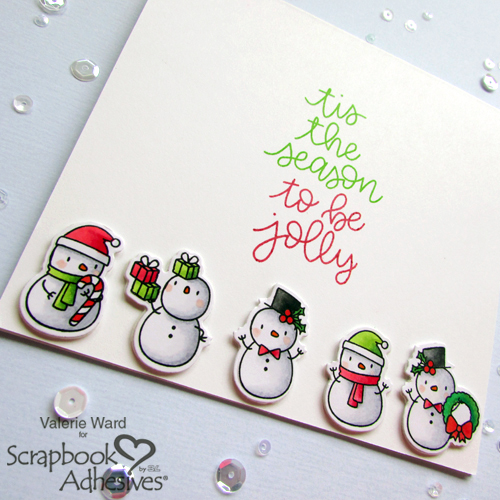
A close up of the Be Jolly Card 🙂
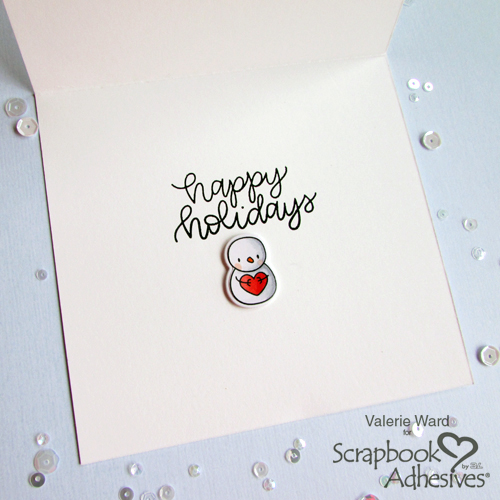
And of course, the inside MUST be just as cute as the outside!
This is a very quick project. I highly recommend this for the upcoming holidays – think mass card making! Thank you for joining me today, and Happy Crafting!
Creative Time: 30 Minutes
Creative Skill: Beginner
Materials Needed:
Scrapbook Adhesives by 3L®:
3D Foam Creative Sheets or 3D Foam Creative Embellishment Kit
Other Supplies Used: white cardstock, snowman stamp set and coordinating die set, coloring medium, die-cutting machine, ink pads
PIN IT!
Visit our Website and Blog!
Sign up for our Newsletter so you never miss a contest or giveaway!


