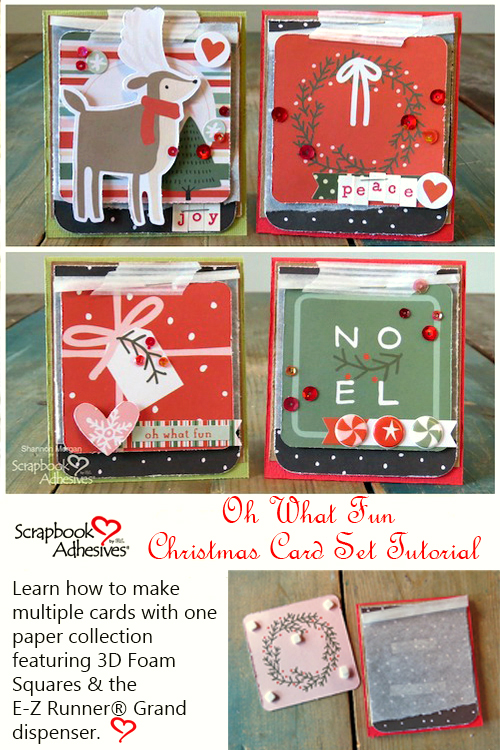
Oh What Fun it is! A certain excitement begins to build as November peeks around the corner at me, I find myself growing eager for the holidays ahead! Hi, it’s Shannon! As a scrapbooker, creating handmade cards for Christmas is practically a must! It’s never too early to start, and I have a cute set just for this post.
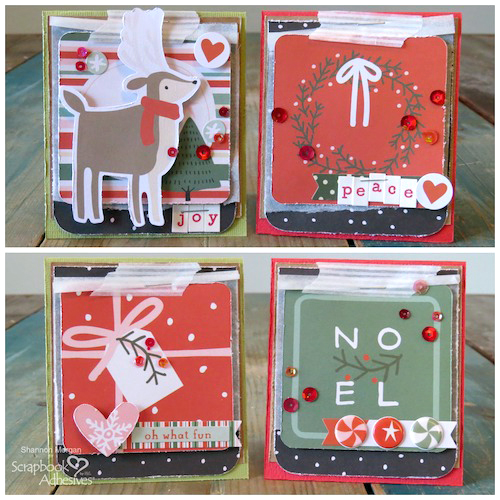
You can tuck these adorable little cards inside a gift, attach to the top of a hostess gift or pop into the mail for a happy holiday greeting! See how I created these quickly below using the assembly line style, take a look below.
First, I gathered supplies. I like to stick to a collection for this card set, today it’s called Oh What Fun! As a whole, a collection is easier to work with and match up when you need or want the cards to be similar. It saves a lot of time because all the pieces coordinate with each other.
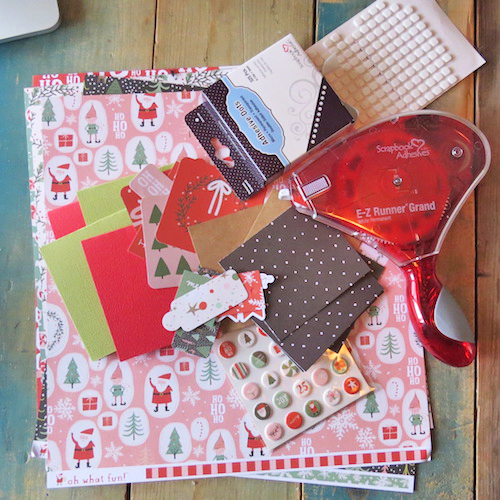
I pre-cut my card bases. Next, I cut some background layers that would serve as visual interest for the card. You will see these layers in the next step-by-step photo. My go-to adhesive tool for is the E-Z Runner® Grand, I am never without it.
Oh What Fun Tutorial!
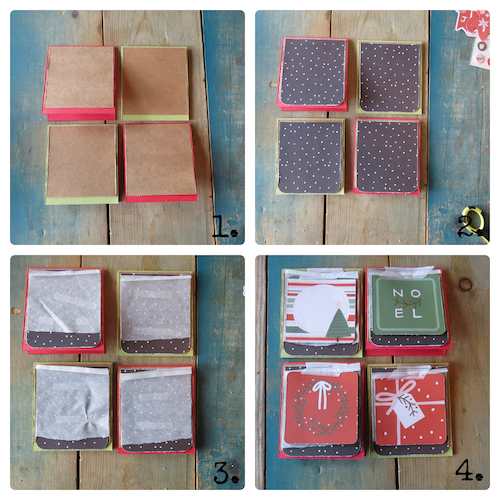
Looking at the steps above, you can see how I built up the layers on the cards.
- I begin with a cardstock base, and add a slightly smaller kraft layer, leaving edges of the cardstock peeking through.
- Using a patterned paper from the collection, I add a layer on top of the kraft layer.
- Admit moment: I love wispy layers. I add vellum/tracing paper or doilies to pretty much every project I create. If you want to skip this layer, feel free. There is no wrong or right way to create your cards.
- Adding the sentiment or theme of the card is my last step. I use 3D Foam Squares to add dimension to the card. Look below to see how to add them to the sentiments. Note: You don’t need a ton of 3D Foam Squares to make a big impact, just a few do the trick!
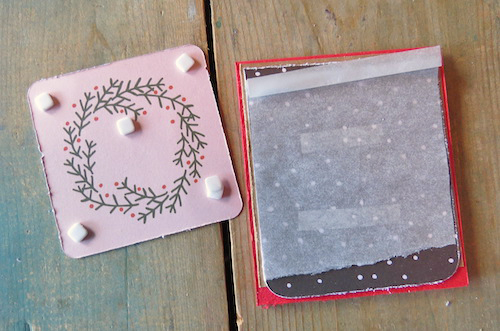
The last step in the cards is adding a few accents, like sequins. I love to use Adhesive Dots Mini, they’re perfect for adhering tiny sequins and accents to cards, layouts, and home decor.
Oh What Fun Close Ups!
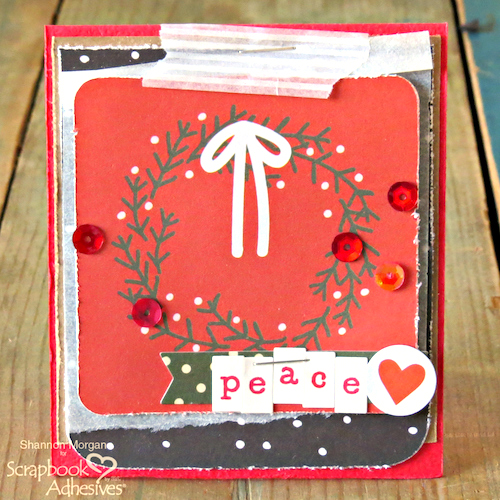
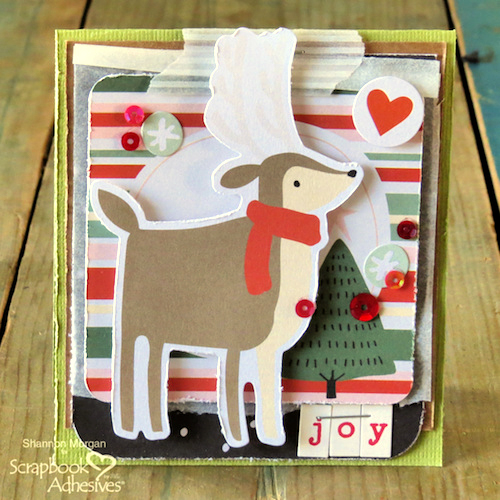
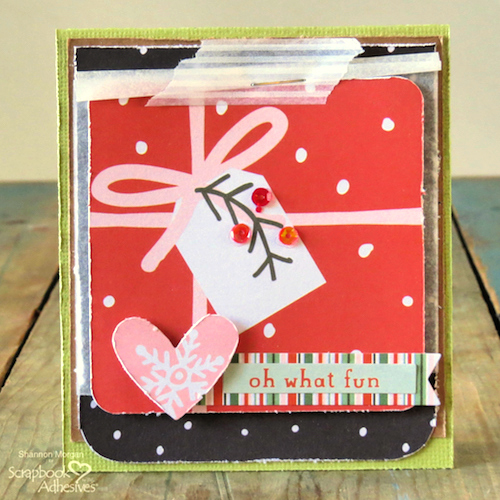
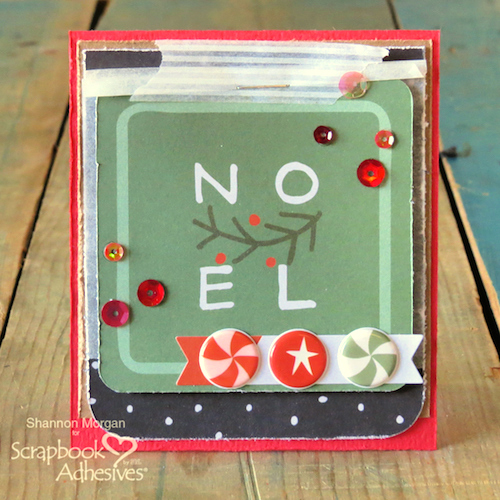
A set of four is a good start, I have many more to make, and I’m feeling hopeful I won’t be rushing to complete cards this year!! I hope this tutorial inspires you to start on your holiday projects. Comment below and tell me if you’ve started making your cards yet.
- Creative Time: 60 Minutes
Skill Level: Beginner
Materials needed:
Scrapbook Adhesives by 3L®:
E-Z Runner® Grand Refillable Dispenser
Adhesive Dots Mini
3D Foam Squares White Small
Other Materials: My Minds Eye Oh What Fun Paper and Accessories Set, My Minds Eye Oh What Fun Puffy Stickers, My Minds Eye Oh What Fun 52 Count Mixed Bag, red cardstock, green cardstock, kraft paper, washi tape, red assorted sized sequins
Pin It!
Visit our Website and Blog!
Sign up for our Newsletter so you never miss a contest or giveaway!


