
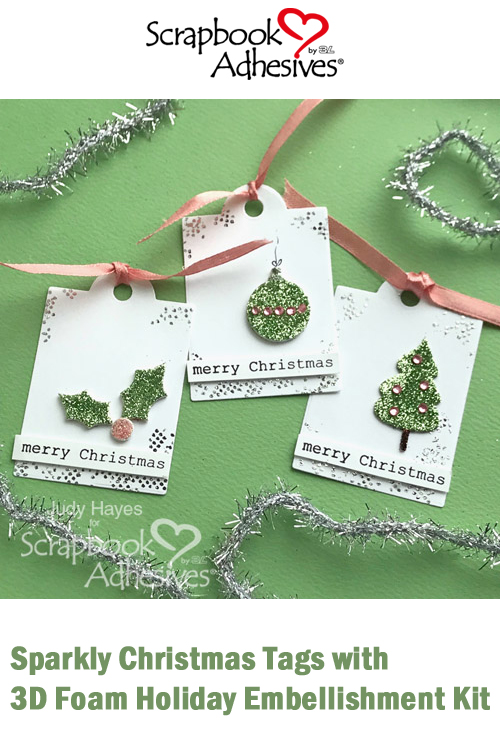
Today I have some quick and easy Sparkly Christmas Tags to show you. They’ll make a pretty accent on holiday packages! Just add the 3D Foam Holiday Embellishment Kit along with E-Z Dots® Permanent Refillable Dispenser and of course, glitter!
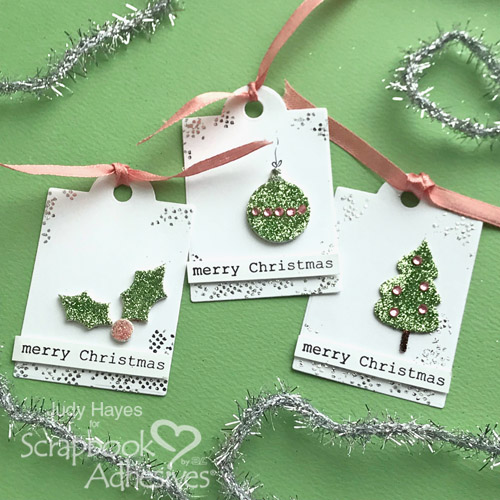
How to Make Sparkly Christmas Tags
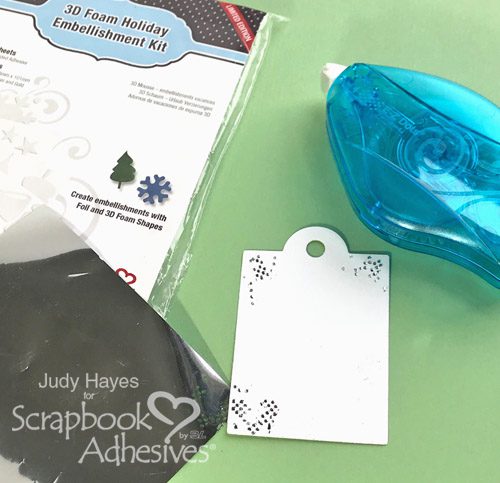
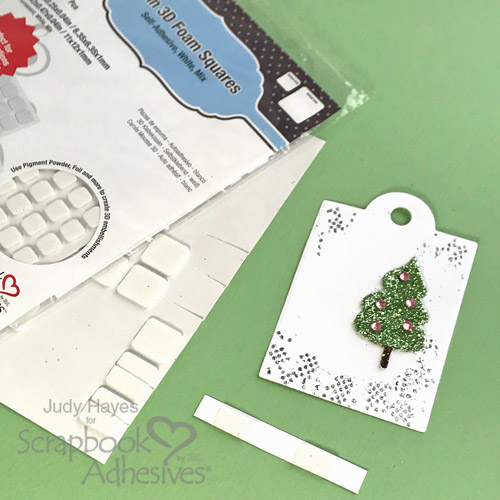
1. Start with some white tag as the base. I die cut mine, but you could hand trim or use store bought tags.
2. Apply random dots of adhesive with E-Z Dots® Permanent Refillable Dispenser along the bottom and a bit at the top corners. I added bits of adhesive rather than a solid line of dots by touching the runner to the paper and applying just a little.
3. Apply the silver foil sheet from 3D Foam Holiday Embellishment Kit over the dots with the shiny silver side up. Rub to transfer the foil to the dots and repeat as needed.
4. Place 3D Foam Tree shape from 3D Foam Holiday Embellishment Kit on the tag.
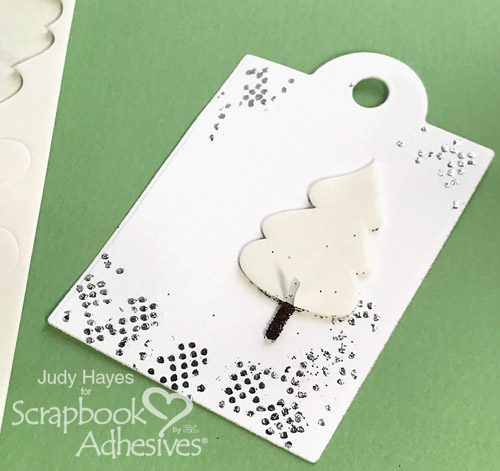
5. Carefully lift the top liner from tree trunk only and sprinkle with brown glitter. Make sure to push the glitter into the exposed adhesive and then tap off the excess.
6. Remove the rest of the top liner and sprinkle tree portion with green glitter. Again, push the glitter into the tree before tapping off the excess.
7. Add tiny pink rhinestones in the tree for extra sparkle 🙂
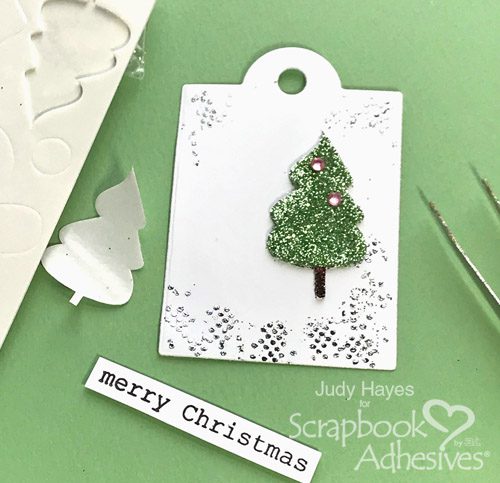
8. Stamp the sentiment with black ink on white cardstock and trim to size.
9. Apply Thin 3D Foam Squares White Mix to the back of sentiment. Note I used the large squares cut in half.
10. Fasten the sentiment to the tag below the embellished tree shape.

11. Thread a piece of ribbon through the top and tie a single knot.
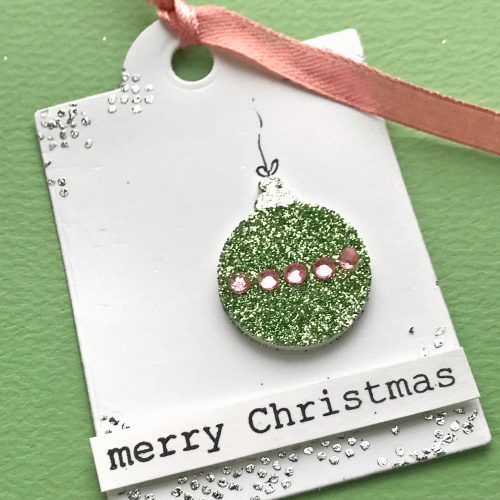
Creating the Ornament Tag
Repeat steps from the above tag but the shape will be the 3D Foam Ornament Shape.
After placing the ornament shape on the tag, carefully lift the liner on the top part of the ornament and apply the silver foil to create the ornament topper.
Next, remove the rest of the top liner and cover the body of the ornament with green glitter. Place the pink rhinestones in a line across the shape.
Draw a black line to mimic a string and bow with a fine tip marker. Add sentiment and thread a piece of ribbon.
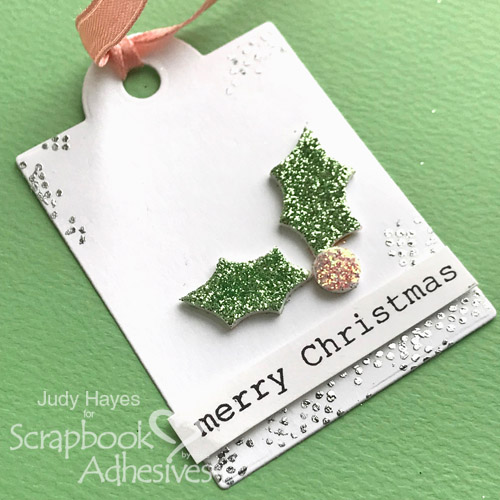
Creating the Holly Tag
Add green glitter to leaves and pink glitter on berry.
Creative Time: 30 minutes
Skill Level: Beginner
Materials Needed:
Scrapbook Adhesives by 3L®:
3D Foam Holiday Embellishment Kit
E-Z Dots® Permanent Refillable Dispenser
Thin 3D Foam Squares White Mix
Other Supplies:
Art Glitter: Brown Ultrafine Opaque, Leaf Ultrafine Opaque, Cheeky Pink Ultrafine Transparent; Imagine Crafts/Tsukineko Versafine Onyx Black ink; KaiserCraft Soft Pink Rhinestones; Little B Tags die; Memory Box “Typewriter Holiday Sentiments” stamp; White Cardstock
Pin It!
Visit our Website and Blog!
Sign up for our Newsletter so you never miss a contest or giveaway!


By Beverly Jordan November 15, 2018 - 10:00 pm
Love your fabulous cards and will try this as soon as I get a chance!! Am loving how yours have come out!