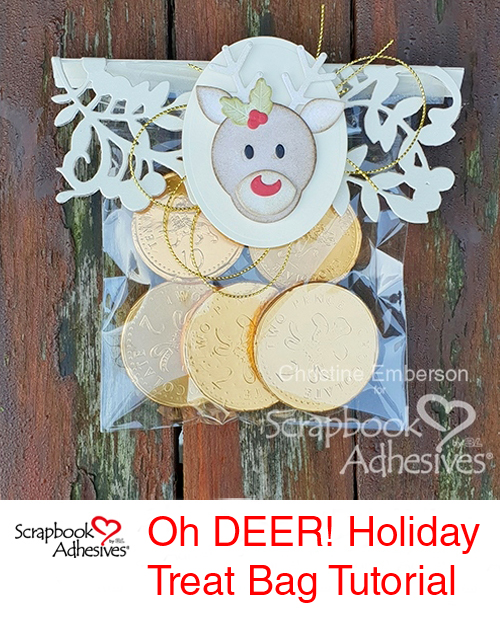
Hi everyone, Christine here today with a reindeer themed holiday treat bag. These are a perfect teacher and workplace gifts and also great for table favors. Set aside a little relaxing time to make these before the Christmas mayhem!
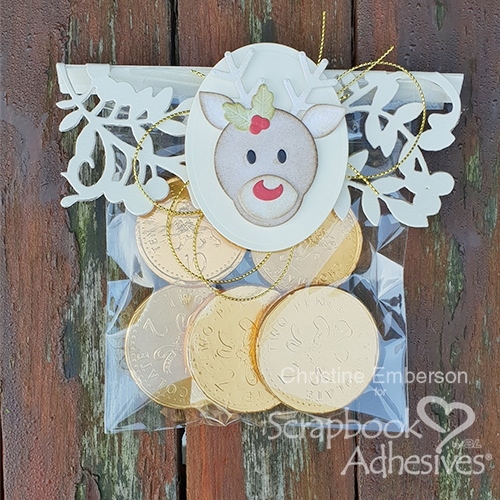
The “How-To” on a Holiday Treat Bag
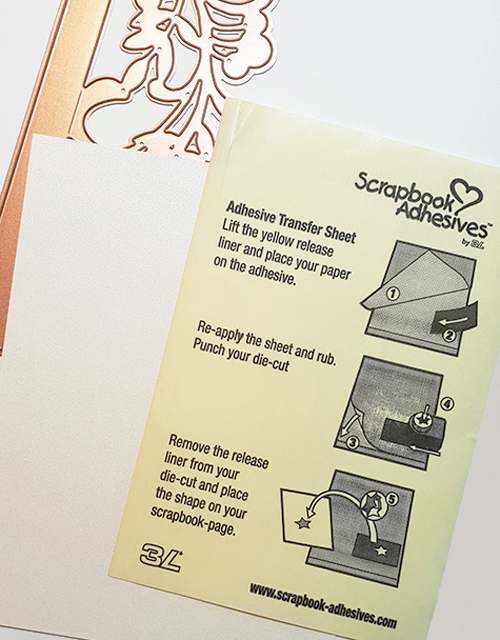
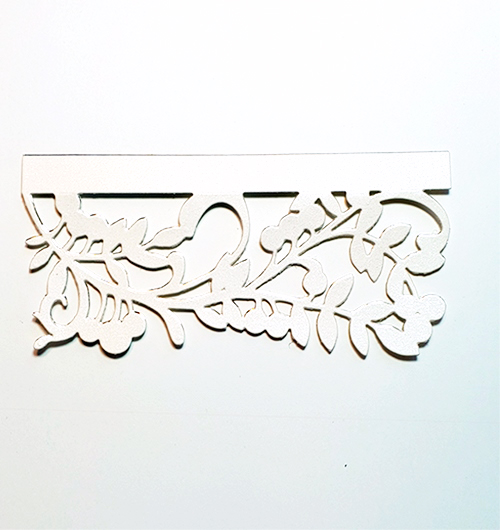
Adhesive Sheets and die cutting are a match made in heaven! Whenever you want to achieve a drop shadow with foil card these sheets are your answer.
- Remove yellow backing paper.
- Align card onto the adhesive.
- Smooth the entire card to the adhesive.
- Run through your die cutting machine.
- Remove the back liner and adhere.
The “How-To” on Adhesive Sheets
See this short How to Use Adhesive Sheets for Die Cutting video below:
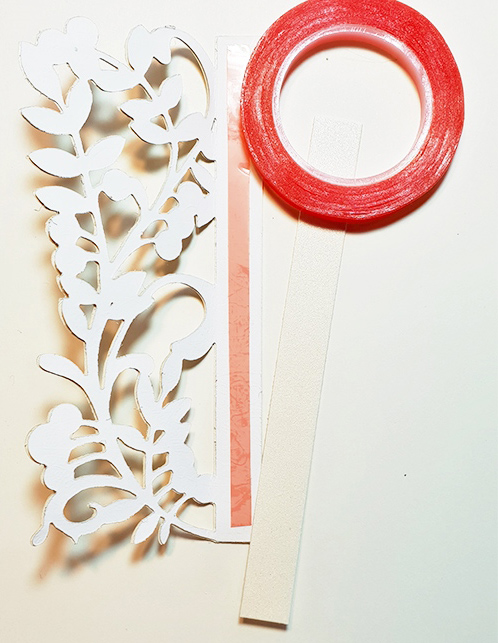
This die cut is going to create a topper for your gift bag. To ensure it stays in place use Extreme Double Sided Tape – 1/4 inch.
For further decoration, I created a reindeer embellishment and used 3D Foam Squares White Regular Size on the reverse.
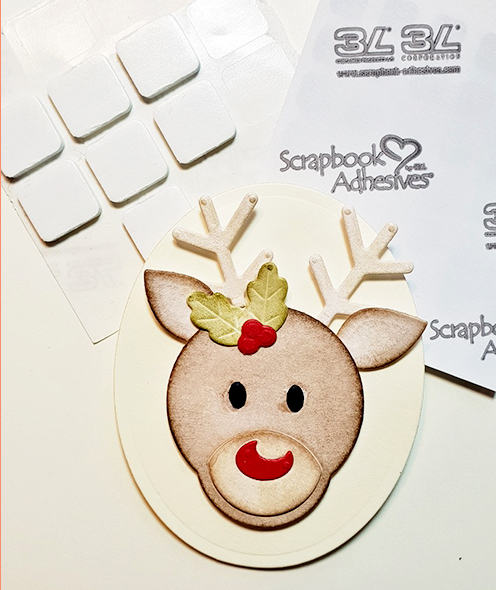
Again use the trusty 3D Foam Squares White Regular Size to hold in place loops of gold twine.
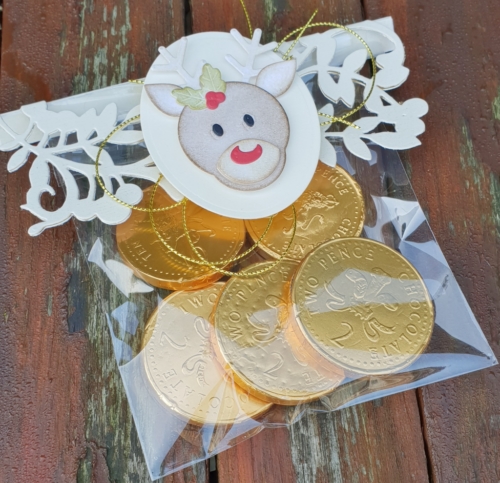
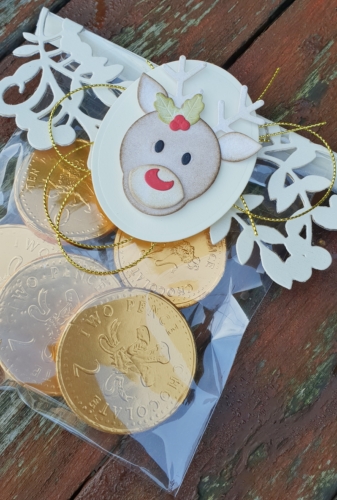
For healthier treats fill the bags with cosmetics or perhaps fill with reindeer food and leave out for Santa, those reindeer get very hungry!
Thanks for stopping by and wishing you a wonderful festive season!

Creative Time: 30 Minutes
Skill Level: Intermediate
Materials Needed
Scrapbook Adhesives by 3L®
Adhesive Sheets
3D Foam Squares White Regular Size
HomeHobby by 3L®
Extreme Double Sided Tape – 1/4 inch.
Others:
Craft Dies: Spellbinders® Paper Arts (Reindeer, Mistletoe Gatefold); Gold mirror cardstock; Ivory, red and black cardstock; Cellophane Bag; Candy/Treats
Pin It!

By Kirsty Vittetoe December 19, 2018 - 6:44 pm
LOVE this cute project!
By hazel young December 23, 2018 - 12:20 am
Great fun treat bag Christine, love the reindeer he’s/she’s so cute xx Hazel
By Christine Collins December 23, 2018 - 1:01 am
Great tutorial Christine, such a cute gift/treat bag. The adhesive sheets are great for intricate die cuts.
Chris xx
By Jackie December 23, 2018 - 3:52 am
Great little project.
By Margie Davidson December 23, 2018 - 4:31 am
Brilliant idea. Thanks for the tutorial Christine x
By Patricia Howarth December 23, 2018 - 10:09 am
Hi Christine, This idea is fabulous !! I adore the reindeer, she is so cute.
Lots of love from Patricia xx