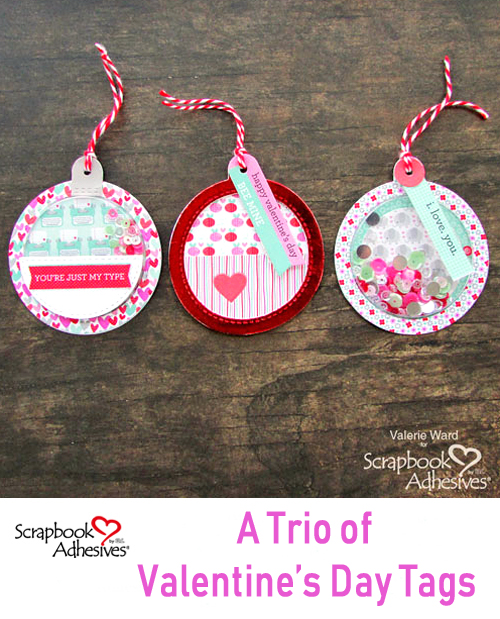
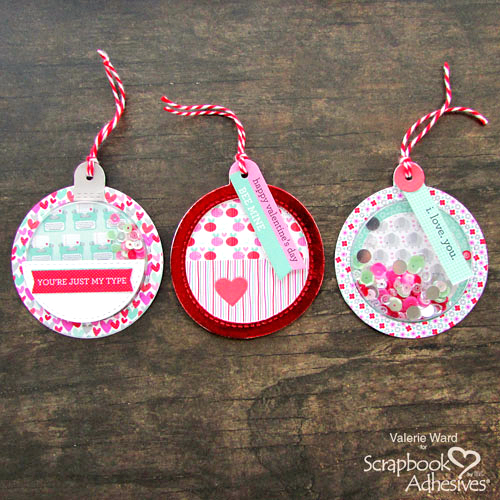
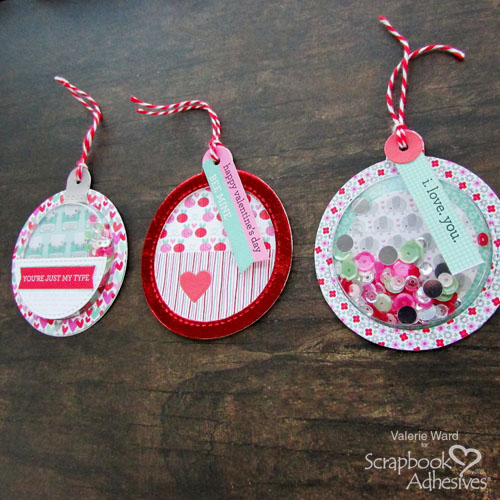
Hi Crafters! Valerie here today with a trio of cute Valentine’s Day tags! Two of them have shaker elements, and the third one has a beautiful bright and shiny foiled frame around it.
Valentine’s Day Tag Basics
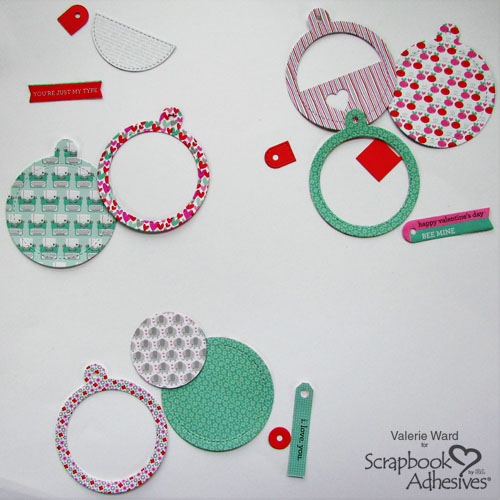
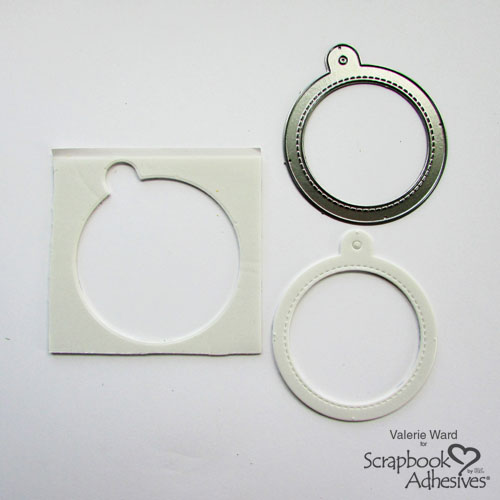
First things first, I wanted to get all of my patterned papers picked out, and all of the die-cutting done. Here we are with all the paper pieces from one adorable Doodlebug paper collection.
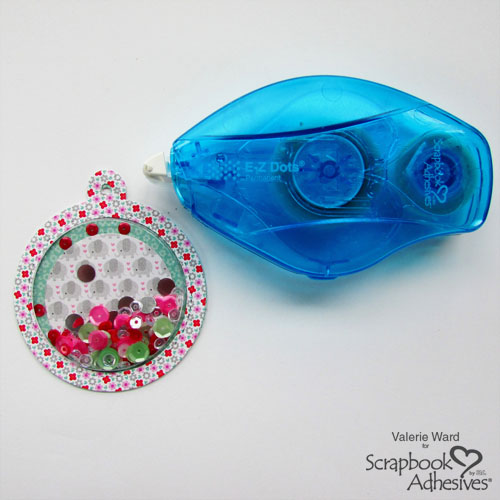
Valentine’s Day Shaker Tag One
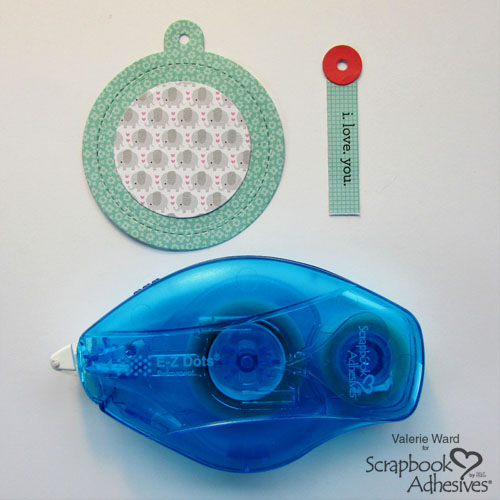
To create the circular tag base, I used my E-Z Dots Permanent Refillable Dispenser to adhere the circular tag and circle pieces together. While I’m at it, also adhere the little red circle onto the top of the little sentiment piece.
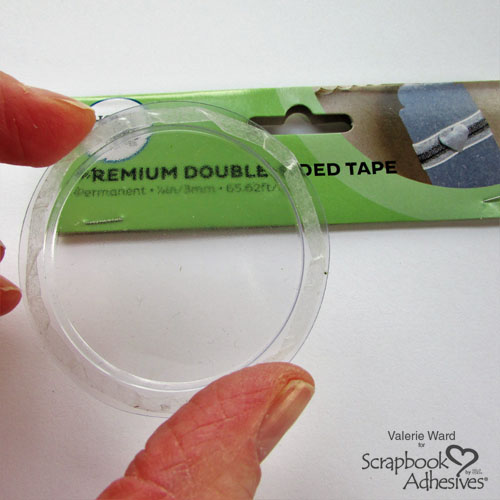
Next, add the sequins on top and center of the tag. Then take a clear circular shaker pouch and add Extreme Double-Sided Tape 1/4in around the bottom part.

Place the pouch on the top of the tag and sequins. To finish the tag, I used my E-Z Dots Permanent Refillable Dispenser to adhere the top circular tag layer (one with the tiny flower patterns). Just add the sentiment piece and twine at the top to finish!
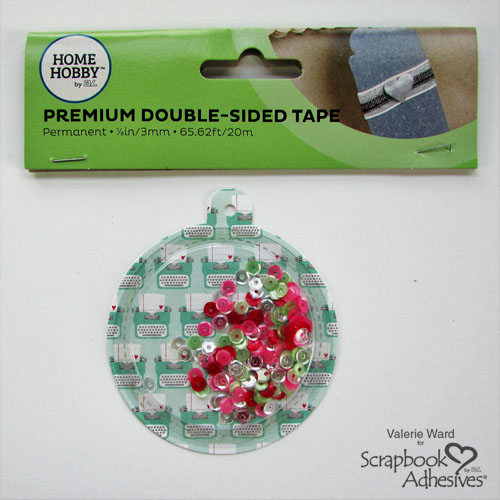
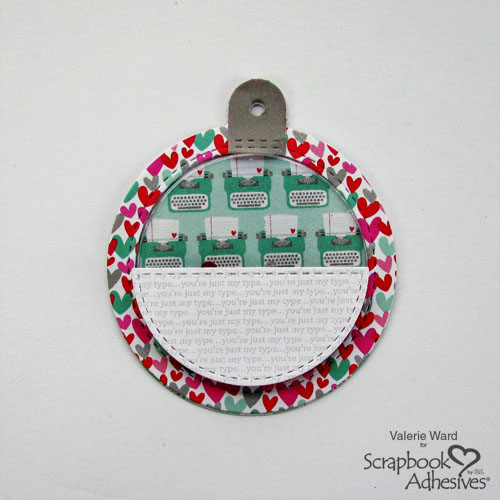
Valentine’s Day Shaker Tag Two
For the second tag, I decided to use a different adhesive to adhere the shaker pouch. I wanted to show the Premium Double Sided Tape 1/8in works just as well with my tag.
Simply add your sequins in the center of the tag base and place the clear shaker pouch over on top.
For the top layer of the tag, I used my E-Z Dots Permanent Refillable Dispenser to attach the grey piece on top of the tag and then again to adhere to the tag base.
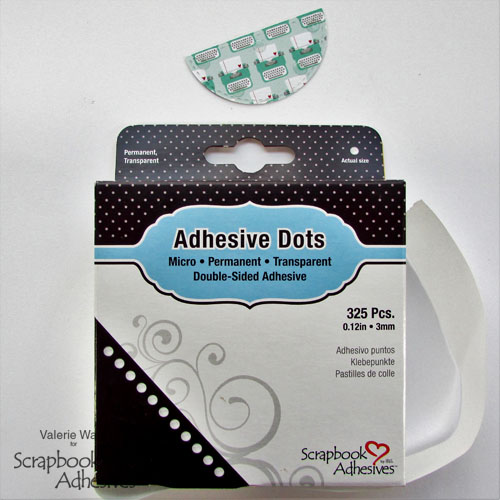
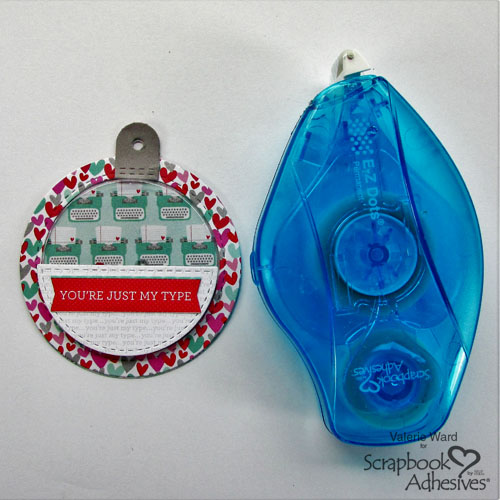
For the half circle, I applied my Adhesive Dots Micro on the back and attached it to the front of the tag to cover the bottom half of the shaker pouch.
To finish, I adhered the red sentiment on the front with my E-Z Dots Permanent Refillable Dispenser, thread ribbon on top and done!
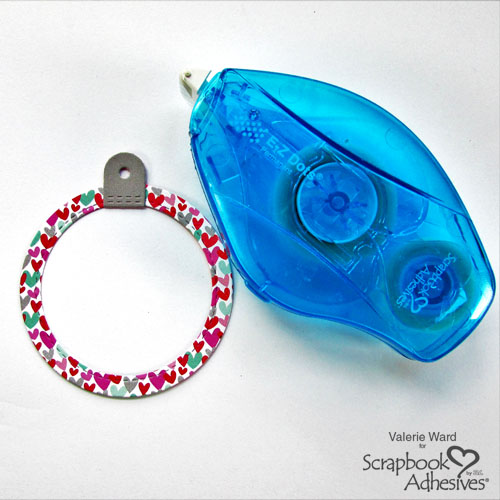
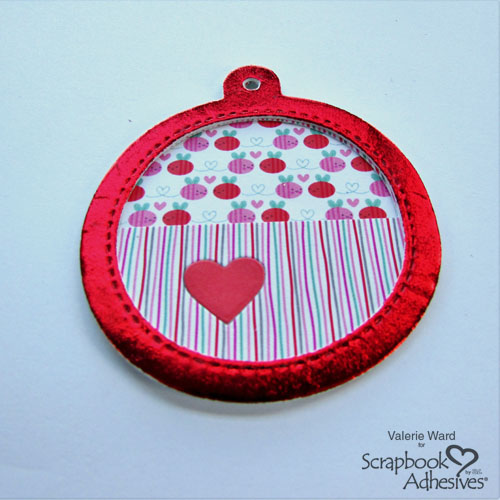
Valentine’s Day Tag Three
For the last tag, I needed to attach the top striped patterned piece to the cute bumblebee patterned tag base with my E-Z Dots Permanent Refillable Dispenser.

Now for the fun part, creating dimension! With my 3D Foam Creative Embellishment Kit, I pull out one of the 3D Foam Creative Sheet. It’s a double-sided adhesive foam sheet. Also included in the kit are five different colors of foil (gold, silver, blue, green and red).
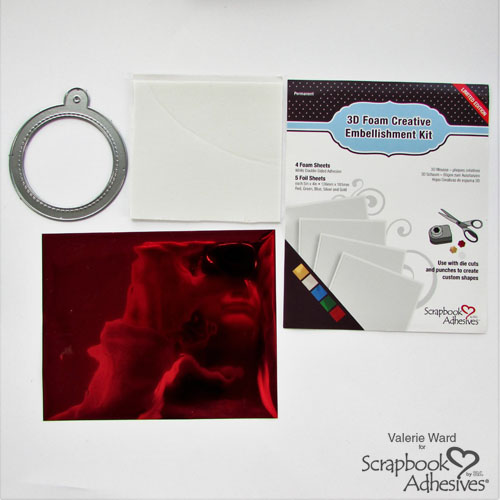
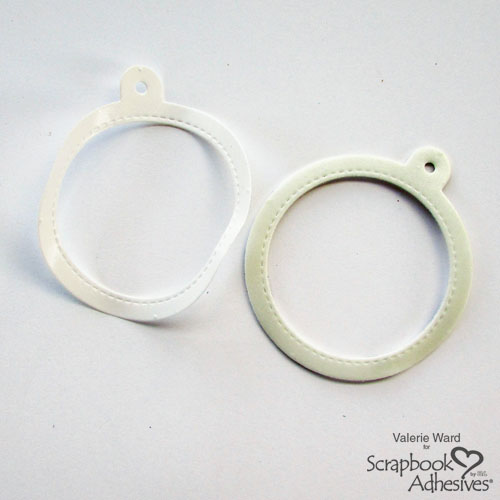
Die-cut the top tag layer piece with your manual die-cutting machine, using the cutting instructions for your machine. It cuts like butter and there’s no residue. See the image below to see how clean the cut is.
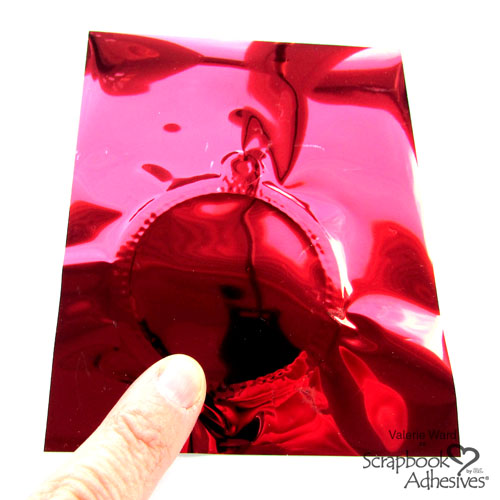
Next, peel off one side of the liner to expose the sticky surface. Now take your piece of foil, I used the red color, and with the color side UP, lay it over the sticky surface. Gently burnish your foil into the die cut to transfer. Then lift the foil off and you will see the shiny result!
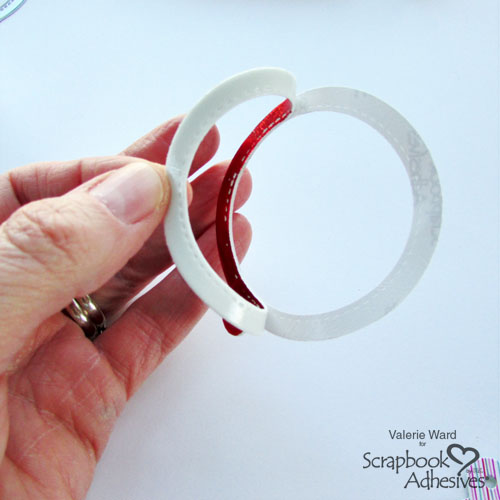
After you finish admiring your foiling work, peel off the backside and adhere it on top of the tag base.
Thread either ribbon or twine and you are now done!
Here they are a sweet trio of tags that are perfect for Valentine’s Day!
Thanks for joining me today; I hope you had fun! Have a great day and Happy Valentine’s Day crafting!
Valerie
Creative Time: 30 Minutes
Skill Level: Beginner
Materials Needed
Scrapbook Adhesives by 3L®
E-Z Dots Permanent Refillable Dispenser
Adhesive Dots Micro
3D Foam Creative Embellishment Kit with Foil
HomeHobby by 3L®
Extreme Double-Sided Tape 1/4in
Premium Double Sided Tape 1/8in
Other
Tag Die Set and Coordinating Shaker Pouches; Cardstock; Patterned Papers; Sequins: Ribbon
Pin It!