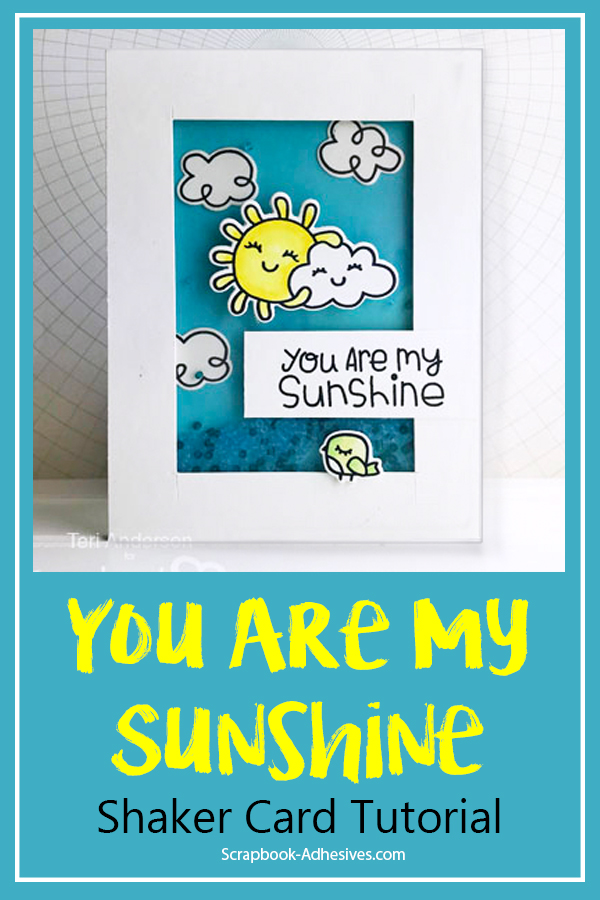
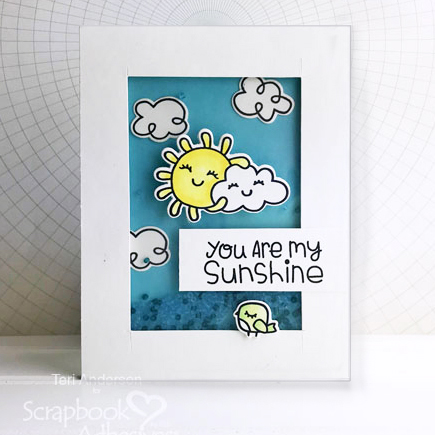
Do you like to make shaker cards? I’ve got a fun one to share with you today that would be perfect to reproduce and send out this Summer to a dear friend or loved one! This Sunshine Shaker Card is easy to create with a few sunny-themed stamps and 3D Foam Products from Scrapbook Adhesives by 3L®.
Create the Sunshine Shaker Card
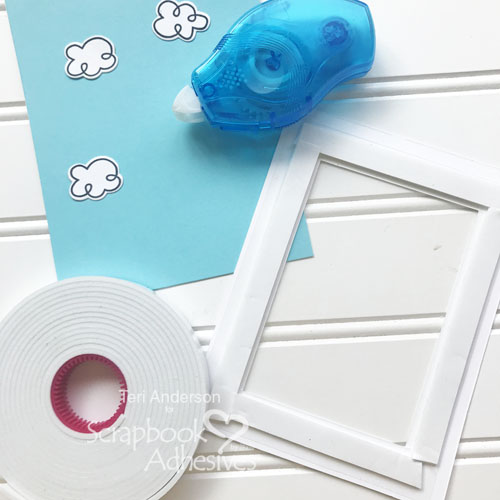
Start by creating a standard card base from cardstock and covering the front of it with blue cardstock. You’ll also want to cut a frame from the second panel of white cardstock for the front of the card.
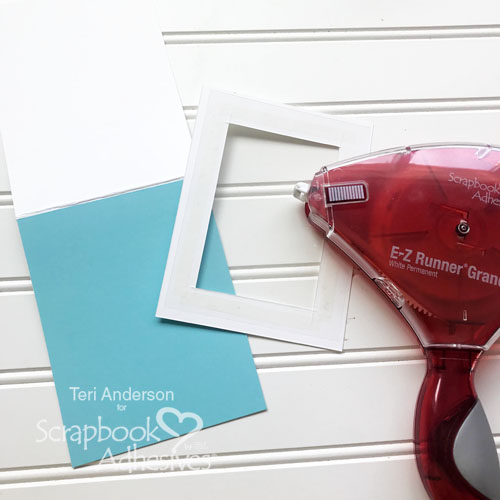
Cut a piece of acetate and place it on the backside of the frame. Then cover the back of the frame with strips of Crafty Foam Tape.
You’ll also want to stamp and die-cut a couple of clouds from white cardstock. Place them on the front of the card. I find it is helpful to set the frame over the top the card so you can make sure the clouds are exactly where you want them!
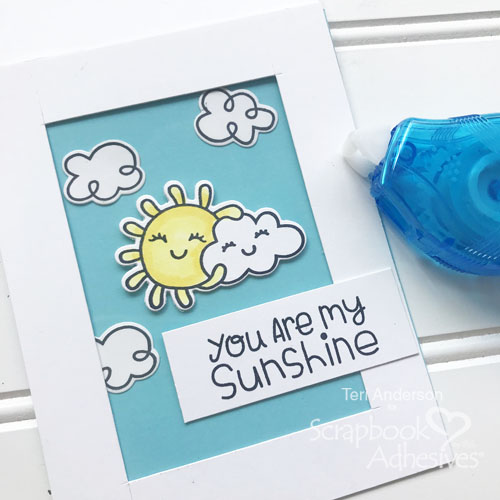
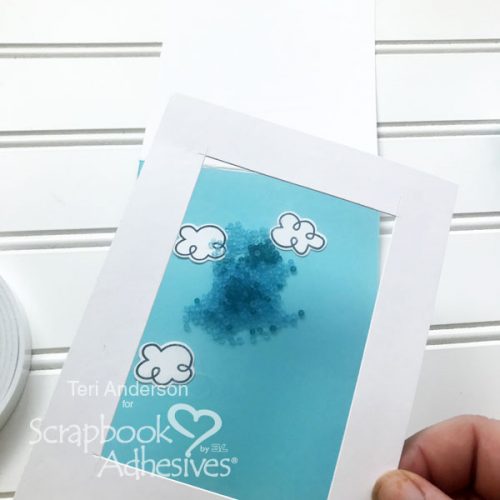
Place a few teaspoons of beads (or sequins) on the card. And then adhere the frame to the card.
Finish the Card by Decorating It
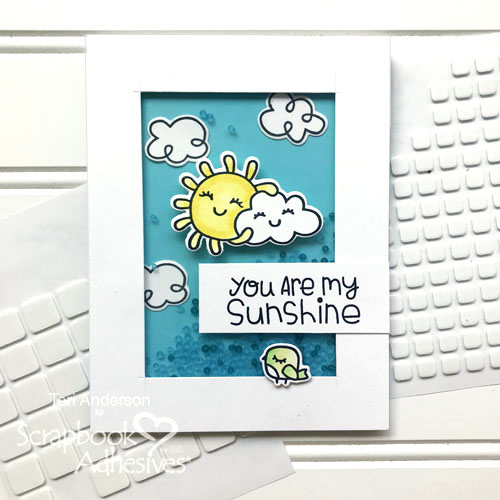
Complete the card by adding a stamped sunshine and bird to it, as well as a stamped sentiment. For extra pop and dimension, use Thin 3D Foam Squares to adhere the stamped the elements to the card.


For even more pop, use Crafty Foam Tape or 3D Foam Squares to adhere those stamped elements to your card! You can even stack up the squares to make elements jump even more off your card. The possibilities are endless.
Creative Time: 1 hour
Skill Level: Beginner
Materials Needed
Scrapbook Adhesives by 3L®
E-Z Runner® Grand Refillable Dispenser
Thin 3D Foam Squares White Mix
Crafty Foam Tape White
E-Z Runner® Petite Permanent Dots Refillable
Other
Stamp and Craft Die Set: Paper Smooches (Sunnyville Stamp set and Sunnyville Icons Dies); Ink: Ranger Inks; Cardstock: Neenah Paper (White) and My Favorite Things (Blue); Beads: Jillibean Soup; Markers: Copic; Acetate Transparency
Pin It!