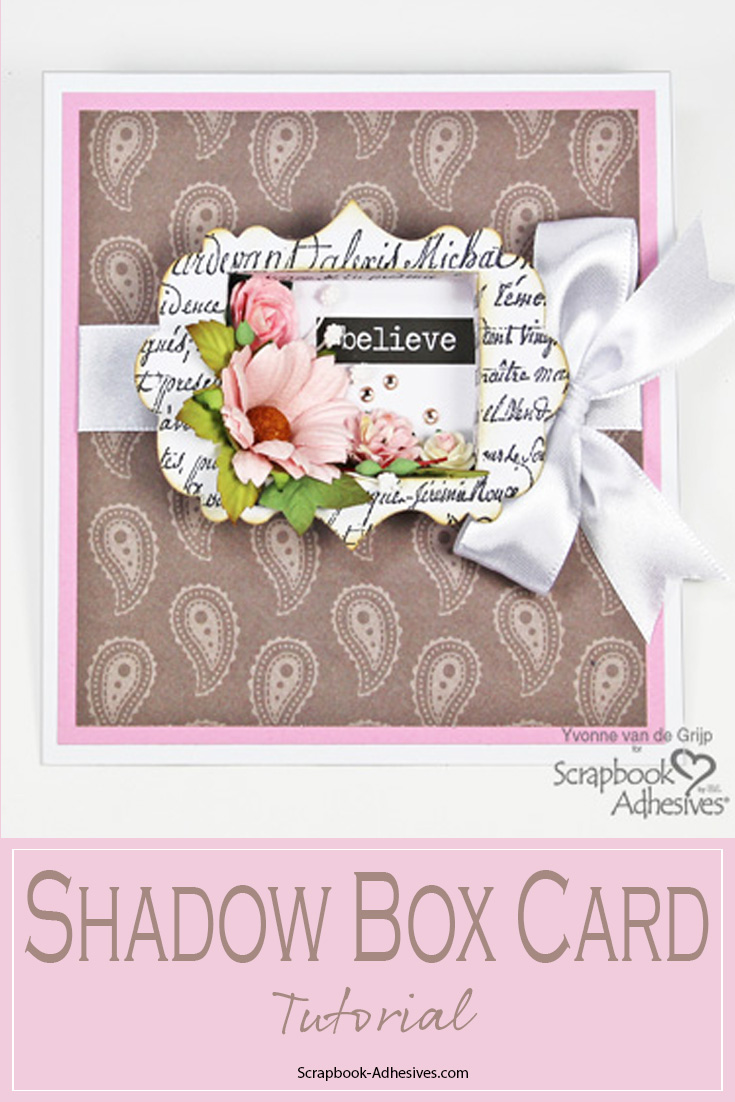
Hi everyone, Yvonne here. A Shadow Box is super easy to make with the E-Z Runner® Permanent Strips Refillable Dispenser. Bonus is there are no glue stains and precise adhering, guaranteed! Today I am showing you how to make a shadow box card, let’s get started!
Making the Shadow Box Card Base
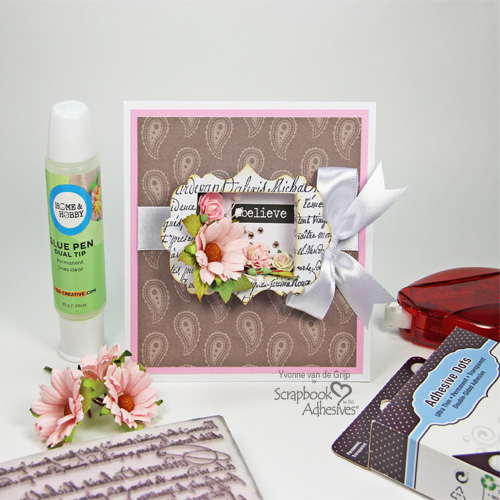
On a white card base, adhere a slightly smaller size pink panel using the E-Z Runner® Permanent Strips Refillable Dispenser.
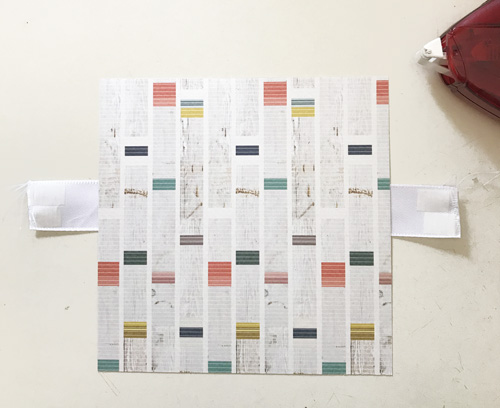
Then cut another card panel from patterned cardstock (slightly smaller than the pink card panel). Before adhering to the card front, wrap around a piece of white satin ribbon and secure the ends with E-Z Runner® Permanent Strips Refillable Dispenser.
Making the Shadow Box
To make the shadow box, I die-cut the back and front parts.
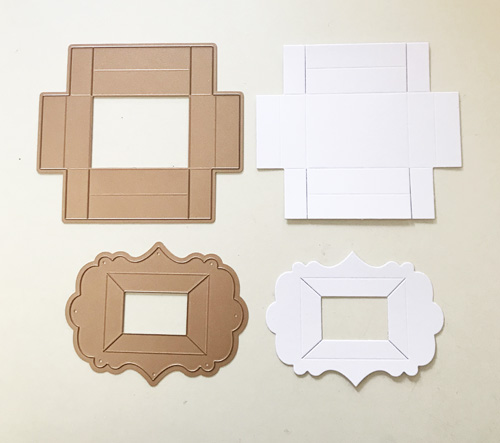
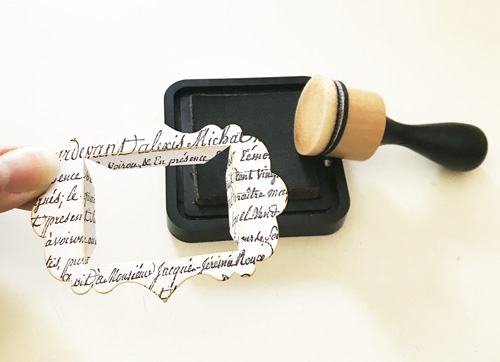
To give the window front interest, I stamped a text design with black ink. For a subtle edge, I inked with brown ink and an ink blending tool.
To assemble the shadow box, I applied the E-Z Runner® Permanent Strips Refillable Dispenser to the back area of the die cut (refer to the image below).
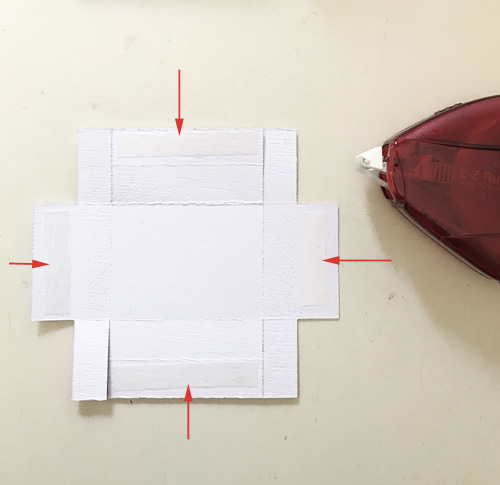
Flip the die cut to its front. Use the E-Z Runner® Permanent Strips Refillable Dispenser to put adhesive on the front corners (as shown on the picture).
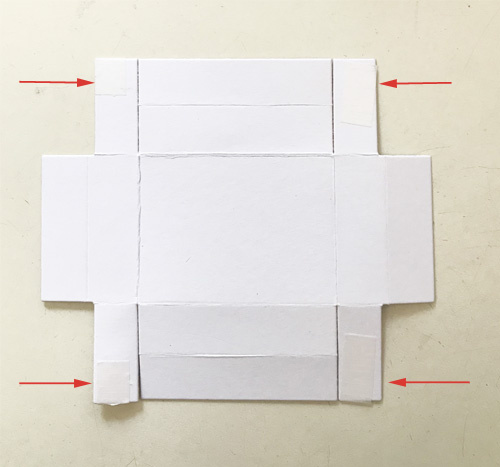
Assembling the Shadow Box
Follow the images for a visual step-by-step. Fold the long ends towards the inside and adhere to the sides.
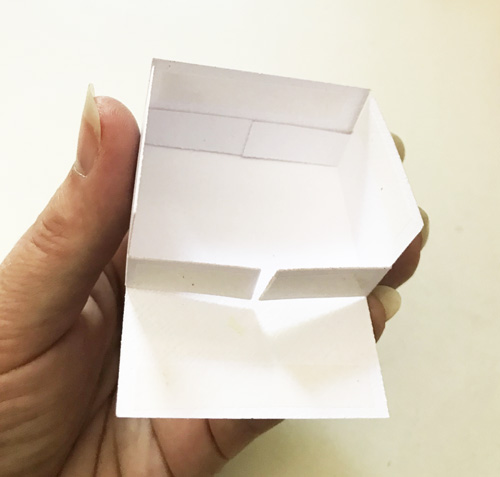
Then fold over towards the inside of the box to finish off the base.
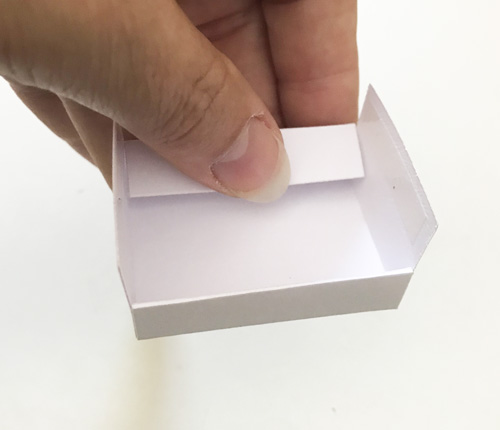
Next, you adhere the stamped window into the box by running the E-Z Runner® Permanent Strips Refillable Dispenser over the back of the tabs.
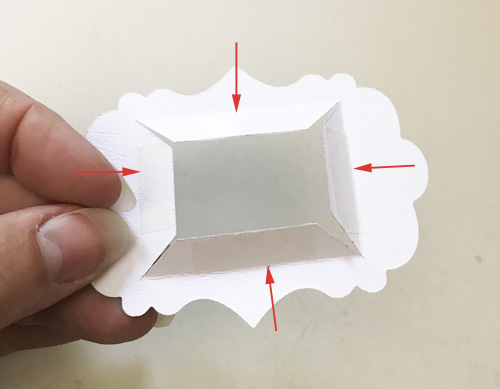
Marry the window and the box base. Secure the inside of the white box by adhering the tabs inside.
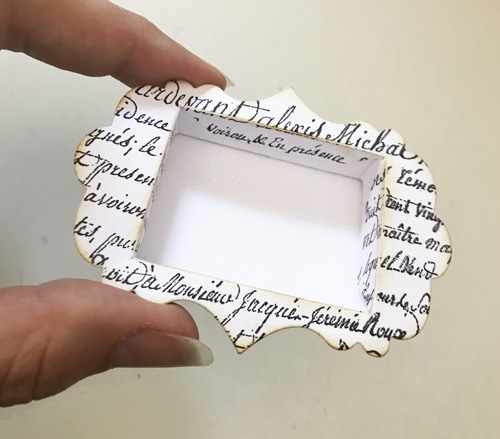
Adhere the assembled box to the card base with the E-Z Runner® Permanent Strips Refillable Dispenser. Now for the fun part!
Embellishing the Shadow Box
Place a sticker sentiment inside the shadow box. Adhere mulberry flowers and leaves into the window with Adhesive Dots Medium Ultra Thin. Adhere the stamens with the Dual Tip Glue Pen.
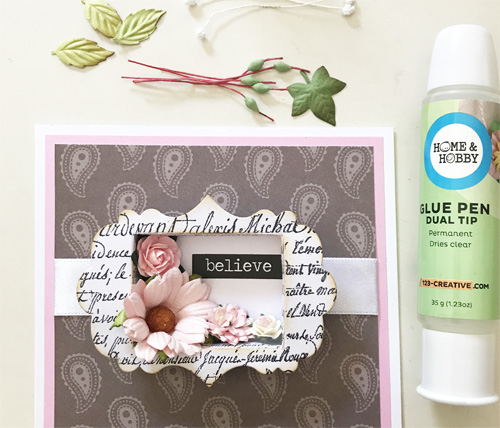
Finishing the Card
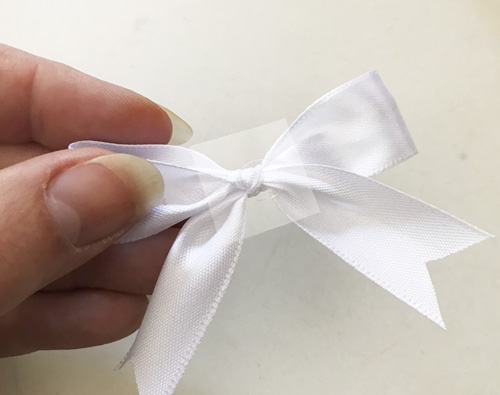
For final touches, I added self-adhesive rhinestones and a satin bow. The satin bow was placed with an Adhesive Dots Medium Ultra Thin to ensure no glue stains shined through my ribbon.
Here are a few other shots of the final project. Happy crafting!
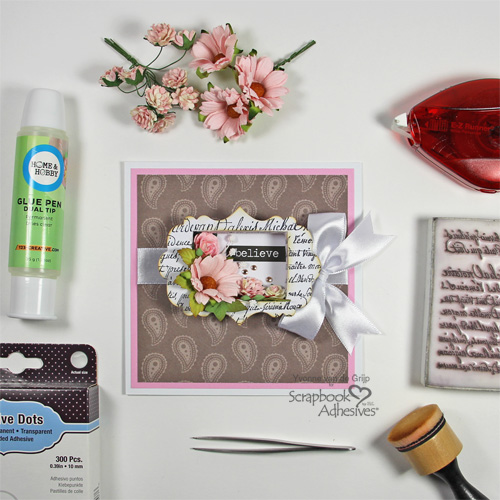
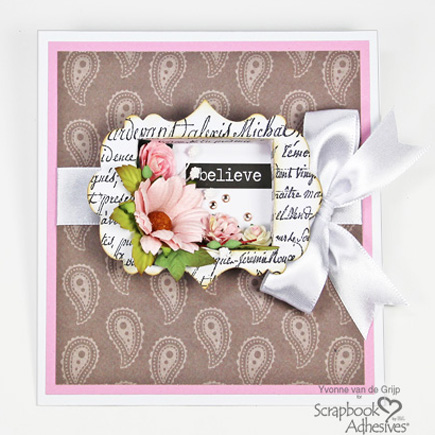
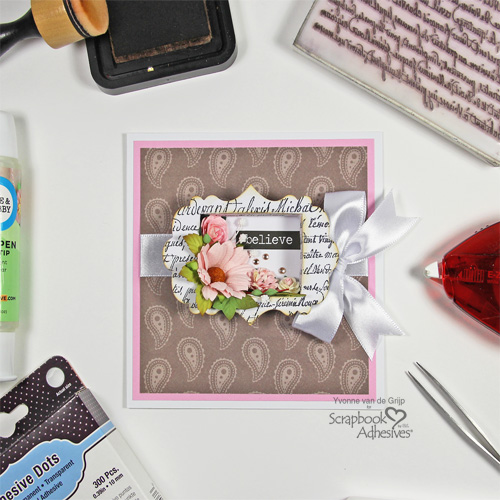
Creative Time: 60 minutes
Skill Level: Intermediate
Materials needed
Scrapbook Adhesives by 3L®
E-Z Runner® Permanent Strips Refillable Dispenser
Adhesive Dots Medium Ultra Thin
HomeHobby by 3L®
Dual Tip Glue Pen
Other
Etched Dies: Spellbinders® Paper Arts (Tiny Shadow Box by Sharyn Sowell, Platinum 6 Die Cutting and Embossing Machine); Cardstock (White, Pink); Patterned Cardstock (Photo Play Paper Co: Wild Child); Inkpads (Black, Brown); Ink Blending Tool; Mulberry Flowers; Leaves; Stamens; Rhinestones; Satin Ribbon
Pin It!
