Hi everyone, Yvonne here with an autumn-themed ivy card that is all about adding dimension to your card! Crafty Foam Tape White and 3D Foam Squares White Regular make it so easy to add lightweight dimension to a card which also means low postage costs! We all love that, don’t we! LOL!
To finish the Autumn Card I added some layers of branches and leaves to make them more realistic. Let’s get started.
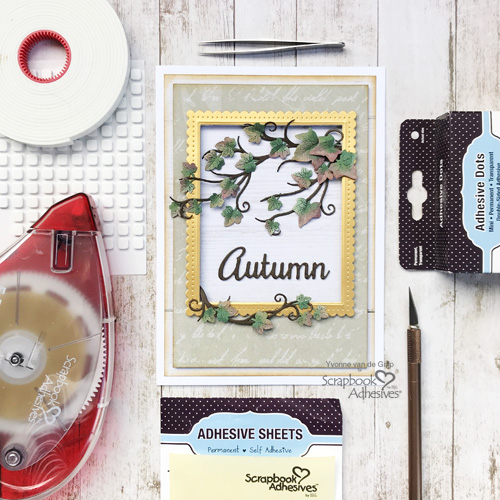
Make a Multi-Layered Card Base
Start by die-cutting a window from green patterned cardstock. Die-cut and emboss a golden scalloped frame shape that matches the size of the opening in the cardstock.
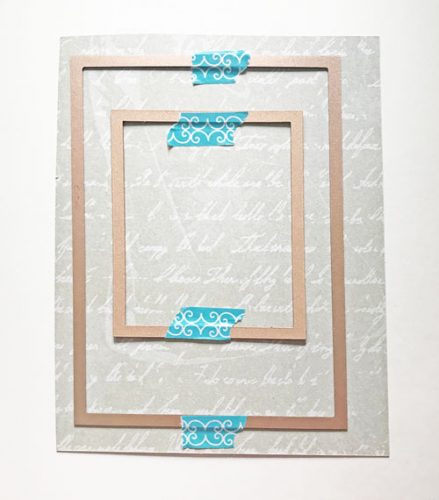
Use Crafty Foam Tape White for the big green patterned frame and 3D Foam Squares White Regular Size to fit the golden frame. Trim some 3D Foam Squares into strips to fit the golden frame so nothing will stick out from under the die-cut.
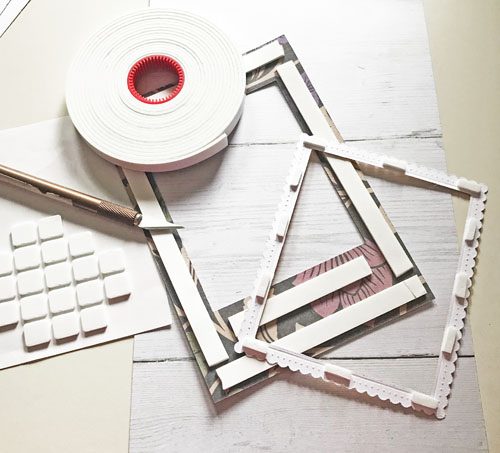
Now adhere both layers onto a larger white, patterned, rectangle piece of cardstock. Trim that back layer to the desired card size.
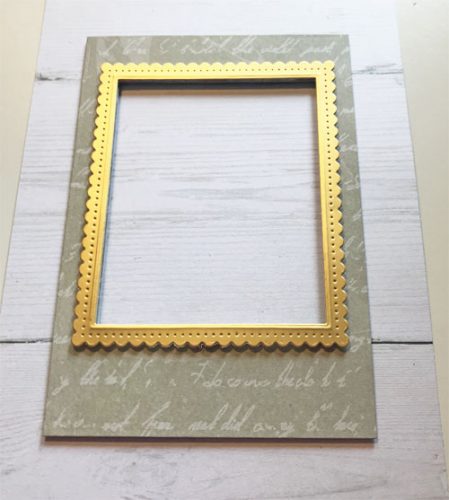
Next ink the edges of the green and white layer using an ink pad and an ink blending tool.
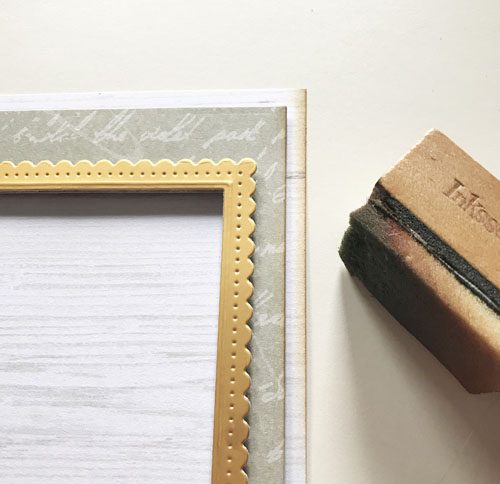
Now adhere the stacked panels onto a white card base, adhere it using the E-Z Runner® Grand Refillable Dispenser.
Adhesive Sheets and Ivy Vines
For the vines, I turned a piece of brown cardstock into a sticker, simply by using Adhesive Sheets 4×6 inch.
To make the sticker, first remove the yellow liner of from an Adhesive Sheet and adhere it with the sticky side onto the back of a piece of dark brown cardstock.
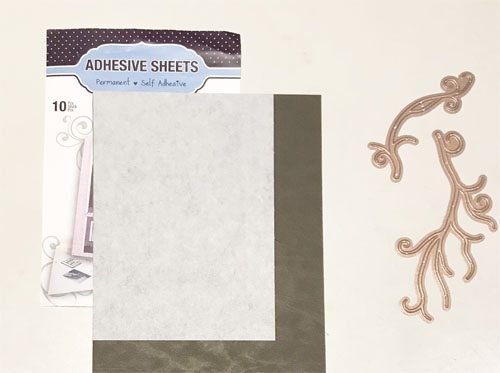
Now die-cut the brown cardstock, do this by placing the die with the cut side down onto the front of the cardstock. Die-cut several pieces with the vine dies.
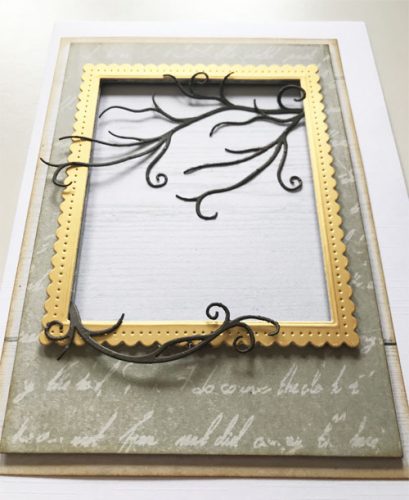
Now it’s time to remove the white liner from the die-cuts and then adhere them to the dimensional card base.
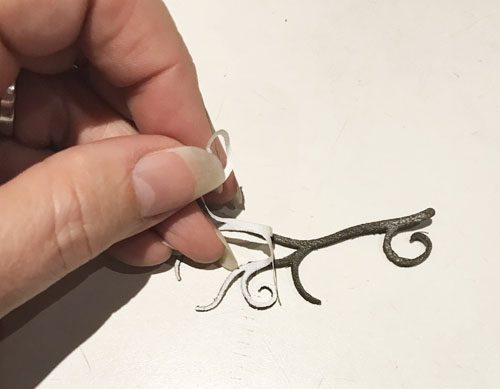
By adhering them not only over, but also between the layers, you create depth and a realistic look.
Ink the Ivy Leaves
Start by die-cutting some ivy leaves from dark green cardstock. Then add the autumn colors to the leaves with chalky ink pads and an ink blending tool. Simply add some red, orange, pale green and yellow ink to the leaves and let dry.
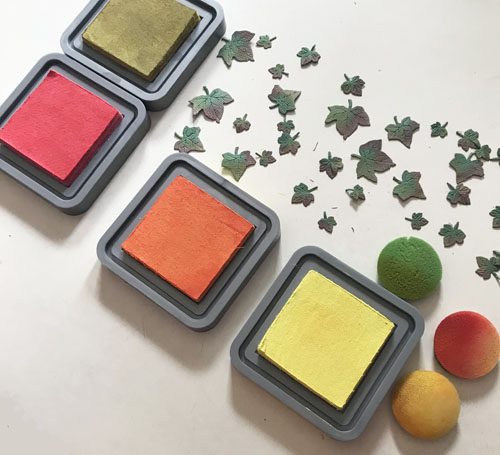
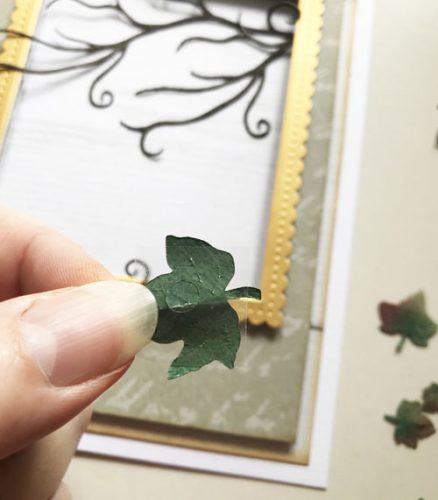
After drying, slightly curl the edges of the ivy leaves. I used my fingers to curl, but you might find it easier to wrap them around a pencil, for example.
Adhere the ivy leaves to the vines with Adhesive Dots Mini.
Die Cut the Autumn Card Sentiment
Die-cut the sentiment from dark brown cardstock and use Thin 3D Foam Squares White Mix, cut into small strips, to adhere it to the card base.
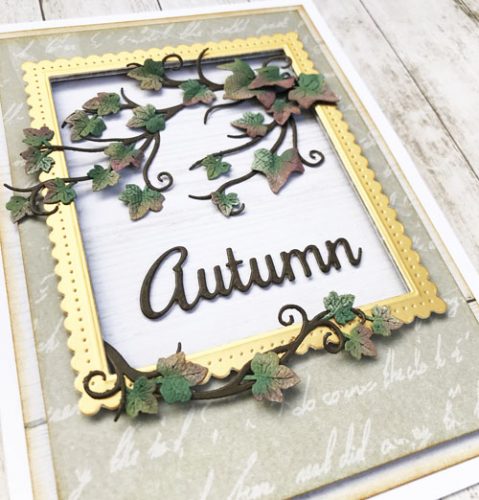
Voila…your Autumn Card with Dimensional Ivy is ready!
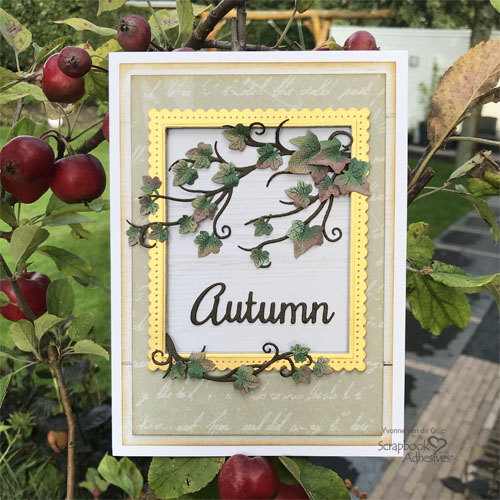
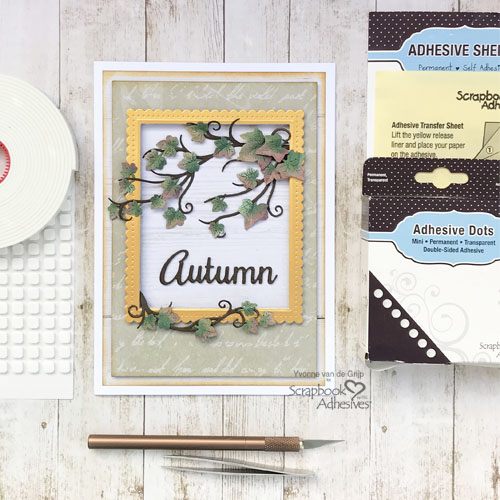
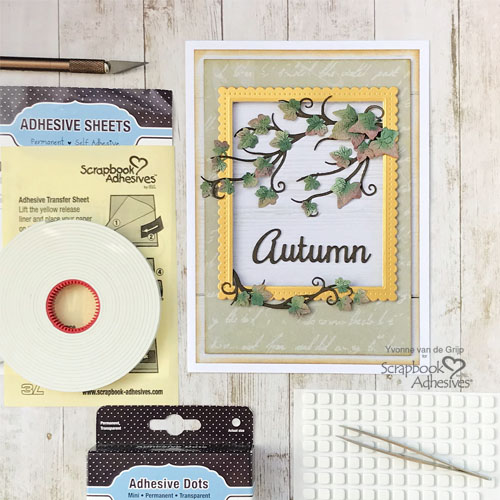
I hope you
enjoyed the tutorial and wish you happy crafting.
Creative Time: 60 minutes
Skill Level: Advanced
Material Needed
Scrapbook Adhesives by 3L®
Adhesive Sheets 4×6 inch
Adhesive Dots Mini
Crafty Foam Tape White
3D Foam Squares White Regular Size
Thin 3D Foam Squares White Mix
E-Z Runner® Grand Refillable Dispenser
Other
Etched Dies: Spellbinders® Paper Arts ( Ivy, Seasonal Words by Lene Lok, Fancy Edged Rectangles, 5×7 Matting Basics B Card Creator, Platinum 6 Die-cutting and Embossing Machine); Cardstock (White, Dark Brown, Dark Green, Gold, Patterned White and Green); Ink pads (brown, Chalk: Green, Orange, Yellow, Red); Ink Blending Tool, Paper Trimmer, Bone Folder
Love It! Save It!
Visit our Website and Blog!
Sign up for our Newsletter so you never miss a contest or giveaway!


