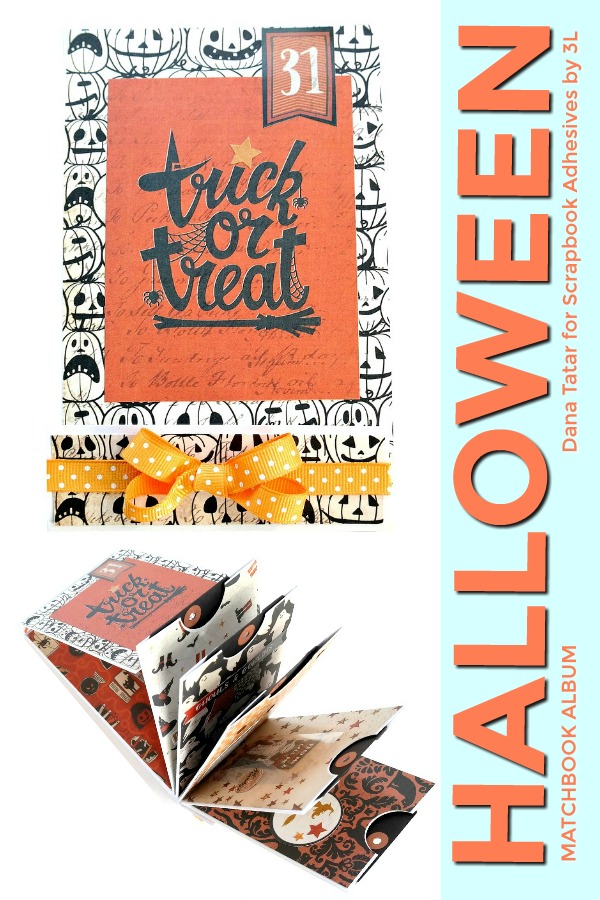
Hi friends! Dana Tatar here today sharing an embellished matchbook album that I created to document Halloween. I’ve found that I have a much higher success rate of actually completing a mini album when I have the majority of the work done before the event. This album was super fun to assemble and decorate.
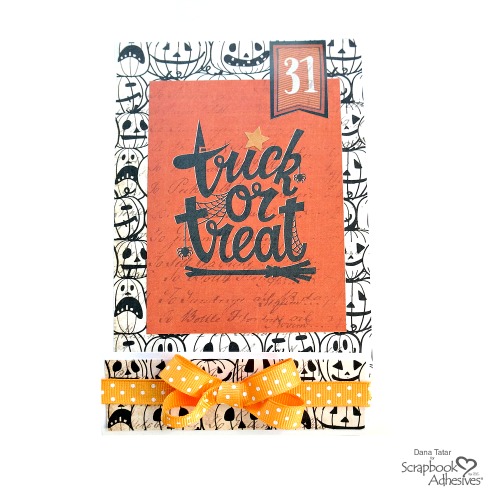
In addition to detailing how to assemble and embellish this album, I’m also sharing my tricks for how to add texture and dimension to projects when space is limited.
Halloween Matchbook Album Assembly
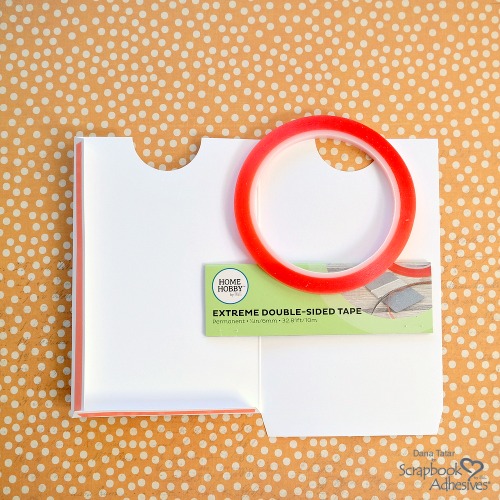
On each of the six pockets, fold the left side tabs in and apply HomeHobby by 3L® Extreme Double-Sided Tape 1/4-in . Next remove the top liner from the tape and fold the right panel over on top of the left. Press firmly along the adhesive tabs to seal.
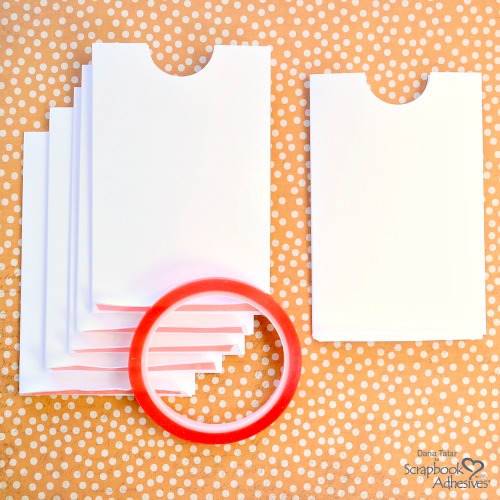
Fold up the bottom tab on all six pockets. Apply Extreme Double-Sided Tape 1/4-in to 5 of the pocket tabs. Leave one pocket tab adhesive free. One at a time, remove the liners from the tape and stack the pockets on top of each other. The pocket without adhesive on the tab should be on the top of the stack.
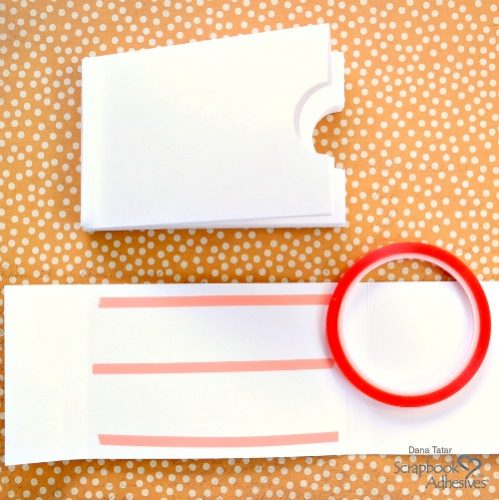
Fold all the score lines on the Matchbook base. Apply Extreme Double-Sided Tape 1/4-in to the center panel as shown. Remove the liner from the tape and adhere the stacked pockets to the center panel. Press firmly to secure the back pocket to the adhesive.
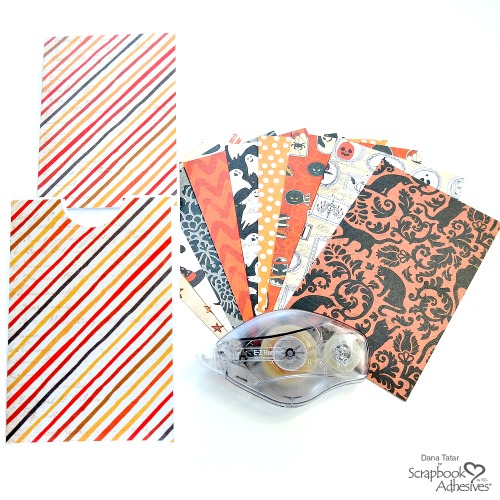
Use the E-Z Runner® Ultra Strong Refillable to adhere patterned paper to both sides of each pocket page, as well as the inside and outside covers of the album. To secure the bottom portion of the cover to the album, apply Extreme Double-Sided Tape 1/4-in to the top tab on the top pocket of the stack. Remove the liner and fold the bottom flap of the matchbook cover up and press to secure. The top flap of the cover folds down and tucks underneath the bottom flap to close the album. Slide six cards or tags into the pockets of the album.
Embellishing with Texture and Dimension
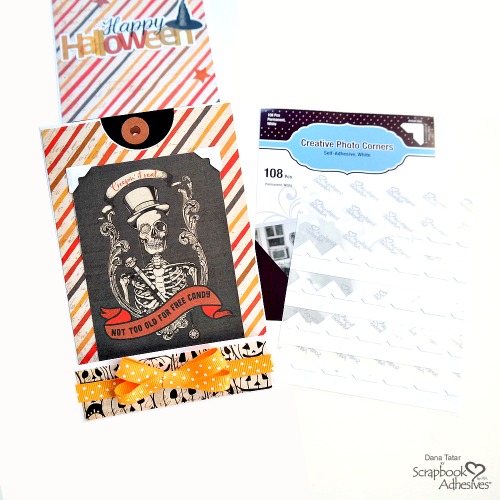
Use White Creative Photo Corners to dress up the edges of square or rectangle shaped die-cuts to add a decorative element without adding extra bulk. The variety of matte, metallic, and clear photo corners, easily complements or blends with any paper collection.
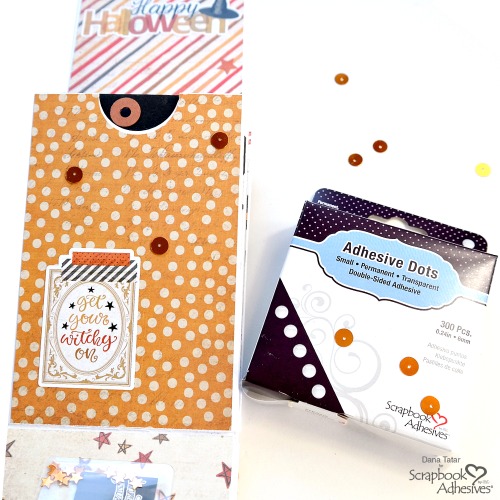
Sequins are a fun way to add a thin layer of color and shine to patterned papers. Adhesive Dots are the perfect choice for attaching intricate embellishments to projects. Just press, peel, and stick!
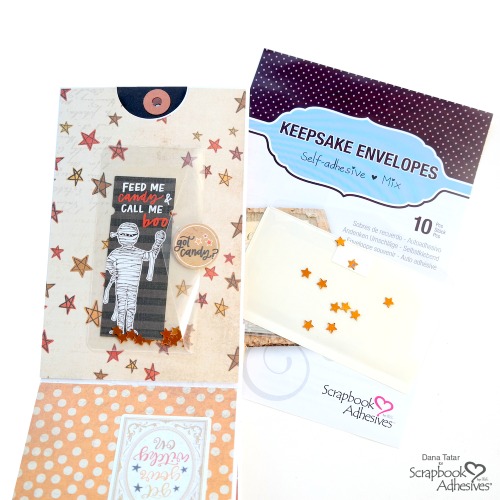
Tuck die-cuts and sequins inside Keepsake Envelopes to create a fast and tidy shaker pocket. Simply insert items into the envelope and affix with the resealable flap. Your embellishments are secure yet accessible in a see-through envelope with clear, permanent adhesive on the back side.
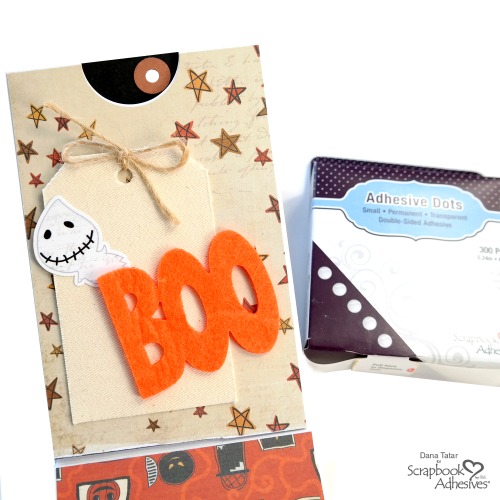
The strong bond of Adhesive Dots makes adding canvas and felt pieces to projects quick and easy. Adding thin layers of different fabrics is a great way to add a fun texture to paper pages to make the album interesting to flip through and fun to touch.
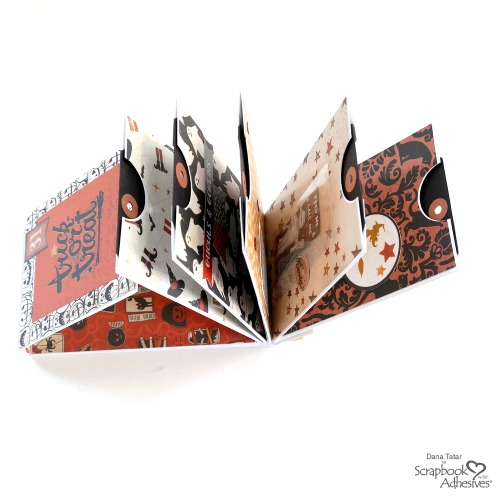
Here’s a peek inside the embellished Halloween Matchbook Album. Each tag pulls out of the pocket with a place to add photos and journaling.
Do you dress up for Halloween? My daughters are going out dressed as an anime character and a banana. I’d love to know what your loved ones are wearing. Let me know in the comments section!
Thanks for stopping by today!
~Dana
Creative Time: 90 Minutes
Skill Level: Intermediate
Materials Needed
Scrapbook Adhesives by 3L®
E-Z Runner® Ultra Strong Refillable Dispenser
Adhesive Dots Small
Creative Photo Corners White
Keepsake Envelopes Mix
HomeHobby by 3L®
Extreme Double-Sided Tape 1/4″
Other
Matchbook Album (Photo Play Paper); Patterned Paper (Paper Play Paper); Stickers (Paper Play Paper); Die-Cuts (Paper Play Paper); Black Tags (Ranger); Felt Word; Canvas Tag; Ribbon; Twine; Sequins
Love It! Pin It!
Visit our Website and Blog!
Sign up for our Newsletter so you never miss a contest or giveaway!


