
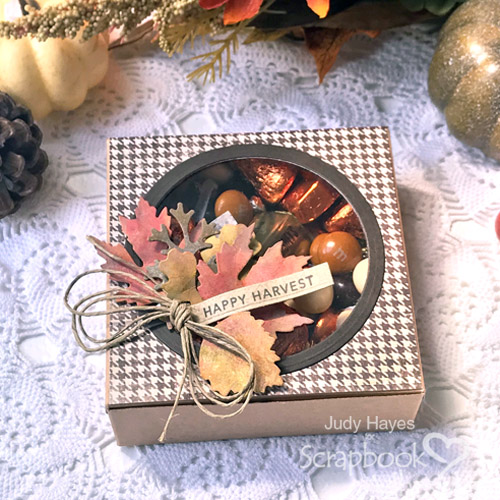
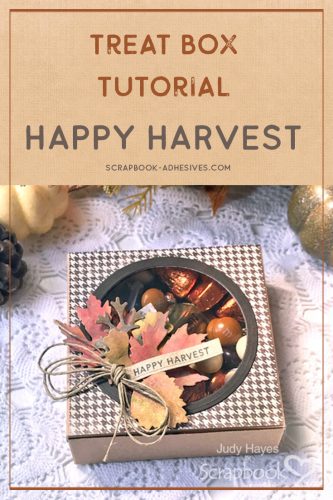
Hello everyone! It’s Judy here today with a Happy Harvest Treat Box tutorial. It makes a great gift for Thanksgiving, filled with seasonal colored chocolates, nuts, or baked goods. Where I live with farmland all around, cool days and dry winds have turned the fields to shades of brown and gold. The fall harvest is underway. Leaves are changing colors and fluttering to the ground. It’s time to celebrate harvest time!
Happy Harvest Treat Box Instructions
This Happy Harvest Treat Box is an easy project! The box base is a cookie box with a window. Start cutting patterned paper to fit the box top. Apply an Adhesive Sheets 4 x 6 inch to the back of the paper, then die-cut an opening in the paper, I use a circle here.
Next, add Adhesive Sheets 4 x 6 inch to the back of brown cardstock. To create the border around the window opening, nest two circle dies together and place onto brown cardstock. TIP: Secure the dies to the cardstock with washi tape so they don’t shift during die-cutting.
It’s simple to fasten each piece to the box by removing the Adhesive Sheet liner and pressing them in place!
The Finishing Touches
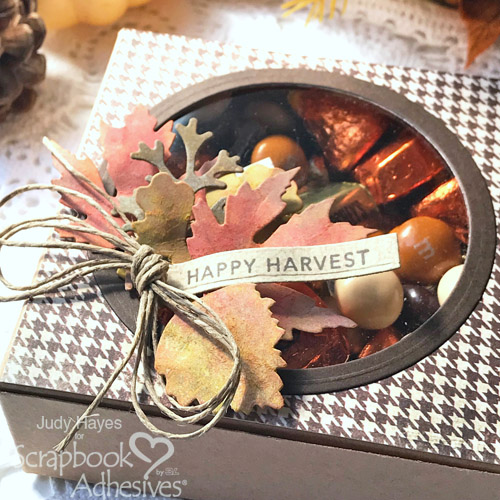
There are many ways to color the die cut leaves. I like to use various colors of water-reactive inks. For a quick and easy way, use different shades of paper. The leaves are held in place using a combination of Adhesive Dots 3D, Adhesive Dots Micro, and Adhesive Dots Small, depending on the width of the die cut stems I’m working with.
To finish the top, tie a bow with hemp twine and hold it in place with Adhesive Dots Small. The stamped greeting is tucked in by the bow and fastened with Adhesive Dots Small.
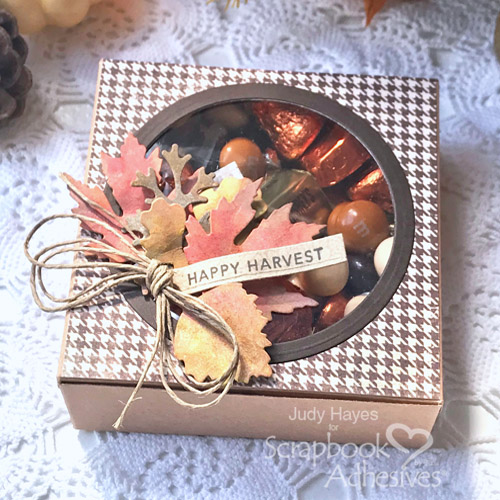
Now fill the box with sweet treats! It’s a fun gift to share with coworkers, neighbors, friends or family! It would look great on a table setting! Happy Harvest!
Thanks for Visiting!
Judy
Creative Time: 30 Minutes
Skill Level: Beginner
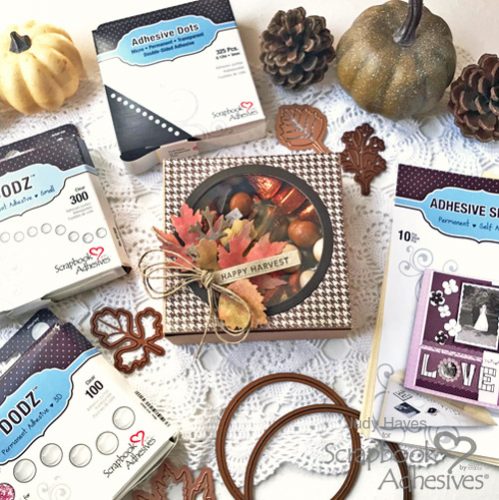
Materials Needed
Scrapbook Adhesives by 3L®
Other:
Etched Dies: Spellbinders® Paper Arts (Assorted Leaf Dies) and Taylored Expressions (Mini Strips); Stamp and Die Set: Taylored Expressions (Harvest Stamp and Mini Strips Die); Patterned Paper: Farmhouse Paper Company Paper; Inks: Ranger Inks (Distress Oxide Inks) and Imagine Crafts (Versafine Clair Fallen Leaves); Brown and Kraft Cardstock; Hemp Twine; Cookie Box
Save it on Pinterest!
Visit our Website and Blog!
Sign up for our Newsletter so you never miss a contest or giveaway!


By Jenelle Reyes October 13, 2019 - 12:42 pm
I love this treat box! Thank you for sharing the tutorial.