
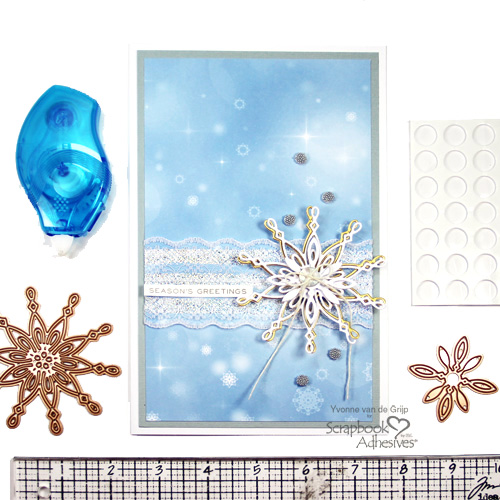
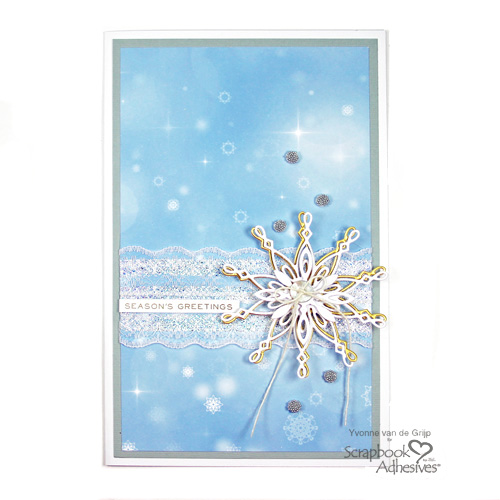
Season’s Greetings! It’s Yvonne with a Laced Snowflake card. Lace always gives such a romantic touch to a card. Since it’s a Christmas card I added sparkle using Metallic Transfer Foil and the E-Z Runner® Petite Permanent Dots Refillable Dispenser.
Laced Snowflake Card Background
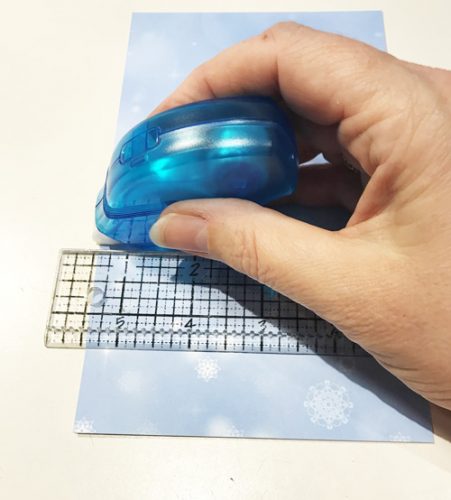
First cut a piece of blue patterned paper to a rectangular that fits your card base.
Use a ruler to make straight lines with the E-Z Runner® Petite Permanent Dots Refillable Dispenser. We will be foiling on top of the adhesive to show a design on the card front. This technique is known as “Wear Your Adhesive on the Outside.”
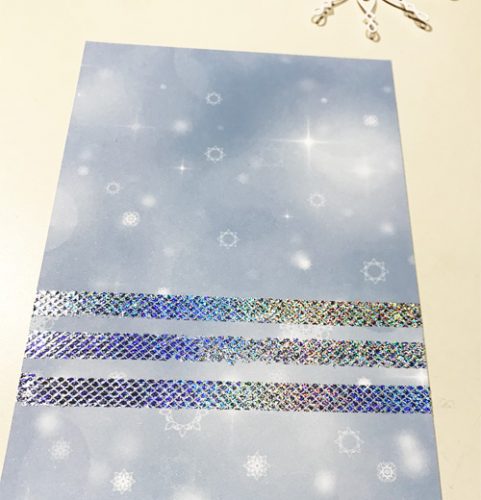
How do you foil? Simple! Gently rub Metallic Transfer Foil Sheets Holographic Colors with the pattern facing up, and place it over the adhesive lines made with the E-Z Runner® Petite Permanent Dots Refillable Dispenser. Rub gently and then remove the Metallic Transfer Foil Sheets.
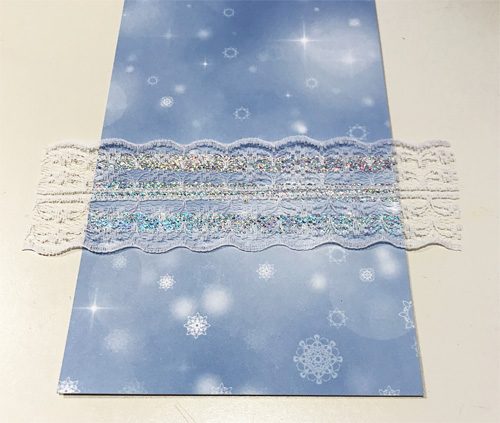
Next cut a piece of lace wider than the paper, and fold it around the card panel. Adhere to the back side using Premium Double-Sided Tape 1/4 in.
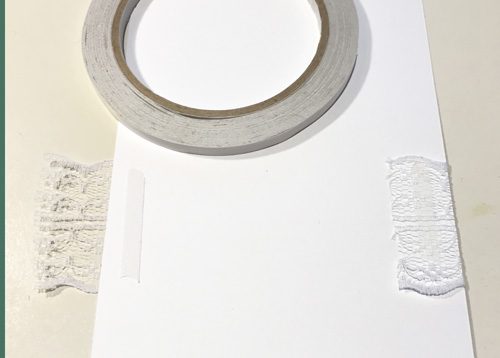
Adhere the laced paper onto a grey cardstock panel and then onto a white card base. To adhere use the E-Z Runner® Petite Permanent Dots Refillable Dispenser.
Create the Snowflake
Die-cut snowflakes from white and gold cardstock. Then stack the snowflakes using 3D Foam Circles White Mix, they add extra dimension.
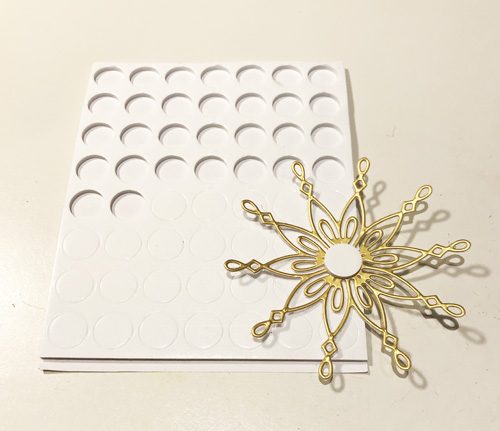
Adhere a pearl button on top using Adhesive Dots Medium Ultra Thin. Next, place the snowflake onto the laced card using Adhesive Dots Medium Ultra Thin.
Silver Beaded Circles
Making the snowy silver circles is very easy. Remove the top liner from a few 3D Foam Circles White Mix in the small size and sprinkle silver micro beads on top. Make sure to press the beads into the adhesive.
Then place the beaded circles onto the card. Yep, another medium to use to “Wear Your Adhesives on the Outside!”
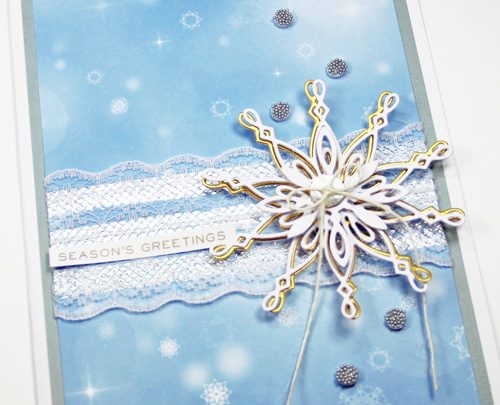
Finish the card with a Season’s Greetings sentiment sticker and voila, your Laced Snowflake card is ready to be sent!
Wishing you happy crafting!
Yvonne
Creative Time: 30 minutes
Skill Level: Intermediate
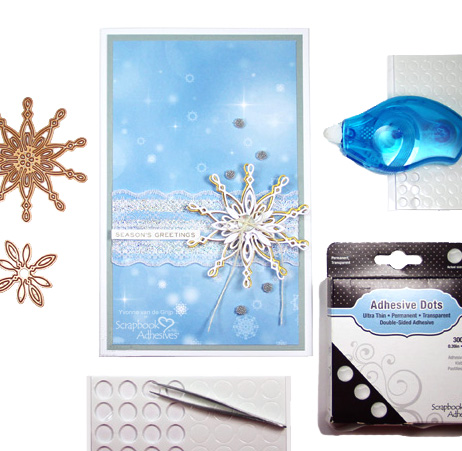
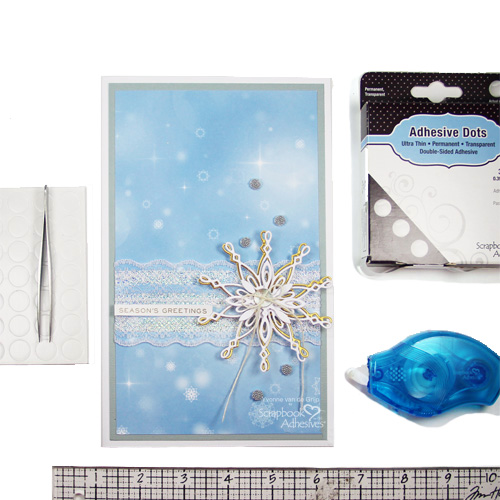
Materials Needed:
Scrapbook Adhesives by 3L®
E-Z Runner® Petite Permanent Dots Refillable Dispenser
3D Foam Circles White Mix
Adhesive Dots Medium Ultra Thin
Metallic Transfer Foil Sheets Holographic Colors
HomeHobby by 3L®
Premium
Double-Sided Tape 1/4 in
Other
Etched Dies and Die Cutting Machine: Spellbinders® Paper Arts -Yuletide Snowflakes A Charming Christmas Collection; White, Grey, Gold, and Patterned Cardstock; Silver Micro Beads; Lace; Button; Twine; Sentiment: Tim Holtz -Holiday Talk
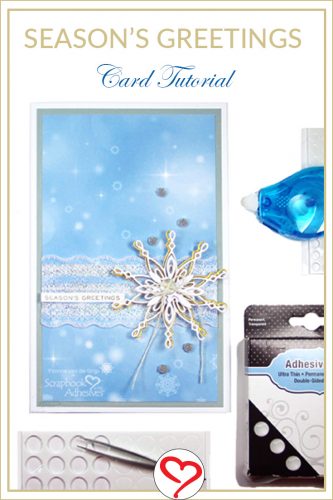
Save It to Pinterest!
Visit our Website and Blog!
Sign up for our Newsletter so you never miss a contest or giveaway!


